Wednesday, December 9, 2015

This tutorial is written for those with knowledge of PSP
Supplies Needed:
Tube of choice: I'm using the wonderful art work of Scott Blair
This tube was purchased at MPT which has closed
I'm not sure where this artist is selling at now
FTU Scrap Kit by Gimptastic Tuts HERE
Mask of choice
Ok lets get started:
This is a very quick and easy tutorial
Open frame 1 & place in center of tag
Grab the magic wand & click inside frame
Selections modify expand by 10
Add new layer under frame
Open paper 7 & paste into selections
Merge the paper and frame
Duplicate and mirror
Use my tags as how to place frames in tag
Place your main tube
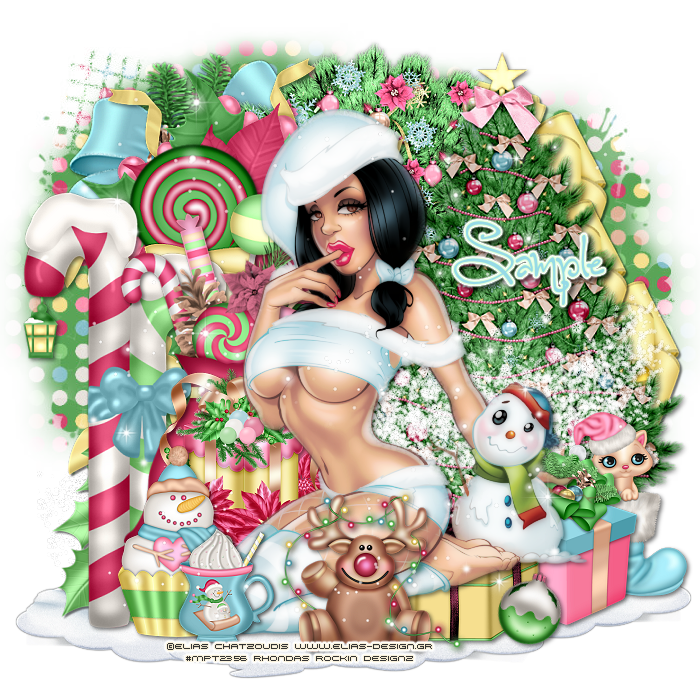
Now time to add our elements
I used the following:
Bear
Candy Cane 1&2
Gift 1,2&3
House
Lollipop
Ribbon
Sack
Santa
Snowflake Scatter
Tricycle
WA
Merge your layers
Open paper of choice & apply mask
Place your name where you like it
Add the Copyright and your License Number for the tube
Resize to your liking and save as PNG
This tutorial was created on December 9,2015 by Rhonda
Any resemblance to another Tag or Tutorial is purely coincidental

Sunday, December 6, 2015
This tutorial is written for those with knowledge of PSP
Supplies Needed:
Tube of choice: I'm using the wonderful art work of Elias Chatzoudis
This tube was purchased at MPT which has closed
You must obtain a license to use his work HERE
FTU Scrap Kit by Crystal Creations HERE
Mask of choice
Ok lets get started:
This is a very quick and easy tutorial
Just place your elements where you want them
Open blank canvas 700x700
I started by placing my tube in center
Then I started adding elements around her
I used the following:
Element 2
Element 3
Element 4
Element 7
Element 9
Element 10
Element 11
Element 12
Element 13
Element 14
Element 15
Element 19
Element 22
Element 23
Element 26
Element 28
Element 30
Element 36
Element 37
Element 39
Element 40
Merge your layers
Open paper of choice & apply mask
Place your name where you like it
Add the Copyright and your License Number for the tube
Resize to your liking and save as PNG
This tutorial was created on December 6,2015 by Rhonda
Any resemblance to another Tag or Tutorial is purely coincidental
Saturday, December 5, 2015
This tutorial is written for those with knowledge of PSP
Supplies Needed:
Tube of choice: I'm using the wonderful art work of Michael Calandra
You must obtain a license to use at CDO HERE
FTU Scrap Kit by Gothic Inspirations HERE
Mask of choice
Ok Lets get Started:
Open blank canvas 700x700
Open shadow box and rotate to left a little
Open frame 6 and place to center
Using magic wand click inside frame
Selections modify expand by 12
Open paper 8 and paste as new layer
Selections invert delete
Move paper under frame
Place tube in center
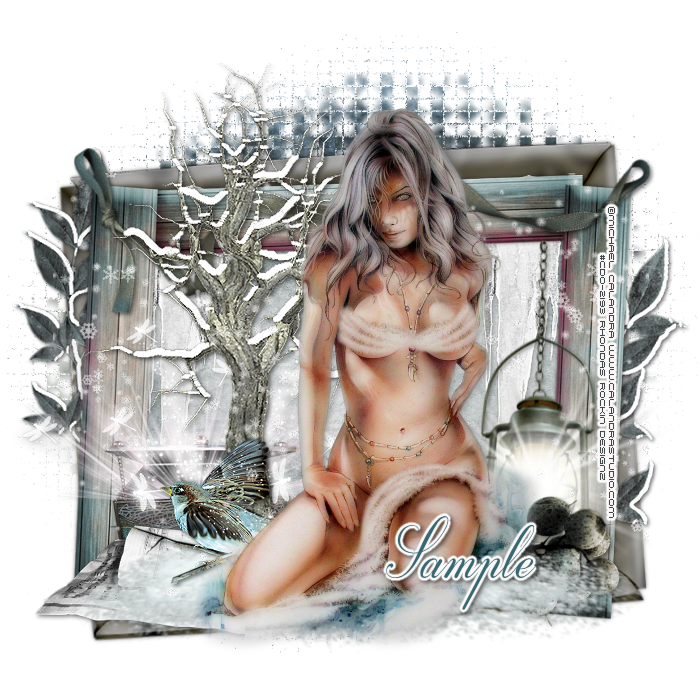
Now time to add our elements of choice
I used the following:
Berries
Bird
Chest
Cloud
Ice
Leaves
Light
Music Sheets
Ribbon 1
Snow
Tree
Merge your layers
Open paper of choice & apply mask
Place your name where you like it
Add the Copyright and your License Number for the tube
Resize to your liking and save as PNG
This tutorial was created on December 5,2015 by Rhonda
Any resemblance to another Tag or Tutorial is purely coincidental
Friday, December 4, 2015
Supplies Needed:
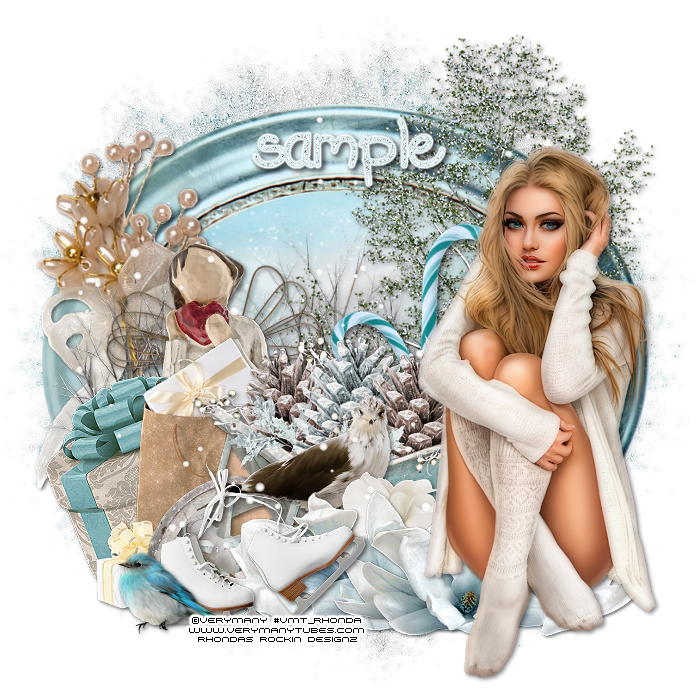
Tube of choice: I'm using the wonderful art work of VeryMany
You must obtain a license to use their art HERE
FTU Scrap Kit by PinkParadox Productions HERE
Kit matches tube
Mask of choice
Ok lets get started:
This is a very quick and easy tutorial
Open element 7 & place in center of tag
Rotate to right
Grab the magic wand & click inside frame
Selections modify expand by 10
Add new layer under frame
Open paper 19 & paste into selections
Place your tube
Now time to add our elements
I used the following:
Element 2
Element 3
Element 7
Element 16
Element 19
Element 30
Element 31
Element 46
Element 62
Element 68
Element 74
Element 78
Element 80
Element 88
Merge your layers
Open paper of choice & apply mask
Place your name where you like it
Add the Copyright and your License Number for the tube
Resize to your liking and save as PNG
This tutorial was created on December 4,2015 by Rhonda
Any resemblance to another Tag or Tutorial is purely coincidental

This tutorial is written for those with knowledge of PSP
Supplies Needed:
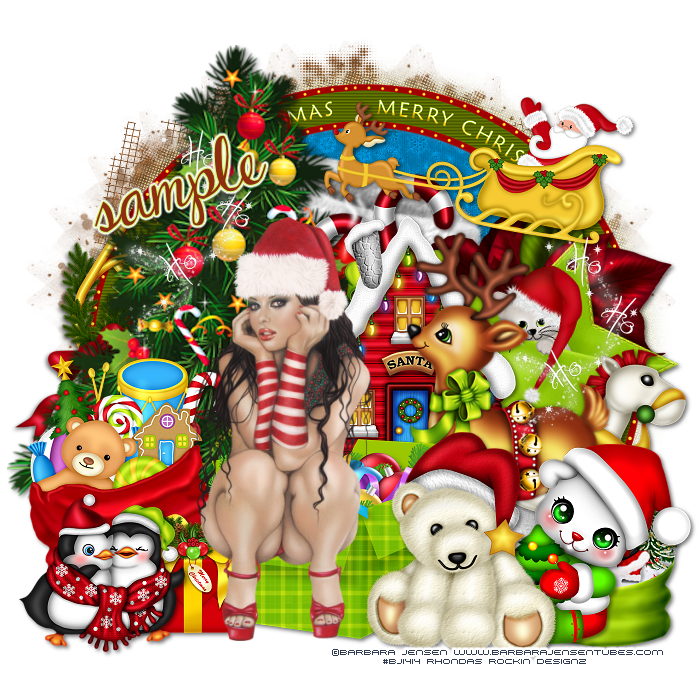
Tube of choice: I'm using the wonderful art work of Barbara Jensen
You must obtain a license to use HERE
PTU Scrap Kit by Rebellious Scraps called Merry Christmas
This kit can be purchased at Tiny Turtle Designs HERE
Mask of choice
Ok lets get started:
This is a very quick and easy tutorial
Just place your elements where you want them
Open blank canvas 700x700
I started by placing my tube in center
Then I started adding elements around her
I used the following:
Element 4
Element 6
Element 22
Element 23
Element 24
Element 28
Element 33
Element 36
Element 43
Element 49
Element 50
Element 52
Element 53
Element 54
Element 55
Element 63
Element 64
Element 65
Frame 2
Merge your layers
Open paper of choice & apply mask
Place your name where you like it
Add the Copyright and your License Number for the tube
Resize to your liking and save as PNG
This tutorial was created on December 4,2015 by Rhonda
Any resemblance to another Tag or Tutorial is purely coincidental

Thursday, December 3, 2015
This tutorial is written for those with knowledge of PSP
Supplies Needed:
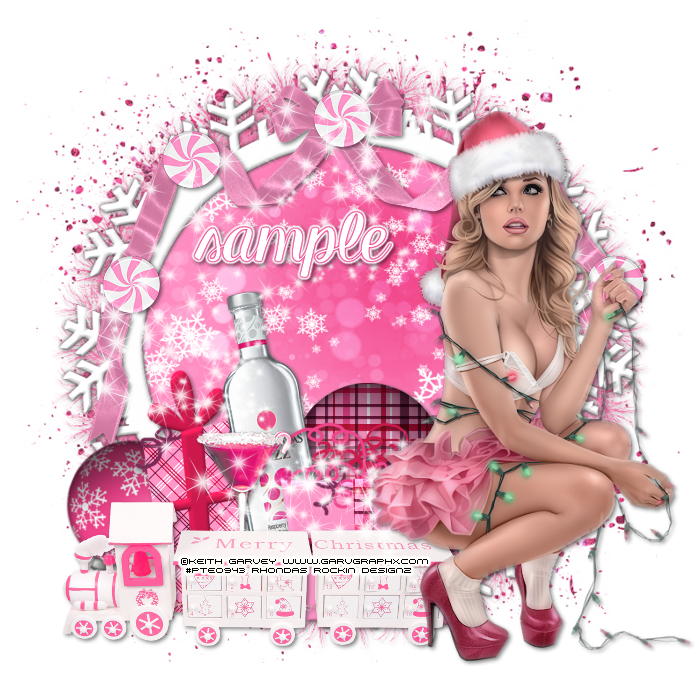
Tube of choice: I'm using the wonderful art work of Keith Garvey
I bought this tube at PTE which has closed
You must obtain a license to use now HERE
FTU Scrap Kit by Gimptastic Tuts called Santa Baby HERE
Mask of choice
Ok lets get started:
Open blank canvas 700x700
Open frame 1 and place in center
Using magic wand click inside frame
Selections Modify Expand by 10
Add new layer under frame
Select all to new layer
Open paper 8 and paste into selections
Select none
Place tube to right side of frame
Open presents 1&2 and place beside tube going to the left
Open bottle and place between the 2 presents
Open drink and place in front of bottle to the side
Open ornament 3 and place to far left of frame
Open ornament 2 and place behind the present yo far right
Open ribbon and place to top of frame in center
Open candy and place to ribbon
I placed one to the top and 2 more down the sides
Open snowflakes and sparkle and place where you want them
Merge your layers
Open paper of choice & apply mask
Place your name where you like it
Add the Copyright and your License Number for the tube
Resize to your liking and save as PNG
This tutorial was created on December 3,2015 by Rhonda
Any resemblance to another Tag or Tutorial is purely coincidental
This tutorial is written for those with knowledge of PSP
Supplies Needed:
No artist tube used in this tutorial
FTU Scrap Kit by MMDesignz HERE
Papers by KatiesWish HERE
Mask by Rocked by Rachel HERE
Ok lets get started:
This is a very quick and easy tutorial
Just place your elements where you want them
Open blank canvas 700x700
Open frame 5 and place to center
Using magic wand click inside frame
Selections modify expand by 18
Open paper 22 and add as new layer
Selections invert delete
Time to add our elements
I used the following:
Element 7
Element 10
Element 49
Element 59
Element 62
Element 67
Element 68
Merge your layers
Open paper 21 & apply mask
Place your name where you like it
Add the Copyright and your License Number for the tube
Resize to your liking and save as PNG
This tutorial was created on December 3,2015 by Rhonda
Any resemblance to another Tag or Tutorial is purely coincidental
This tutorial is written for those with knowledge of PSP
Supplies Needed:
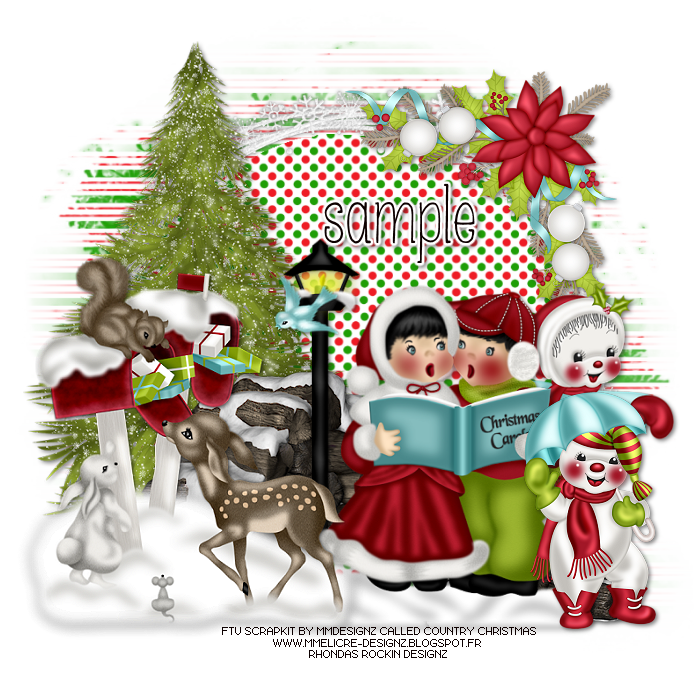
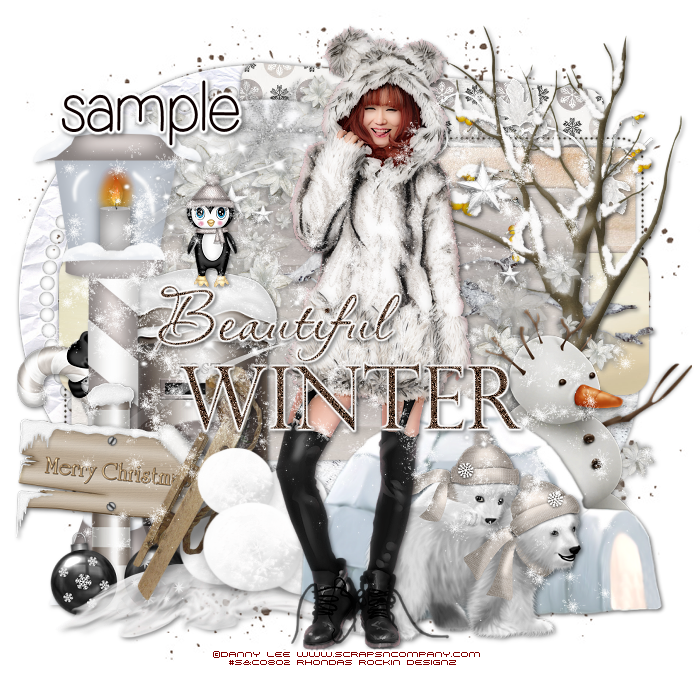
Tube of choice: I'm using the wonderful art work of Danny Lee
You must obtain a license to use his art at S&Co HERE
Matching PTU Scrapkit by Lizquis Scraps HERE
Template #712 by Millie HERE
Mask of choice
Ok Lets get Started:
Open template - Shift D to duplicate then close out original
Delete copyright & layers 11-14
Click on layer 1 selections,select all, float,defloat
paste a paper of choice from the kit - I used paper1
selection invert delete
select none delete the original
Click on layer 2 selections,select all, float,defloat
paste a paper of choice from the kit - I used paper10
selection invert delete
select none delete the original
Click on layers 3&4 selections,select all, float,defloat
add new layer with solid paper of choice
selection invert delete
select none delete the original
Click on layers 5&6 selections,select all, float,defloat
paste a paper of choice from the kit - I used paper9
selection invert delete
select none delete the original
Click on layers 7&8 selections,select all, float,defloat
paste a paper of choice from the kit - I used paper4
selection invert delete
select none delete the original
Click on layer 9 selections,select all, float,defloat
paste a paper of choice from the kit - I used paper3
selection invert delete
select none delete the original
Click on layer 10 selections,select all, float,defloat
paste a paper of choice from the kit - I used paper6
selection invert delete
select none delete the original
Click on wordart and decorate with your style
Place tube to center
Now time to add our elements
I used the following:
Bears
Branch 1
Branch 3
Candy Cane
Candy 1
Flowers
Frame 3
Iglo
Leaves
Penguin
Post Box
Sign
Snow
Snowflakes 1&2
Snowman
Sparkles
Tree 2
Merge layers
Open paper of choice and apply mask
Place your name where you like it
Add the Copyright and your License Number for the tube
Resize to your liking and save as PNG
This tutorial was created on December 2,2015 by Rhonda
Any resemblance to another Tag or Tutorial is purely coincidental
Subscribe to:
Comments
(Atom)
Grab My Blinkie

I CT For


Blogs I Visit


