Friday, November 29, 2013

Supplies Needed:
Tube of choice: Im using the wonderful art work of Alex Prihodko
You can purchase his tubes at Pics for Design HERE
PTU Scrap Kit by Mizteeque from called "CafeAuLait"
You an purchase this awesome kit HERE
Template #446 by Missy HERE
Mask #156 by Vaybs HERE
Don't forget to leave a thank you when downloading
Xero Radiance
Eyecandy Gradient Glow
Open template - Shift D to duplicate then close out original
Canvas size 700x700
Delete copyright,rounded edge rect2&3,frameback2,frame2,thin rect1&2,circle 5,7&8
add new layer & flood fill with solid color of choice
select none delete the original
add noise with settings of choice
paste a paper of choice from the kit - I used paper4
selection invert delete
select none delete the original
paste a paper of choice from the kit - I used paper4
selection invert delete
select none delete the original
paste a paper of choice from the kit - I used paper3
selection invert delete
select none delete the original
paste a paper of choice from the kit - I used paper3
selection invert delete
select none delete the original
add new layer & flood fill with solid color of choice
select none delete the original
add noise with settings of choice
add new layer & open element 48
paste into selection
select none delete the original
paste a paper of choice from the kit - I used paper1
selection invert delete
select none delete the original
add new layer & flood fill with solid color of choice
select none delete the original
add noise with settings of choice
paste a paper of choice from the kit - I used paper2
selection invert delete
select none delete the original
Repeat the Radiance settings
I used the following:
Element 1
Element 2
Element 4
Element 11
Element 15
Element 18
Element 21
Element 25
Element 27
Element 30
Element 36
Element 40
Element 42
Element 54
Open paper 9 & apply mask of choice
Add the Copyright and your License Number for the tube
Resize to your liking and save as PNG
This tutorial was created on November 29,2013 by Rhonda
Any resemblance to another Tag or Tutorial is purely coincidental

Tuesday, November 26, 2013

Supplies Needed:
Tube of choice: Im using the wonderful art work of Pinup Toons
You can purchase his tubes at CDO HERE
FTU Scrap Kit by Dee HERE
Template #428 by Millie HERE
Mask #157 by Vaybs HERE
Don't forget to leave a thank you when downloading
Xero Radiance
Eyecandy Gradient Glow for wordart
Open template - Shift D to duplicate then close out original
Canvas size 700x700
Delete copyright,layers 9&10
I added borders around some of my layers for the effect
paste a paper of choice from the kit - I used paper11
selection invert delete
select none delete the original
paste a paper of choice from the kit - I used paper6
selection invert delete
select none delete the original
paste a paper of choice from the kit - I used paper18
selection invert delete
select none delete the original
paste a paper of choice from the kit - I used paper7
selection invert delete
select none delete the original
paste a paper of choice from the kit - I used paper1
selection invert delete
select none delete the original
paste a paper of choice from the kit - I used paper3
selection invert delete
select none delete the original
apply Xero Radinace wih settings of choice
apply Xero radiance with settings of choice
I used the following:
Bird 2
Bottle
Bow 2
Butterfly
Button 2
Clock
Dragonfly
Flower 1,2,4&5
Frame 6
Glitter 1
LaceYoyo 1&2
Leaf 3
Netting
PotpouriJar
Purse 2
Ribbon 2
Spray
Tag 2
Wordart 2&3
Open paper 13 & apply mask
Add the Copyright and your License Number for the tube
Resize to your liking and save as PNG
This tutorial was created on November 25,2013 by Rhonda
Any resemblance to another Tag or Tutorial is purely coincidental
Monday, November 25, 2013
Sunday, November 24, 2013

Supplies Needed:
Tube of choice: Im using the wonderful art work of Keith Garvey
This tube was a 2010 freebie from MPT which has closed
You must obtain a license to use his art HERE
PTU Scrap Kit from Pimp'd Designz called "Christmas Traditions"
You an purchase this awesome kit at Pimp My Tags With Scraps HERE
Christmas Mask #3 by Vix HERE
Open blank canvas 700x700
Open frame 1 and place in center
Click inside frame with magic wand
Selections modify expand by 6
Open paper 10 & paste as new layer
Selections invert delete
Move paper under frame
apply Xero Radiance with settings of choice
I used:
Cut Out 2&3
Flower 1&2
Holly 2
Music Sheet
Ribbon 4
Snowman
Stamp
Tree
Open paper 7 & apply mask of choice
Add the Copyright and your License Number for the tube
Resize to your liking and save as PNG
This tutorial was created on November 25,2013 by Rhonda
Any resemblance to another Tag or Tutorial is purely coincidental

Supplies Needed:
Tube of choice: Im using the wonderful art work of Ninaste
You must obtain a license to use this art at Beehive Studio HERE
PTU Scrap Kit by Laura from Tiny Turtle Design called "Christmas Daisy Fairy"
You an purchase this awesome kit at her store HERE
Christmas Template #1 by Flaminsal HERE
Open template - Shift D to duplicate then close out original
Delete copyright & dotted rectangles
paste a paper of choice from the kit - I used paper55
selection invert delete
select none delete the original
paste a paper of choice from the kit - I used paper19
selection invert delete
select none delete the original
paste a paper of choice from the kit - I used paper42
selection invert delete
select none delete the original
paste a paper of choice from the kit - I used paper41
selection invert delete
select none delete the original
paste a paper of choice from the kit - I used paper29
selection invert delete
select none delete the original
paste a paper of choice from the kit - I used paper58
selection invert delete
select none delete the original
I used the following:
Element 11
Element 13
Element 15
Element 24
Element 27
Element 35
Element 38
Element 40
Element 42
Element 57
Element 69
Element 74
Element 76
Element 106
Element 113
Element 115
Element 123
Element 124
Element 127
Element 131
Add the Copyright and your License Number for the tube
Resize to your liking and save as PNG
This tutorial was created on November 24,2013 by Rhonda
Any resemblance to another Tag or Tutorial is purely coincidental

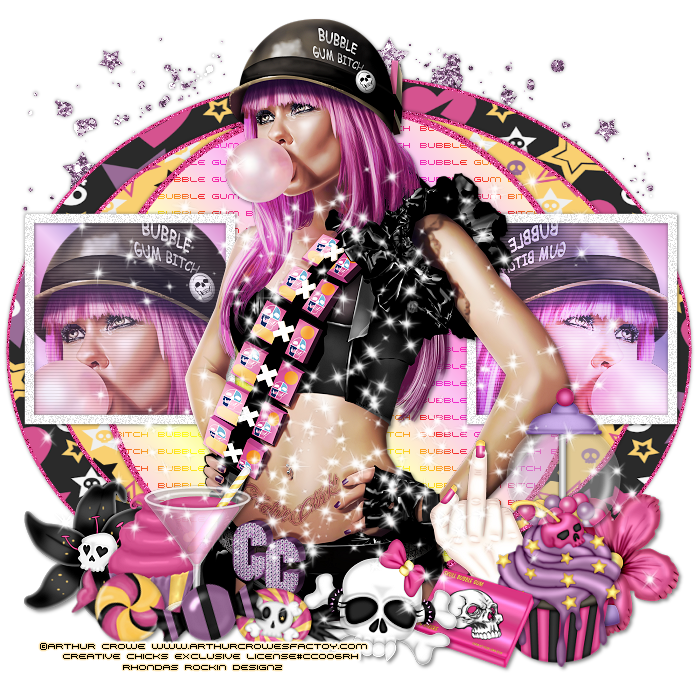
Supplies Needed:
Tube of choice: Im using the wonderful art work of Jamie Kidd
You can purchase these tubes at CDO HERE
3 Cluster Frames by Real Life Scrapped HERE
These are limited downloads - You need to scroll to bottom of page
Grunge Texture HERE
Mask#362 by Weescotslass Creations HERE
It is the last one on the page
Xero Porcelin
PhotoEffex Scanlines
Open blank canvas 700x700
Open cluster 1 & resize 20%
Paste as new layer on canvas
Using the selection tool draw around each square of frame
Copy & paste close up of tube you are using - I used a different tube for each square
Do this for all 3 squares
Apply Xero Radiance with default settings to each tube
Merge the tubes as 1 layer
Apply PhotoEffex Scanlines with default settings
Open cluster 3 & resize 16%
Paste as new layer to the bottom right of frame
Move this cluster down slightly
Open cluster 2 & resize 25%
Paste as new layer under cluster frame 1 to the right hand side
You want most of the heart to be showing at top
Merge your layers
Open textue 3 and place as new layer under cluster frames
Merge group
Add the Copyright and your License Number for the tube
Resize to your liking and save as PNG
This tutorial was created on November 16,2013 by Rhonda
Any resemblance to another Tag or Tutorial is purely coincidental
Supplies Needed:
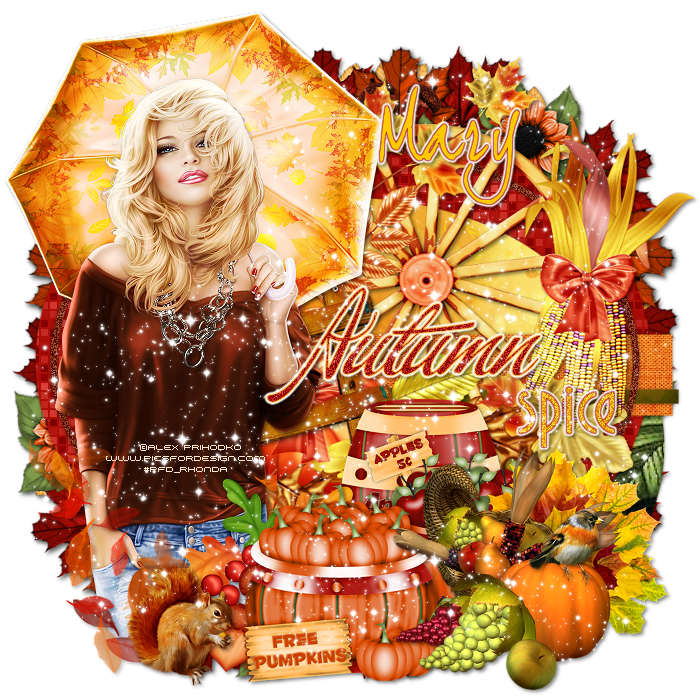
Tube of choice: Im using the wonderful art work of Alex Prihodko
You can purchase his work at PFD HERE
FTU Scrap Kit by Mary HERE
Autumn Template #1 by Brutal Designs HERE
Don't forget to leave a thank you when downloading
Xero Radiance
Eyecandy Gradient Glow
Open template - Shift D to duplicate then close out original
Resize template 90% all layers
Canvas size 700x700
Deleted copyright & layers 8,10&11
paste a paper of choice from the kit - I used paper5
selection invert delete
select none delete the original
paste a paper of choice from the kit - I used paper8
selection invert delete
select none delete the original
paste a paper of choice from the kit - I used paper4
selection invert delete
select none delete the original
paste a paper of choice from the kit - I used paper3
selection invert delete
select none delete the original
paste a paper of choice from the kit - I used paper4
selection invert delete
select none delete the original
add new layer & flood fill with solid color
select none delete the original
add noise with settings of choice
add new layer & flood fill with color of choice
add noise with settings of choice
apply Eyecandy Gradient Glow
Xero Radiance with settings of choice
I used the following:
Acorns
Apple Barrel
Apples
Bird
Cornucopias
Fall Leaves
Frame 3
Ladder
Pumpkin Barrel
Sparkles
Squirel
Wheel Cluster
Add the Copyright and your License Number for the tube
Resize to your liking and save as PNG
This tutorial was created on November 23,2013 by Rhonda
Any resemblance to another Tag or Tutorial is purely coincidental

Supplies Needed:
Tube of choice: Im using the wonderful art work of Alex Prihodko
You can purchase these tubes at PFD HERE
Cluster frame by Kimeric Kreations HERE
Cluster Frame by Trixie Scraps HERE
Xero Porcelin
Filters Unliminted Fine Canvas
Open blank canvas 700x700
Open cluster from Sweet Temptations
Paste as new layer on canvas
Using the selection tool draw around cluster
Pick 2 colors and make a gradient
Create new layer under frame and paste gradient
Apply Filters Unliminted Fine Canvas to paper
Open tube and place inside frame
Apply Xero Rdiance with settings of choice
Open cluster by Kimeric,resize & paste flower to bottom right of tag
Open cluster by Trixie,resize & paste under frame to each side
I dulpicated mine several times and added to top as well
Add the Copyright and your License Number for the tube
Resize to your liking and save as PNG
This tutorial was created on November 24,2013 by Rhonda
Any resemblance to another Tag or Tutorial is purely coincidental
Friday, November 22, 2013

Supplies Needed:
Tube of choice: Im using the wonderful art work of Ismael Rac
You must obtain a license to use his art HERE
PTU Scrap Kit from Candy Cats called "Leaf it to Me"
You an purchase this awesome kit at Pimp My Tags With Scraps HERE
Harvest Template #20 from Dee HERE
Leave a thank you when downloading freebies
Xero Radiance
Open template - Shift D to duplicate then close out original
Resize template 90% all layers
Canvas size 700x700
Delete copyright,small yellow circle & small dotted circle
paste a paper of choice from the kit - I used paper10
selection invert delete
select none delete the original
paste a paper of choice from the kit - I used paper50
selection invert delete
select none delete the original
paste a paper of choice from the kit - I used paper12
selection invert delete
select none delete the original
paste a paper of choice from the kit - I used paper21
selection invert delete
select none delete the original
paste a paper of choice from the kit - I used paper9
selection invert delete
select none delete the original
paste a paper of choice from the kit - I used paper22
selection invert delete
select none delete the original
paste a paper of choice from the kit - I used paper9
selection invert delete
select none delete the original
paste a paper of choice from the kit - I used paper36
selection invert delete
select none delete the original
add new layer & flood fill with color of choice
select none delete the original
add noise with settings of choice
add new layer & flood fill with color of choice
select none delete the original
add noise with settings of choice
add new layer & flood fill with black
select none delete the original
Add closeup of tube inside squares
apply Xero Radiance with settings of choice
Xero Radiance with settings of choice
I used the following:
Element 6
Element 8
Element 9
Element 11
Element 19
Element 20
Element 21
Element 24
Element 25
Element 46
Element 47
Element 48
Element 73
Element 74
Element 78
Element 87
Element 92
Add the Copyright and your License Number for the tube
Resize to your liking and save as PNG
This tutorial was created on November 22,2013 by Rhonda
Any resemblance to another Tag or Tutorial is purely coincidental
Saturday, November 16, 2013

Supplies Needed:
Tube of choice: Im using the wonderful art work of Ninaste
You must obtain a license to use this art at Beehive Studio HERE
PTU Scrap Kit by Laura from Tiny Turtle Design called "Winter Wonderland"
You an purchase this awesome kit at her store HERE
Mask #431 by Vix HERE
Xero Radiance
Open blank canvas 700x700
Open element 49 - resixe and place in center of canvas
Grab the magic wand and click inside frame
Add new layer under frame
Open paper 2 and place inside selection
Selections none
Place tube to right of frame
Apply Xero Radiance with settings of choice
I used:
Element 3
Element 31
Element 47
Element 50
Element 52
Element 70
Element 71
Element 92
Element 98
Open paper 1 & apply mask
Add the Copyright and your License Number for the tube
Resize to your liking and save as PNG
This tutorial was created on November 16,2013 by Rhonda
Any resemblance to another Tag or Tutorial is purely coincidental
Subscribe to:
Posts
(Atom)
Grab My Blinkie

I CT For



Blogs I Visit
























