Wednesday, June 17, 2015
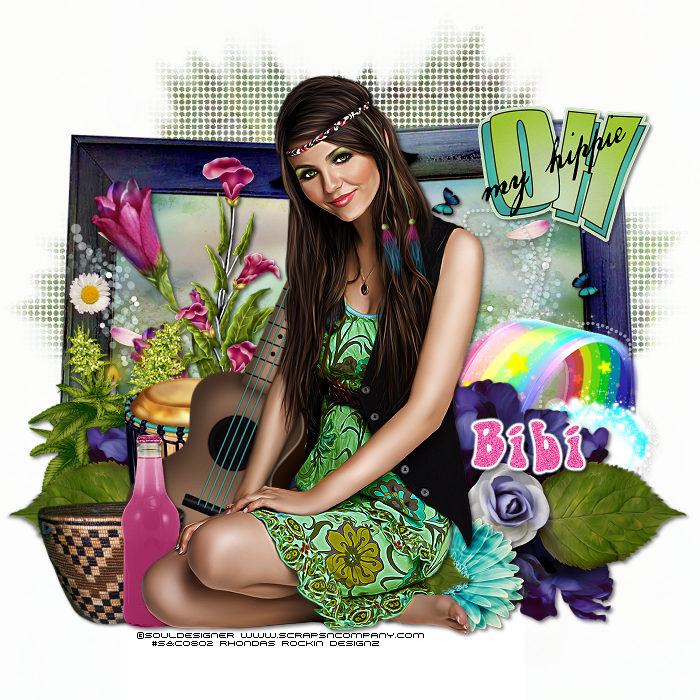
This tutorial is written for those with knowledge of PSP
Supplies Needed:
Tube of choice: Im using the wonderful art work of SoulDesigner
You must obtain a license to use this art at S&Co HERE
Matching PTU Scrap Kit from Bibi purchased at S&CO HERE
Mask #9 by Allison's Addiction HERE
Ok lets get started:
Resize elements to your liking
This is a very quick and easy tutorial
Open blank canvas 700x700
Open element 30 & place in center of tag
Grab the magic wand & click inside frame
Selections modify expand by 10
Open paper 9 and paste as new layer
Move paper under frame
Place your main tube & build around it
Now time to add our elements
I used the following:
Element 6
Element 15
Element 17
Element 26
Element 29
Element 35
Element 40
Element 44
Element 53
Element 54
Element 59
Element 62
Element 78
Merge layers
Open paper 3 and apply mask
Place your name where you like it
Add the Copyright and your License Number for the tube
Resize to your liking and save as PNG
This tutorial was created on June 17,2015 by Rhonda
Any resemblance to another Tag or Tutorial is purely coincidental


This tutorial is written for those with knowledge of PSP
Supplies Needed:
Tube of choice: Im using the wonderful art work of Barbara Jensen
Which you must obtain a license to use at her store HERE
PTU Scrap Kit by Dee called Seaside Rendezvous
Kit can be purchased at her store HERE
Mask of choice
Ok lets get started:
Open blank canvas 700x700
Open frame 9 & place to center
Click inside frame with magic wand and expand by 10
Open paper 16 and paste as new layer
Selections invert delete
Move paper under frame
Now time to add our elements
I used the following:
Element 18
Element 19
Element 24
Element 25
Element 35
Element 40
Element 47
Element 58
Element 66
Element 71
Element 83
Word_Art 1
Place your tube in center of tag
Merge your layers
Open paper of choice and apply mask
Place your name where you like it
Add the Copyright and your License Number for the tube
Resize to your liking and save as PNG
This tutorial was created on June 17,2015 by Rhonda
Any resemblance to another Tag or Tutorial is purely coincidental
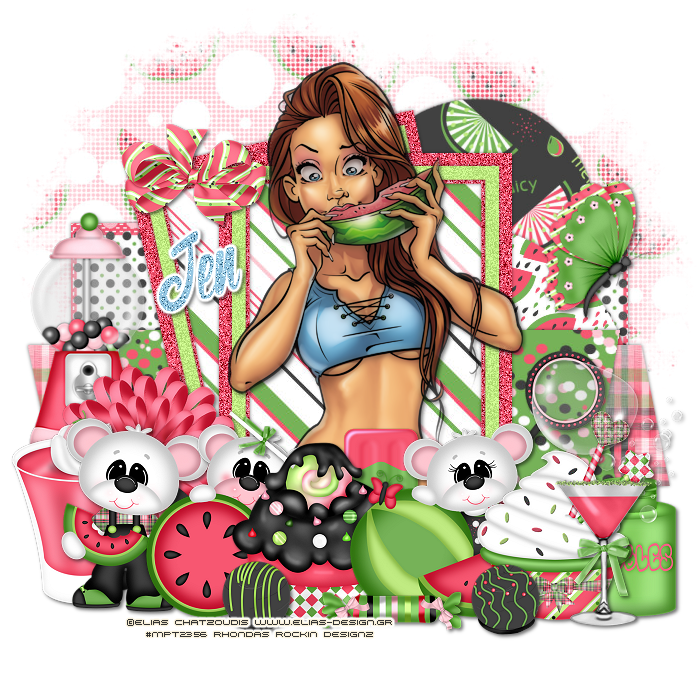
This tutorial is written for those with knowledge of PSP
Supplies Needed:
Tube of choice: Im using the wonderful art work of Elias Chatzoudis
Which you must obtain a license to use at his store HERE
PTU Scrap Kit by Jen from Sweet Temptations called "Watermelon Summer"
You an purchase this awesome kit HERE
Template #268 by Becky HERE
Mask of choice
Don't forget to leave a thank you when downloading
Ok lets get started:
Open template - Shift D to duplicate then close out original
Canvas size 700x700
Delete copyright,shadow layers, frame stripes,leaf swirly & white stripes
Click on green rectangle selections,select all, float,defloat
paste a paper of choice from the kit - I used paper7
selection invert delete
select none delete the original
Click on yellow circle selections,select all, float,defloat
paste a paper of choice from the kit - I used paper4
selection invert delete
select none delete the original
Click on lilac circle selections,select all, float,defloat
paste a paper of choice from the kit - I used paper3
selection invert delete
select none delete the original
Click on dark lilac rectangle selections,select all, float,defloat
paste a paper of choice from the kit - I used paper9
selection invert delete
select none delete the original
Click on yellow rectnagle selections,select all, float,defloat
paste a paper of choice from the kit - I used paper6
selection invert delete
select none delete the original
Click on frame fills selections,select all, float,defloat
paste a paper of choice from the kit - I used paper5
selection invert delete
select none delete the original
Place your main tube toright frame
Xero Radiance with settings of choice
Click on bkg's selections,select all, float,defloat
add new layer and flood fill with solid colors of choice
select none delete the original
apply noise with settings of choice
Now time to add our elements
I used the following:
Bears 2,3&5
BFly 2
BonBon 1&2
Bow 2
Bubbles
Candy
Cupcake
Drink
Gumball Machine
Ice Lolli
Jello Shot
Pudding
Merge your layers
Open paper 10 & apply mask
Place your name where you like it
Add the Copyright and your License Number for the tube
Resize to your liking and save as PNG
This tutorial was created on June 17, 2015 by Rhonda
Any resemblance to another Tag or Tutorial is purely coincidental
Wednesday, June 10, 2015
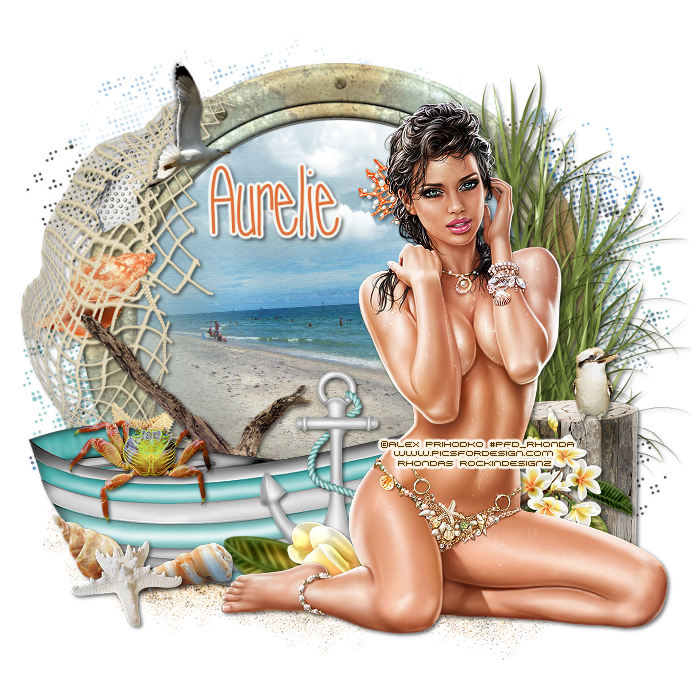
This tutorial is written for those with knowledge of PSP
Supplies Needed:
Tube of choice: I'm using the wonderful art work of Alex Prihdoka
Which you must obtain a license to use at PFD HERE
PTU Scrap Kit by Purple Dream Scraps called Sea_Breeze
You can purchase this awesome kit at one of her stores HERE
Mask of choice
Ok lets get started:
Open a blank image 700x700
Open frame from kit and place as a new layer
Grab the magik wand and click inside frame
Select modify expand by 10
Add new layer under frame
Open paper 5 from kit and paste into selection
Selections delete
Place your tube to right of frame
Now add any elements of choice
I used the following:
Anchor
Bird
Boat
Branch
Crab
Driftwood
Flower 2
Gull
Leaf
Netting
Sand
SeaPlant
Shell
Shell 5
Starfish
Merge your layers
Open paper 3 and apply mask
Place your name where you like it
Add the Copyright and your License Number for the tube
Resize to your liking and save as PNG
This tutorial was created on June 8,2015 by Rhonda
Any resemblance to another Tag or Tutorial is purely coincidental
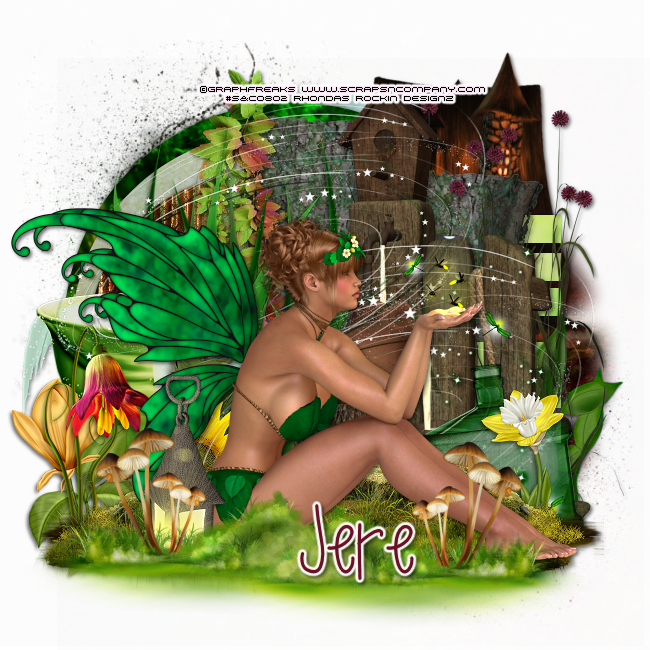
This tutorial is written for those with knowledge of PSP
Supplies Needed:
Tube of choice: I'm using the wonderful art work of GraphFreaks
You must obtain a license to use this art at S&Co HERE
PTU Scrap Kit from Ginnibug Designz called "Fireflight"
Kit can be purchased at S&CO HERE
Template #762 by Millie HERE
Mask 116 by Millie HERE
Ok lets get started:
Open template - Shift D to duplicate then close out original
Canvas size 650x650
Delete copyright
Click on raster 1 selections,select all, float,defloat
paste a paper of choice from the kit - I used paper7
selection invert delete
select none delete the original
Click on raster 2 selections,select all, float,defloat
paste a paper of choice from the kit - I used paper15
selection invert delete
select none delete the original
Click on raster 3 selections,select all, float,defloat
paste a paper of choice from the kit - I used paper4
selection invert delete
select none delete the original
Click on raster 4&5 selections,select all, float,defloat
paste a paper of choice from the kit - I used paper8
selection invert delete
select none delete the original
Click on raster 6 selections,select all, float,defloat
paste a paper of choice from the kit - I used paper13
selection invert delete
select none delete the original
Place top to center
Now time to add our elements
I used the following:
Element 1
Element 5
Element 9
Element 12
Element 23
Element 26
Element 33
Element 39
Element 40
Element 41
Element 42
Element 67
Element 72
Element 78
Merge layers
Open paper 1 and apply mask
Place your name where you like it
Add the Copyright and your License Number for the tube
Resize to your liking and save as PNG
This tutorial was created on June 10,2015 by Rhonda
Any resemblance to another Tag or Tutorial is purely coincidental
Monday, June 8, 2015

This tutorial is written for those with knowledge of PSP
Supplies Needed:
Tube of choice: Im using the wonderful art work of Chris Pastel
You must obtain a license to use his art at S&CO HERE
Matching PTU Scrapkit by Whisper in the Wind also at S&CO HERE
Mask of choice
Ok lets get started:
This is a very quick and easy tutorial
Open blank canvas 700x700
Open frame 4 & place in center
Grab the magic wand & click inside frame
Selections modify expand by 20
Add new layer under frame
Open paper 11 & paste into selections
Select none
Place main tube to center of tag
Add any other elements you want from the kit
I used:
Element 18
Element 20
Element 25
Element 28
Element 35
Element 36
Element 38
Element 56
Element 60
Element 72
Element 76
Element 85
Element 106
Merge layers
Open paper of choice & apply mask of choice
Place your name where you like it
Add the Copyright and your License Number for the tube
Resize to your liking and save as PNG
This tutorial was created on June 8,2015 by Rhonda
Any resemblance to another Tag or Tutorial is purely coincidental
Saturday, June 6, 2015
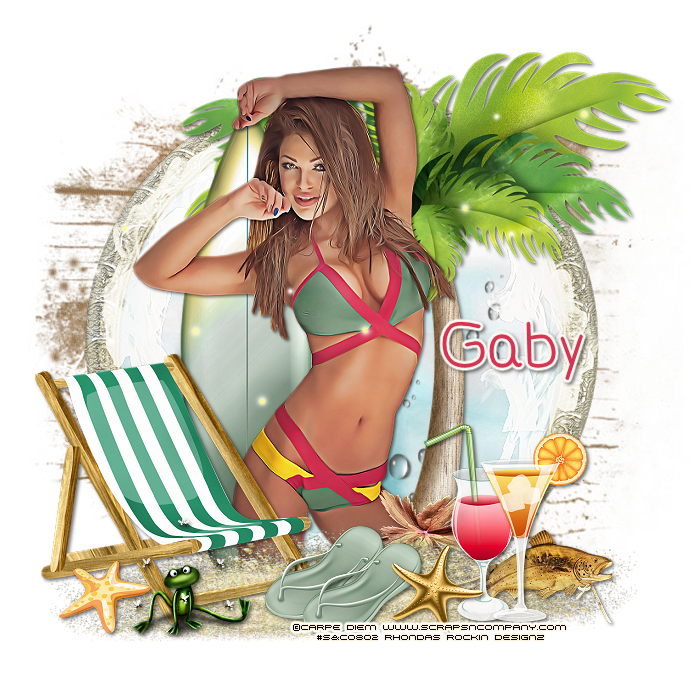
This tutorial is written for those with knowledge of PSP
Supplies Needed:
Tube of choice: Im using the wonderful art work of Carpe Diem
You must obtain a license to use this art at S&CO HERE
Matching PTU Scrapkit by Disturbed Scraps also at S&CO HERE
Mask of choice
Ok lets get started:
This is a very quick and easy tutorial
Open blank canvas 700x700
Open frame & place in center
Grab the freehand tool and draw around frame
Add new layer under frame
Open paper 4 & paste into selections
Select none
Place tube in center
Add any other elements you want from the kit
I used:
Board
Chair
Cocktail
Leaf
Fish
Frog
Martini
Palm
Sand
Starfish
Starfish 2
Water 2
Merge layers
Open paper 2 & apply mask of choice
Place your name where you like it
Add the Copyright and your License Number for the tube
Resize to your liking and save as PNG
This tutorial was created on June 6,2015 by Rhonda
Any resemblance to another Tag or Tutorial is purely coincidental
Friday, June 5, 2015
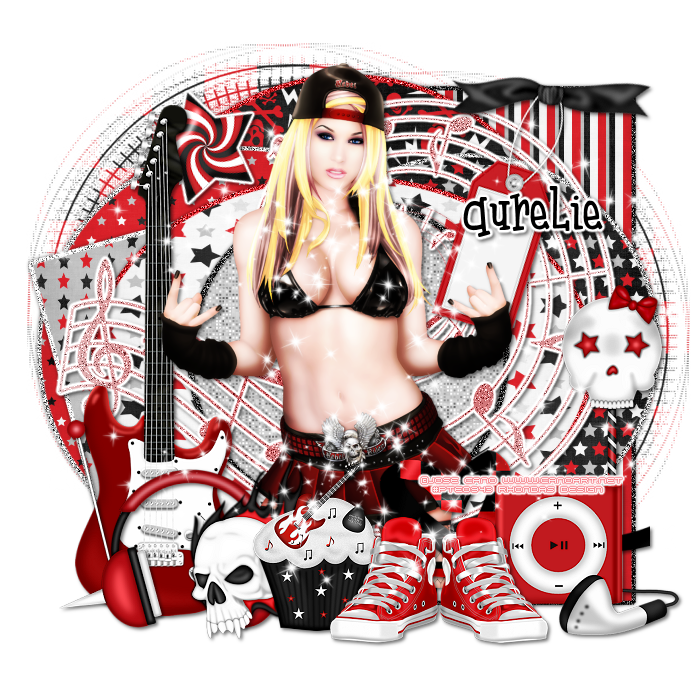
This tutorial is written for those with knowledge of PSP
Supplies Needed:
Tube of choice: I'm using the wonderful art work of Jose Cano
This tube was purchased from MPT which has closed
You can purchase his tubes now HERE
FTU Scrap Kit by Purple Dream Scraps HERE
Template #133 from Tamie HERE
Mask of choice
Ok lets get started:
Open template - Shift D to duplicate then close out original
Resize template 84% all layers
Canvas size 700x700
Delete copyright,wordart and layer 9
Click on raster 7 selections,select all, float,defloat
paste a paper of choice from the kit - I used paper12
selection invert delete
select none delete the original
add border with noise
Click on raster 6 selections,select all, float,defloat
paste a paper of choice from the kit - I used paper9
selection invert delete
select none delete the original
add noise with border
Click on raster 2 selections,select all, float,defloat
paste a paper of choice from the kit - I used paper5
selection invert delete
select none delete the original
add border with noise
Click on raster 4 selections,select all, float,defloat
paste a paper of choice from the kit - I used paper6
selection invert delete
select none delete the original
add border with noise
Click on raster 8 selections,select all, float,defloat
paste a paper of choice from the kit - I used paper7
selection invert delete
select none delete the original
add border with noise
Click on raster 1 selections,select all, float,defloat
paste a paper of choice from the kit - I used paper8
selection invert delete
select none delete the original
add border with noise
Click on raster 15 selections,select all, float,defloat
paste a paper of choice from the kit - I used paper11
selection invert delete
select none delete the original
Click on raster 5 selections,select all, float,defloat
paste a paper of choice from the kit - I used paper1
selection invert delete
select none delete the original
Place your main tube
Now time to add our elements
I used the following:
Cupcake
Guitar
headphones
Ipod
Lollipop 3
Music Notes
Ribbon
Skull Frame
Sneakers
Star
Tag
Merge your layers
Open paper 10 and apply mask
Place your name where you like it
Add the Copyright and your License Number for the tube
Resize to your liking and save as PNG
This tutorial was created on June 4,2015 by Rhonda
Any resemblance to another Tag or Tutorial is purely coincidental
Thursday, June 4, 2015
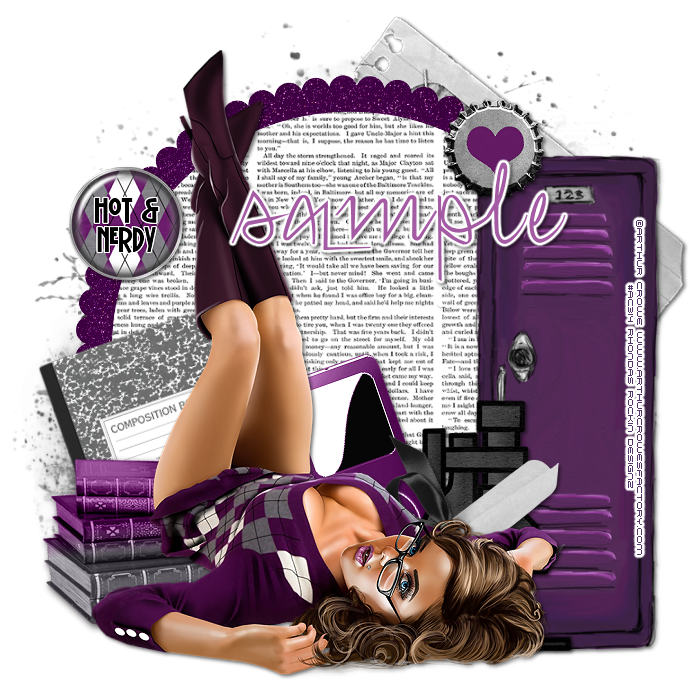
This tutorial is written for those with knowledge of PSP
Supplies Needed:
Tube of choice: I'm using the wonderful art work of Arthur Crowe
You must obtain a license to use this art HERE
FTU Scrap Kit by Gimptastic Scraps HERE
Mask of choice
Resize elements to your liking
Ok lets get started:
This is a very quick and easy tutorial
Open frame 3 & place in center of tag
Grab the magic wand & click inside frame
Selections modify expand by 10
Add new layer under frame
Open doily and paste into selection
Selections none
Place your main tube
Now time to add our elements
I used the following:
Books
Bottlecaps
Brad 2
Comp Book
Diploma
Frame 5
Ipod
Locker
Microscope
Merge your layers
Open paper of choice & apply mask
Place your name where you like it
Add the Copyright and your License Number for the tube
Resize to your liking and save as PNG
This tutorial was created on June 4,2015 by Rhonda
Any resemblance to another Tag or Tutorial is purely coincidental
Monday, June 1, 2015

This tutorial is written for those with knowledge of PSP
Supplies Needed:
Tube of choice: I'm using the wonderful art work of GraphFreaks
You must obtain a license to use this art at S&Co HERE
PTU Scrap Kit from Ginnibug Designz from Hot orange Summer Collab
Kit can be purchased at S&CO HERE
Template by Ashley's Addiction HERE
Mask of choice
Ok Lets get Started:
Open template - Shift D to duplicate then close out original
Delete copyright, word art and 3 long lines
Resize all layers 125%
Increase canvas to 700x700
Click on right & left square selections,select all, float,defloat
paste a paper of choice from the kit - I used paper4
selection invert delete
select none delete the original
Click on left & right circle selections,select all, float,defloat
paste a paper of choice from the kit - I used paper3
selection invert delete
select none delete the original
Click on large circle selections,select all, float,defloat
paste a paper of choice from the kit - I used paper6
selection invert delete
select none delete the original
Place tube to center of tag
Now time to add our elements
I used the following:
Element 1
Element 4
Element 6
Element 13
Element 15
Element 18
Element 34
Element 38
Element 41
Element 44
Element 45
Element 54
Element 60
Element 62
Element 65
Element 69
Element 70
Element 71
Element 72
Element 73
Merge layers
Open paper 7 and apply mask
Place your name where you like it
Add the Copyright and your License Number for the tube
Resize to your liking and save as PNG
This tutorial was created on June 1,2015 by Rhonda
Any resemblance to another Tag or Tutorial is purely coincidental
Subscribe to:
Posts
(Atom)
Grab My Blinkie

I CT For



Blogs I Visit
























