Sunday, June 28, 2015
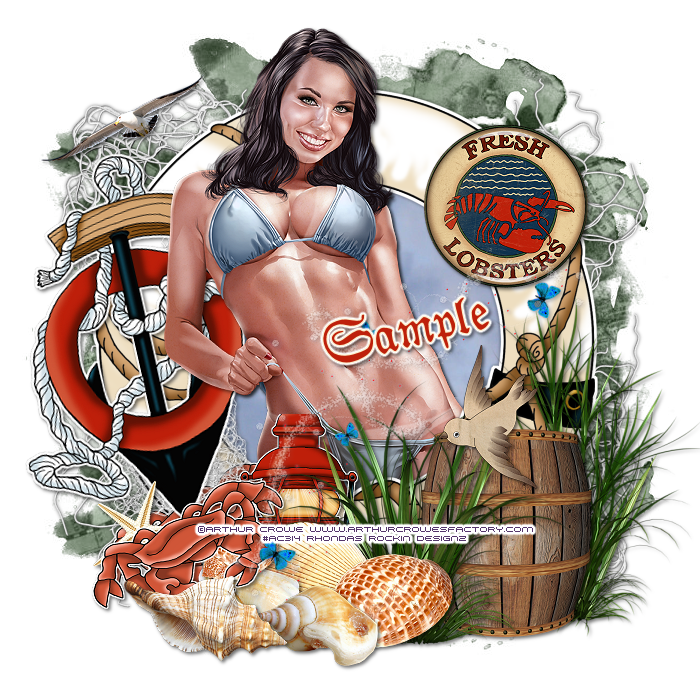
This tutorial is written for those with knowledge of PSP
Supplies Needed:
Tube of choice: I'm using the wonderful art work of Arthur Crowe
Which you must obtain a license to use HERE
FTU Scrap Kit by Soxational Scraps HERE
Don't forget to leave a thank you when downloading
Ok Lets get Started:
Open blank canvas 700x700
Open frame & place in center of canvas
Click inside frame with magic wand and expand by 10
Open paper 5 and paste as new layer
Selections invert delete
Move paper under frame
Now time to add our elements
I used the following:
Open mofit and place to left of frame
Open lobster sign and place to top of right hand corner of frame
(I placed mine near the strings of frame)
Open grass 2 and place to bottom right hand side
Open barrel and place near the grass
Open grass 1 and place near barrel
(Barrel should be in the middle of the grass)
Open all of the shells and place to bottom
Open the lobster and place on top of lobster on frame
Open bird and place on top of barrel
Open Gull and place to top left of frame
Open Butterflys and place anywhere on tag
Place your tube in center of tag
Merge your layers
Apply mask if desired
Place your name where you like it
Add the Copyright and your License Number for the tube
Resize to your liking and save as PNG
This tutorial was created on June 19,2015 by Rhonda
Any resemblance to another Tag or Tutorial is purely coincidental

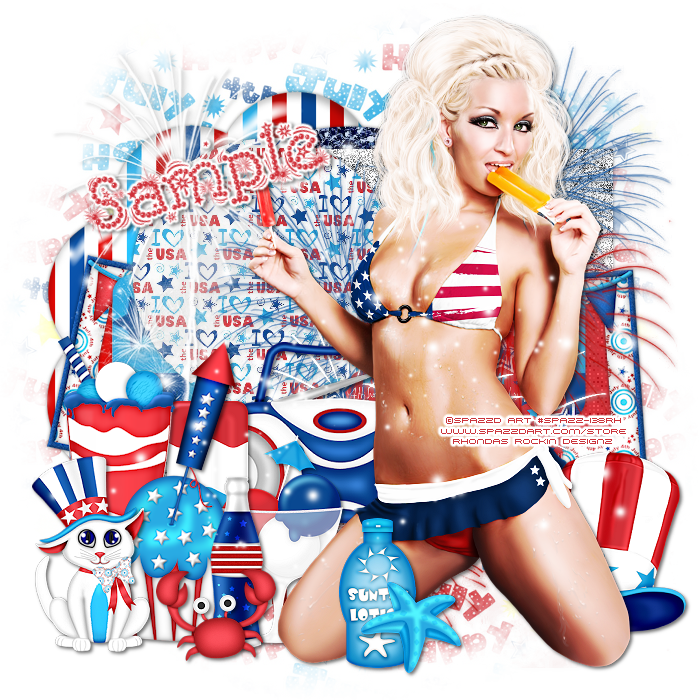
This tutorial is written for those with knowledge of PSP
Supplies Needed:
Tube of choice: I'm using the wonderful art work of Spazzd Art
You must obtain a license to use this art HERE
FTU Scrap Kit by Tasha HERE
Template #1 by Millie HERE
Mask of choice
Don't forget to leave a thank you when downloading
Ok Lets get Started:
Open template - Shift D to duplicate then close out original
Deleted copyright,word art,raster and copy of raster 1
Click on 1 selections,select all, float,defloat
paste a paper of choice from the kit - I used paper11
selection invert delete
select none delete the original
Click on raster and copy of raster 2 selections,select all, float,defloat
paste a paper of choice from the kit - I used paper8
selection invert delete
select none delete the original
add noise
Click on 2 selections,select all, float,defloat
paste a paper of choice from the kit - I used paper6
selection invert delete
select none delete the original
Click on 3 selections,select all, float,defloat
paste a paper of choice from the kit - I used paper4
selection invert delete
select none delete the original
Click on 4 selections,select all, float,defloat
paste a paper of choice from the kit - I used paper3
selection invert delete
select none delete the original
Place your tube
Xero Radiance with settings of choice
Now time to add our elements
I used the following:
BoomBox
Crab
Cupcake
Fireworks 1,2&4
Frame 1&2
Hat
Ice Cream 1&2
Kitten
Milkshake
Soda
Sparkles
Starfish
Sunblock
Merge your layers
Open paper 1 & apply mask
Place your name where you like it
Add the Copyright and your License Number for the tube
Resize to your liking and save as PNG
This tutorial was created on June 28,2015 by Rhonda
Any resemblance to another Tag or Tutorial is purely coincidental
Saturday, June 27, 2015
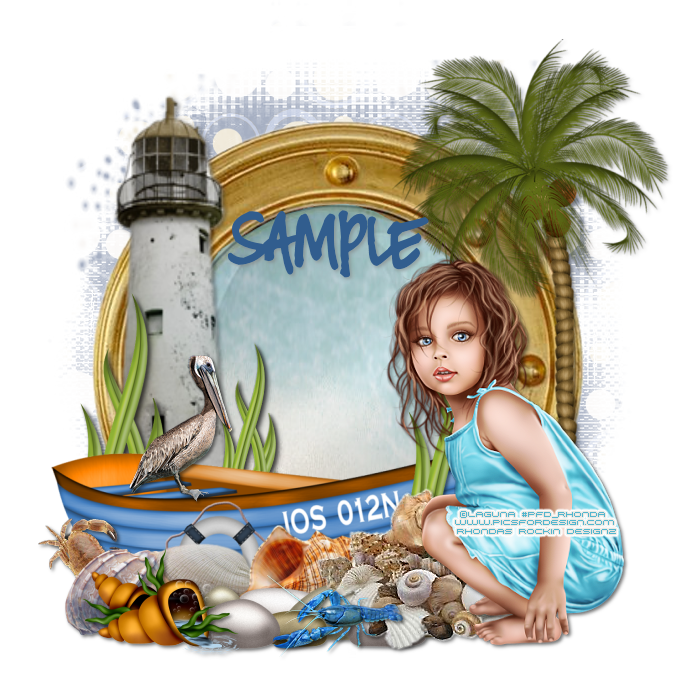
This tutorial is written for those with knowledge of PSP
Supplies Needed:
Tube of choice: Im using the wonderful art work of Laguna
Which you must obtain a license to use at PFD HERE
FTU Scrap Kit by Melissaz Creationz HERE
Masks by Jus Graphix HERE
Don't forget to leave a thank you when downloading
Ok Lets get Started:
Open blank canvas 700x700
Open element 11 & place in center of canvas
Click inside frame with magic wand and expand by 10
Open paper 1 and paste as new layer
Select none
Now time to add our elements
I used the following:
Element 5
Element 14
Element 15
Element 16
Element 18
Element 23
Element 24
Element 25
Element 29
Element 30
Element 32
Element 33
Element 34
Place your tube
Merge your layers
Open paper 8 and apply mask
Place your name where you like it
Add the Copyright and your License Number for the tube
Resize to your liking and save as PNG
This tutorial was created on June 27,2015 by Rhonda
Any resemblance to another Tag or Tutorial is purely coincidental
Friday, June 26, 2015
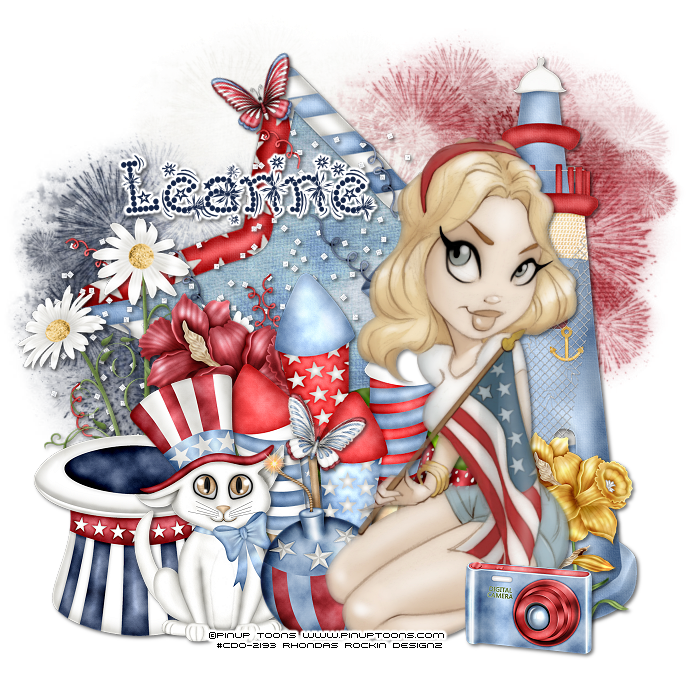
This tutorial is written for those with knowledge of PSP
Supplies Needed:
Tube of choice: I'm using the wonderful art work of Pinup Toons
You can purchase these at CDO HERE
PTU Scrap Kit by Icy Blue Mystic Designs "Celebrate"
You can purchase this kit at one of her stores HERE
Patriotic Mask by Dee HERE
Ok Lets get Started:
Resize elements to your liking
This is a very quick and easy tutorial
Open blank canvas 700x700
Open frame 3 and place in center
Using magic wand click inside frame
Selections modify expand by 10
Open paper 6 and paste as new layer
Selections invert delete
Move paper under frame
Open tube and place where desired
Now time to add our elements
I used the following:
Butterfly 1&2
Daffodil 1&3
Daisy Swirl 1
Digital Camera
Firecrackers
Liberty Cat
Light House
Party Blower
Patriotic Hat 2
Stars & Stripes Bomb
Merge layers
Open papers 5,8 & 10 and apply mask
Place your name where you like it
Add the Copyright and your License Number for the tube
Resize to your liking and save as PNG
This tutorial was created on June 26,2015 by Rhonda
Any resemblance to another Tag or Tutorial is purely coincidental
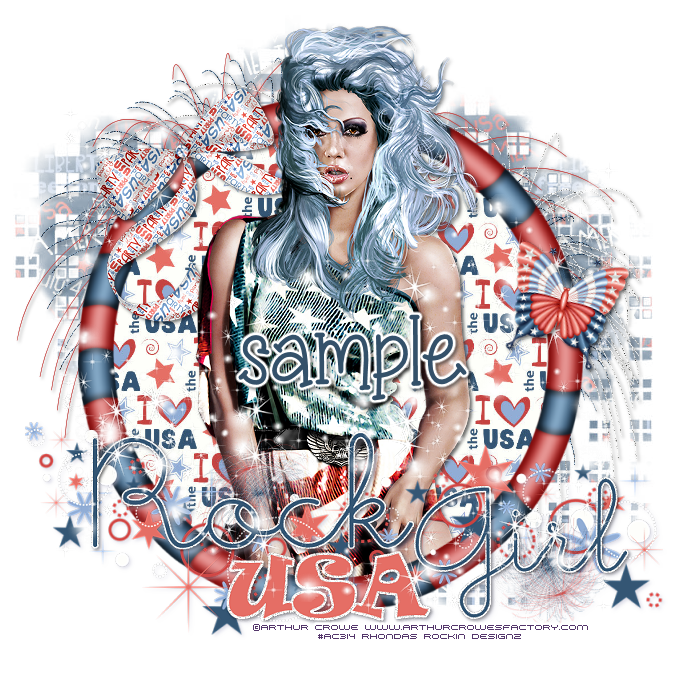
This tutorial is written for those with knowledge of PSP
Supplies Needed:
Tube of choice: I'm using the wonderful art work of Arthur Crowe
You must obtain a license to use HERE
Kit also purchased at ACF and can be purchased as a set HERE
Mask of choice
Ok Lets get Started:
Resize elements to your liking
This is a very quick and easy tutorial
Open blank canvas 700x700
Open element 1 & place in center of tag
Grab the magic wand & click inside frame
Selections modify expand by 10
Open paper 2 and paste as new layer
Selections invert delete
Move paper under frame
Place your main tube & build around it
Now time to add our elements
I used the following:
Element 2
Element 3
Element 5
Element 13
Element 25
Merge your layers
Open paper 1 and apply mask
Place your name where you like it
Add the Copyright and your License Number for the tube
Resize to your liking and save as PNG
This tutorial was created on June 26,2015 by Rhonda
Any resemblance to another Tag or Tutorial is purely coincidental
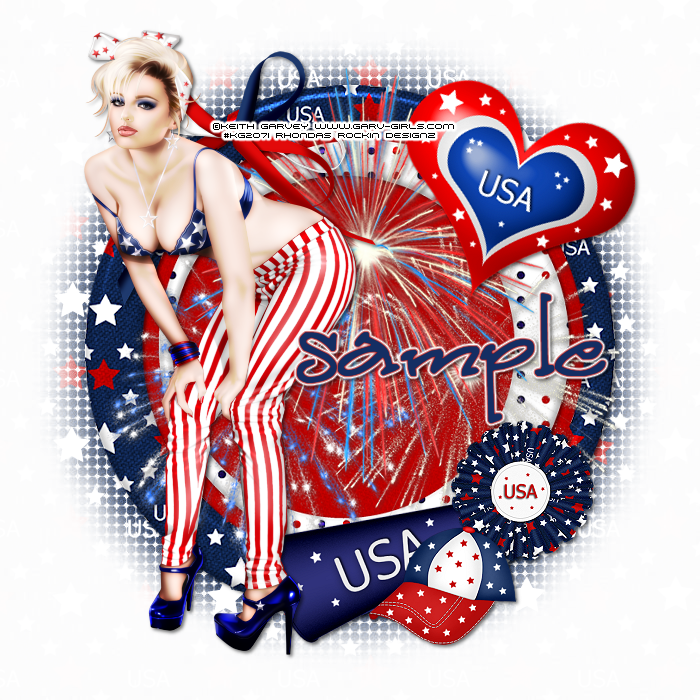
This tutorial is written for those with knowledge of PSP
Supplies Needed:
Tube of choice: I'm using the wonderful art work of Keith Garvey
You must obtain a license to use his work HERE
FTU Scrapkit from Addictive Pleasures HERE
Mask of choice
Ok Lets get Started:
Resize elements to your liking
This is a very quick and easy tutorial
Open blank canvas 700x700
Open frame 3 & place in center
Click inside with magic wand & expand by 10
Open paper 11 and paste as new layer
Selections invert delete
Move paper under frame
Place your main tube & build around it
Now time to add our elements
I used the following:
Best in the show
Bow 3
Cap
Cheer
Fireworks
Heart
Merge layers
Open paper of choice and apply mask
Place your name where you like it
Add the Copyright and your License Number for the tube
Resize to your liking and save as PNG
This tutorial was created on June 26,2015 by Rhonda
Any resemblance to another Tag or Tutorial is purely coincidental
Sunday, June 21, 2015
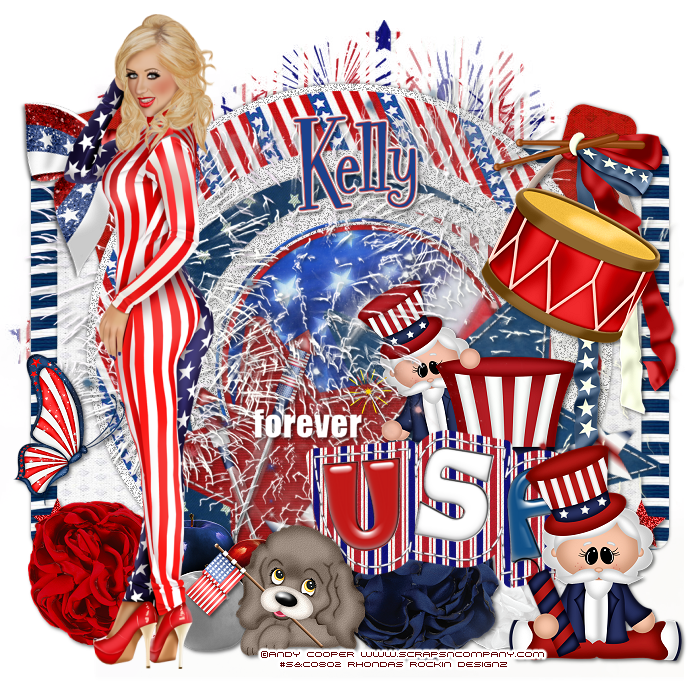
This tutorial is written for those with knowledge of PSP
Supplies Needed:
Tube of choice: I'm using the wonderful art work of Andy Cooper
You must obtain a license to use this art at S&Co HERE
Matching PTU Scrap Kit from Kizzed by Kelz called "Beauty American"
You can purchase this awesome kit at S&Co HERE
Template by Dee HERE
Patriotic mask from Dee HERE
Ok Lets get Started:
Open template - Shift D to duplicate then close out original
Canvas size 700x700
Delete copyright,white stars
Click on red rectangle selections,select all, float,defloat
paste a paper of choice from the kit - I used paper17
selection invert delete
select none delete the original
Click on left & right light blue rectangle selections,select all, float,defloat
paste a paper of choice from the kit - I used paper18
selection invert delete
select none delete the original
Click on left & right dark blue rectangle selections,select all, float,defloat
paste a paper of choice from the kit - I used paper11
selection invert delete
select none delete the original
Add noise to all white circles
Click on center light blue selections,select all, float,defloat
paste a paper of choice from the kit - I used paper24
selection invert delete
select none delete the original
Click on center dark blue selections,select all, float,defloat
paste a paper of choice from the kit - I used paper5
selection invert delete
select none delete the original
Click on red circle swirl selections,select all, float,defloat
paste a paper of choice from the kit - I used paper13
selection invert delete
select none delete the original
Click on center white ring selections,select all, float,defloat
paste a paper of choice from the kit - I used paper23
selection invert delete
select none delete the original
Click on dark blue circle selections,select all, float,defloat
paste a paper of choice from the kit - I used paper8
selection invert delete
select none delete the original
Click on light blue circle selections,select all, float,defloat
paste a paper of choice from the kit - I used paper8
selection invert delete
select none delete the original
Click on red star selections,select all, float,defloat
paste a paper of choice from the kit - I used paper28
selection invert delete
select none delete the original
Click on blue star selections,select all, float,defloat
paste a paper of choice from the kit - I used paper13
selection invert delete
select none delete the original
Click on small white stars selections,select all, float,defloat
add new layer with color of choice
apply noise
select none delete the original
Click on small blue stars selections,select all, float,defloat
add new layer with color of choice
apply noise
select none delete the original
Click on USA patch selections,select all, float,defloat
paste a paper of choice from the kit - I used paper27
selection invert delete
select none delete the original
Click on USA letters selections,select all, float,defloat
add new layer with colors of choice
apply noise
select none delete the original
Place your main tube
Now time to add our elements
I used the following:
Element 4
Element 22
Element 23
Element 28
Element 32
Element 33
Element 40
Element 48
Element 49
Element 66
Element 91
Element 99
Element 103
Element 106
Element 118
Merge your layers
Open paper of choice and apply mask
Place your name where you like it
Add the Copyright and your License Number for the tube
Resize to your liking and save as PNG
This tutorial was created on June 21,2015 by Rhonda
Any resemblance to another Tag or Tutorial is purely coincidental
Saturday, June 20, 2015

This tutorial is written for those with knowledge of PSP
Supplies Needed:
Tube of choice: Im using the wonderful art work of Arthur Crowe
You can purchase his work at his store HERE
Matching kit by Creations by Sanie also purchased at store HERE
You can find Sanie's blog here for other great kits HERE
Template #763 by Millie HERE
Mask of choice
Ok Lets get Started:
Open template - Shift D to duplicate then close out original
Canvas size 700x700
Deleted copyright
Click on layer 1 selections,select all, float,defloat
paste a paper of choice from the kit - I used paper1
selection invert delete
select none delete the original
Click on layer 2 selections,select all, float,defloat
paste a paper of choice from the kit - I used paper2
selection invert delete
select none delete the original
Click on layer 3 selections,select all, float,defloat
paste a paper of choice from the kit - I used paper7
selection invert delete
select none delete the original
Click on layer 4 selections,select all, float,defloat
paste a paper of choice from the kit - I used paper9
selection invert delete
select none delete the original
Click on layer 5 selections,select all, float,defloat
paste a paper of choice from the kit - I used paper5
selection invert delete
select none delete the original
Click on layer 6 selections,select all, float,defloat
add new layer and flood fill with solid color of choice
selection invert delete
select none delete the original
Click on layer 7 selections,select all, float,defloat
paste a paper of choice from the kit - I used paper8
selection invert delete
select none delete the original
Click on layer 8 selections,select all, float,defloat
add new layer and flood fill with solid color of choice
selection invert delete
select none delete the original
add noise with settings of choice
Click on layer 9 selections,select all, float,defloat
add new layer and flood fill with gradient of choice
add close-up of tube
selection invert delete
select none delete the original
I appled Penta Color Dots to my gradient
Place your main tube to right of tag
Xero Radiance with settings of choice
Now time to add our elements
I used the following:
Element 2
Element 4
Element 5
Element 6
Element 8
Element 9
Element 11
Element 14
Element 16
Element 17
Element 18
Element 19
Element 20
Element 30
Merge your layers
Open paper of choice and apply mask
I added Penta Color Dots also
Place your name where you like it
Add the Copyright and your License Number for the tube
Resize to your liking and save as PNG
This tutorial was created on June 20,2015 by Rhonda
Any resemblance to another Tag or Tutorial is purely coincidental
Friday, June 19, 2015
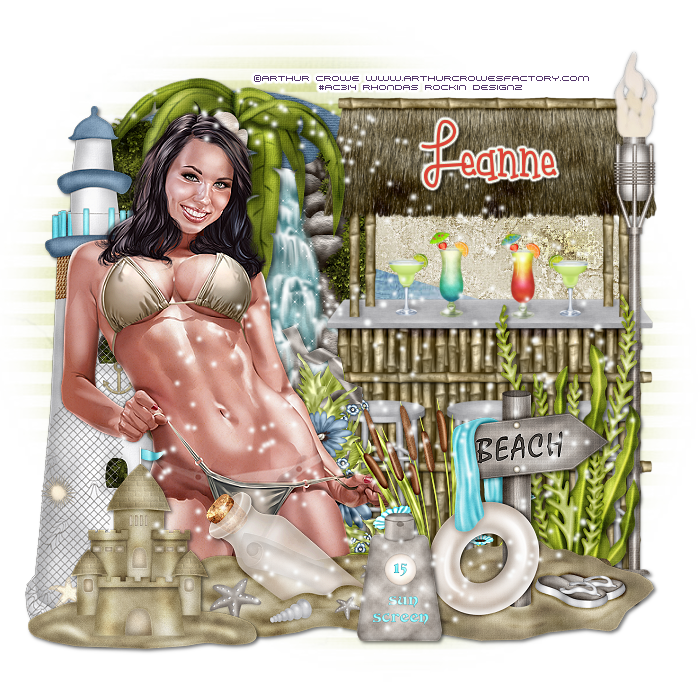
This tutorial is written for those with knowledge of PSP
Supplies Needed:
Tube of choice: I'm using the wonderful art work of Arthur Crowe
You must obtain a license to use his work HERE
PTU Scrap Kit from Icy Blue Mystic Designs called Tiki Beach
You can purchase this kit at one of her stores HERE
Mask of choice
Ok lets get started:
Resize elements to your liking
This is a very quick and easy tutorial
Open blank canvas 700x700
Using my tag as an example I used the following elements:
Alga2
Beach Sign
Cat Tail 1
Light House
Message In A Bottle
Palm Tree 2
Sand Castle
Sparkles 2
Tiki Torch
Waterfall
Place tube where desired
I used 2 papers from kit and created 2 circles to use as background
Merge layers
Apply mask if desired
Place your name where you like it
Add the Copyright and your License Number for the tube
Resize to your liking and save as PNG
This tutorial was created on June 19,2015 by Rhonda
Any resemblance to another Tag or Tutorial is purely coincidental
Thursday, June 18, 2015
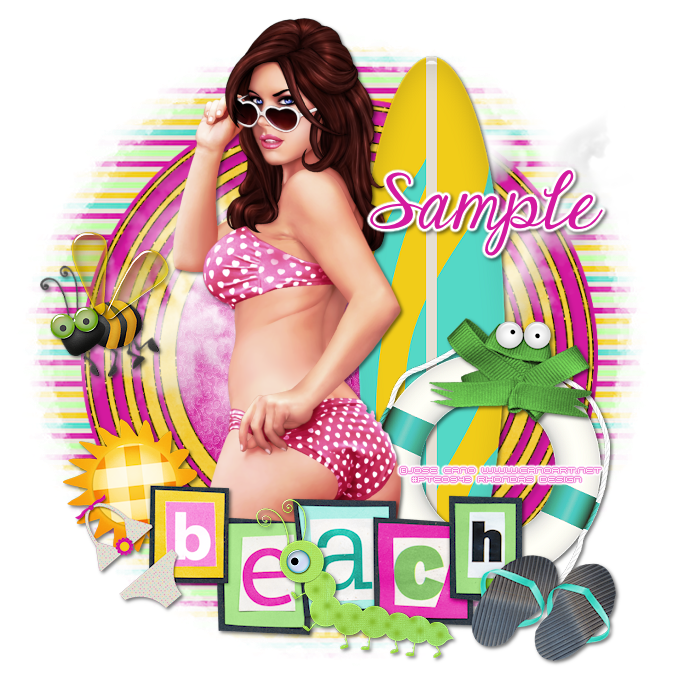
This tutorial is written for those with knowledge of PSP
Supplies Needed:
Tube of choice: I'm using the wonderful art work of Jose cano
You must obtain a license to use HERE
FTU Scrap Kit from Dee HERE
Mask 196 by WSL HERE
Links are to right of blog
Ok lets get started:
Resize elements to your liking
This is a very quick and easy tutorial
Open blank canvas 700x700
Open element 45 & resize 85%
Place in center of canvas
Click inside with magic wand & expand by 10
Open paper 8 and paste as new layer
Selections invert delete
Move paper under frame
Place your main tube in center
Open element 37 and place at bottom
Open element 33 - resize 78% and place to right behind tube to the side
Open element 5 - resize 72% and place in fron of board to bottom
Open element 51 and place to top of lifesavor in middle
Open element 27 - resize 68 % and place to left side near middle
Open element 26 - resize 40% and place to bottom near wordart
Merge layers
Open paper 12 and apply mask
I resized my mask 110% and placed in center
Place your name where you like it
Add the Copyright and your License Number for the tube
Resize to your liking and save as PNG
This tutorial was created on June 4,2015 by Rhonda
Any resemblance to another Tag or Tutorial is purely coincidental
Subscribe to:
Posts
(Atom)
Grab My Blinkie

I CT For



Blogs I Visit
























