Tuesday, July 7, 2015

This tutorial is written for those with knowledge of PSP
Supplies Needed:
Tube of choice: I'm using the wonderful art work of Zindy Zone
Which you must obtain a license to use at her store HERE
FTU Scrapkit by Gothis Inspirations HERE
Mask of choice
Don't forget to leave a thank you when downloading
Ok Lets get Started:
Open blank canvas 700x700
Open frame & place to center
Click inside frame with magic wand and expand by 10
Open paper 3 and paste as new layer
Selections invert delete
Move paper under frame
Place your tube in center of tag
Now time to add our elements
I used the following:
Cluster
Flower 1
Flower 2
Fog
Grass
Leaves 1
Leaves 2
Lightening
Sparkles
Merge your layers
Open paper of choice and apply mask
Place your name where you like it
Add the Copyright and your License Number for the tube
Resize to your liking and save as PNG
This tutorial was created on July 7,2015 by Rhonda
Any resemblance to another Tag or Tutorial is purely coincidental


This tutorial is written for those with knowledge of PSP
Supplies Needed:
Tube of choice: I'm using the wonderful art work of VeryMany
You must obtain a license to use HERE
FTU Scrapkit from Mythical Designs HERE
Mask of choice
Ok Lets get Started:
Resize elements to your liking
This is a very quick and easy tutorial
Open blank canvas 700x700
Open frame 5, resize and place to center
Open frame 4 and place on top
Open frame 6, resize and place to top
Click inside with magic wand
Selections modify exoand by 10
Open paper 1 and paste as new layer
Selections invert delete
Select none
Move paper under frame
Place your main tube in center
Add any elements you choose from the kit
I used the following:
Element 5
Element 7
Element 11
Element 12
Element 14
Element 15
Element 16
Element 19
Element 20
Element 21
Element 27
Element Frame 2
Merge layers
Open paper 7 and apply mask
Place your name where you like it
Add the Copyright and your License Number for the tube
Resize to your liking and save as PNG
This tutorial was created on July 7,2015 by Rhonda
Any resemblance to another Tag or Tutorial is purely coincidental
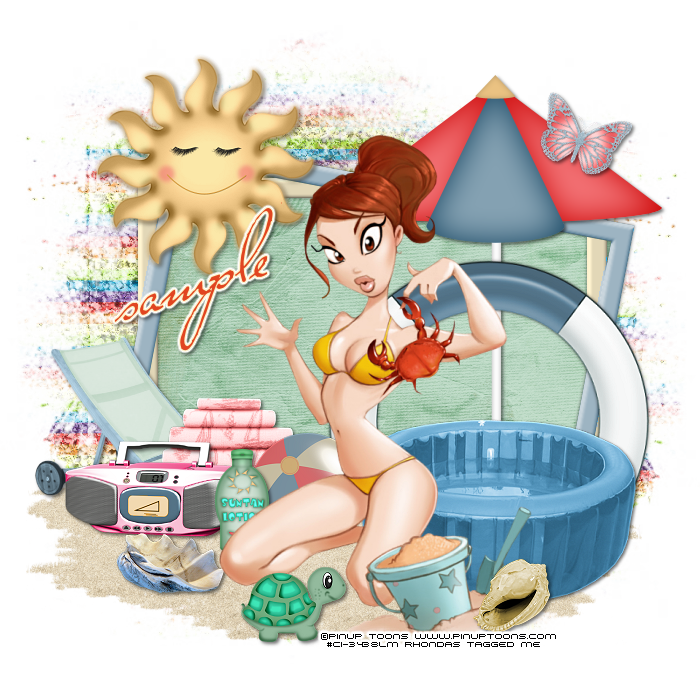
This tutorial is written for those with knowledge of PSP
Supplies Needed:
Tube of choice: I'm using the wonderful art work of Pinup Toons
This tube was purchased at CILM which has closed
You can purchase these tubes now at CDO HERE
FTU scrapkit by Manipulated by Magic HERE
Glitter papers by Kandii Popz Dezignz HERE
Mask by Rachel HERE
Please leave some love when you download
Resize elements to your liking
Ok Lets get Started:
Open a blank 700x700 image
Open frame 2 and place in center
Using selection tool draw around frame
Add new layer under frame
Open paper 6 and paste into selection
Place your main tube
Now add any other elements of choice
I used the following:
Beach Ball
Boom Box
Butterfly
Life Preserver
Lounge Chair
Pool
Sand
Shade
Shell 1&2
Suntan Lotion
Towels
Turtle
Merge your layers
Open glitter paper of choice and apply mask
Place your name where you like it
Add the Copyright and your License Number for the tube
Resize to your liking and save as PNG
This tutorial was created on July 7,2015 by Rhonda
Any resemblance to another Tag or Tutorial is purely coincidental
Monday, July 6, 2015
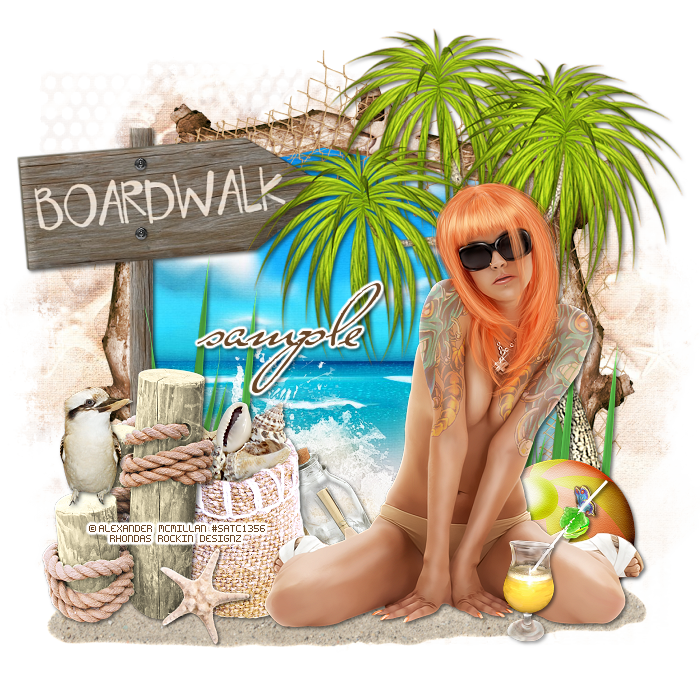
This tutorial is written for those with knowledge of PSP
Supplies Needed:
Tube of choice: I'm using the wonderful art work of Alexander McMillan
This tube was purchased at SATC which has closed
I have no idea where this artist is selling at so use whatever tube you have
FTU Scrapkit from Irish Princess Designs HERE
Mask #56 by Moonbeams & Spiderwebs HERE
Ok Lets get Started:
Resize elements to your liking
This is a very quick and easy tutorial
Open blank canvas 700x700
Open element 16 and place to center of tag
Using freehand tool draw around frame
Add new layer under frame
Open paper 7 and paste into selection
Selections delete
Select none
Place your main tube & build around it
Now time to add our elements
I used the following:
Element 3
Element 9
Element 14
Element 15
Element 20
Element 22
Element 25
Element 26
Element 29
Element 34
Element 37
Element 38
Merge layers
Open paper of choice and apply mask
Place your name where you like it
Add the Copyright and your License Number for the tube
Resize to your liking and save as PNG
This tutorial was created on July 6,2015 by Rhonda
Any resemblance to another Tag or Tutorial is purely coincidental
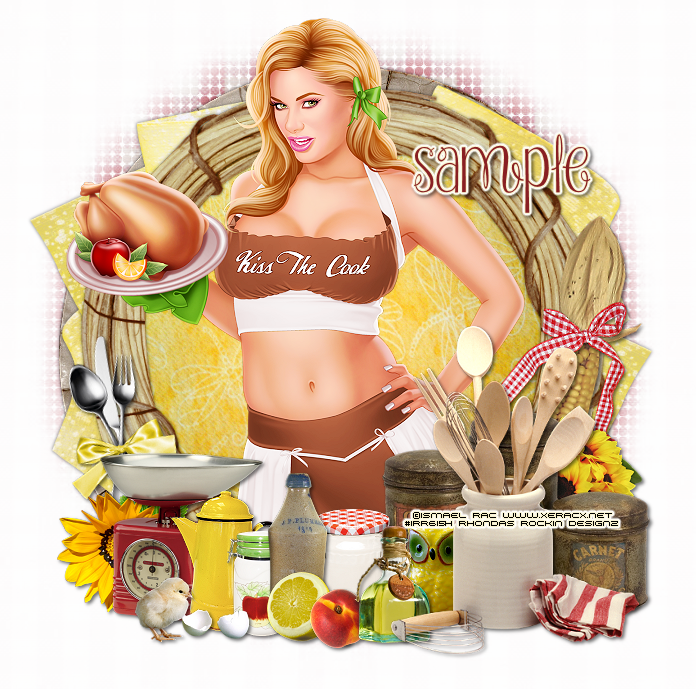
This tutorial is written for those with knowledge of PSP
Supplies Needed:
Tube of choice: I'm using the wonderful art work of Ismael Rac
You must obtain a license to use HERE
FTU Scrapkit from Gimptastic Tuts HERE
Mask of choice
Ok Lets get Started:
Resize elements to your liking
This is a very quick and easy tutorial
Open blank canvas 700x700
Open frame 4 and place in center
Click inside with magic wand & expand by 10
Open paper 3 and paste as new layer
Selections invert delete
Move paper under frame
Place your main tube & build around it
Now time to add our elements
I used the following:
Bottle
Bow
Canister
Coffee Pot
Corn
Fabric
Flower 2&4
Jar1
Kitchen Tools
Lemon
LilChick
Necturine
Oil
Owl
Scale
Silverware
Spices
Merge layers
Open paper 7 and apply mask
Place your name where you like it
Add the Copyright and your License Number for the tube
Resize to your liking and save as PNG
This tutorial was created on July 6,2015 by Rhonda
Any resemblance to another Tag or Tutorial is purely coincidental
Sunday, July 5, 2015
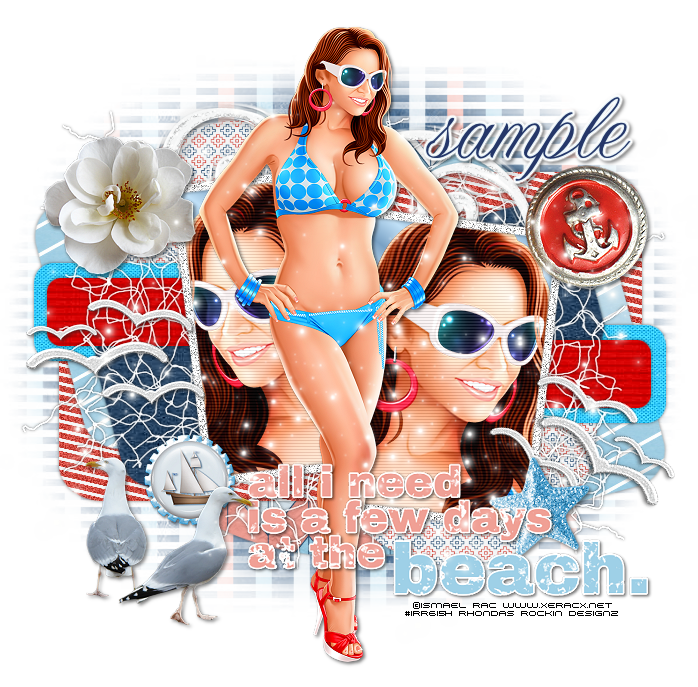
This tutorial is written for those with knowledge of PSP
Supplies Needed:
Tube of choice: I'm using the wonderful art work of Ismael Rac
You can purchase his work at his store HERE
FTU Scrap Kit by Tasha HERE
Template by Rosey's Temps HERE
Mask of choice
Ok Lets get Started:
Open template - Shift D to duplicate then close out original
Resize template 90% all layers
Canvas size 700x700
Deleted copyright & all wordart layers
Click on black oval selections,select all, float,defloat
paste a paper of choice from the kit - I used paper4
selection invert delete
select none delete the original
Click on right & left blue rectangle selections,select all, float,defloat
paste a paper of choice from the kit - I used paper2
selection invert delete
select none delete the original
Click on right & left purple selections,select all, float,defloat
paste a paper of choice from the kit - I used paper3
selection invert delete
select none delete the original
Click on right & left pink circles selections,select all, float,defloat
paste a paper of choice from the kit - I used paper5
selection invert delete
select none delete the original
Click on pink rectangles selections,select all, float,defloat
add new layer and flood fill with solid color
select none delete the original
apply any filter of choice
Click on black rectangles selections,select all, float,defloat
add new layer and flood fill with solid color
select none delete the original
apply any filter of choice
Click on blue rectangles selections,select all, float,defloat
add new layer and flood fill with solid color
select none delete the original
apply any filter of choice
Click on frame fills selections,select all, float,defloat
add new layer and flood fill with gradient of choice
paste close-up of tube inside each
selection invert delete
select none delete the original
apply Xero Porcelin to tubes
Add noise to frames with settings of choice
Place your main tube
Xero Porcelin with settings of choice
Now time to add our elements
I used the following:
Element 3
Element 6
Element 7
Element 12
Element 16
Element 17
Element 22
Element 23
Element 25
Element 26
Element 27
Merge your layers
Open paper 1 and apply mask
Place your name where you like it
Add the Copyright and your License Number for the tube
Resize to your liking and save as PNG
This tutorial was created on July 5,2015 by Rhonda
Any resemblance to another Tag or Tutorial is purely coincidental
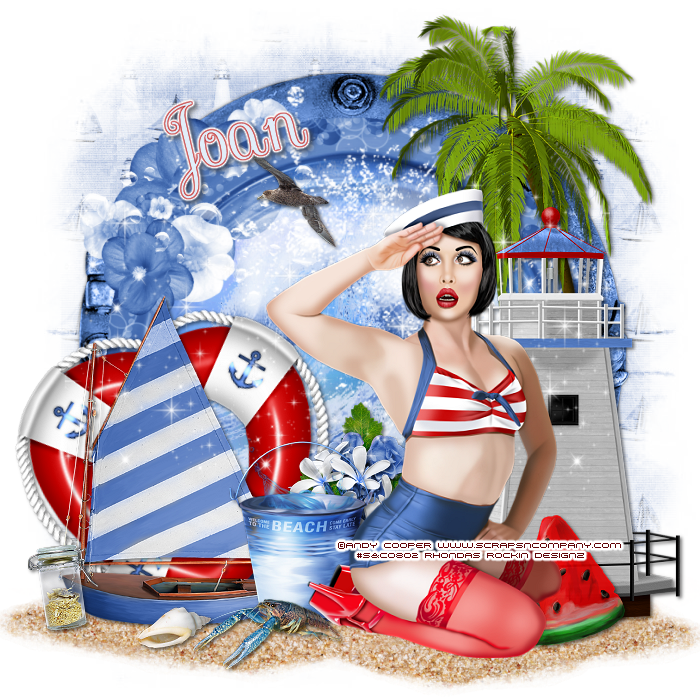
This tutorial is written for those with knowledge of PSP
Supplies Needed:
Tube of choice: I'm using the wonderful art work of Andy Cooper
You must obtain a license to use his art at S&Co HERE
Matching PTU Scrapkit by Designs by Joan also at S&CO HERE
Mask of choice
Resize elements to your liking
Ok Lets get Started:
This is a very quick and easy tutorial
Open blank canvas 700x700
Open element 79 and place in center
Open element 45 and place on top
Using freehand tool draw around 2nd frame
Add new layer under frame
Open paper 2 and paste into selection
Select none
Place main tube to right of tag
Add any other elements you want from the kit
I used:
Element 2
Element 4
Element 6
Element 12
Element 29
Element 30
Element 31
Element 32
Element 34
Element 44
Element 57
Element 74
Element 78
Element 84
Element 87
Element 98
Merge layers
Open paper 7 & apply mask of choice
Place your name where you like it
Add the Copyright and your License Number for the tube
Resize to your liking and save as PNG
This tutorial was created on July 5,2015 by Rhonda
Any resemblance to another Tag or Tutorial is purely coincidental

This tutorial is written for those with knowledge of PSP
Supplies Needed:
Tube of choice: I'm using the wonderful art work of Arthur Crowe
You can purchase his tubes at his store HERE
Matching Scrap Kit by Rissa's Designs called Bad Boy
Can be purchased as a bundle or separate at store HERE
Template #291 by Missy HERE
Ok Lets get Started:
Open template - Shift D to duplicate then close out original
Canvas size 700x700
Delete copyright,wordart she so
Click on rectangle 1 selections,select all, float,defloat
paste a paper of choice from the kit - I used paper3
selection invert delete
select none delete the original
Click on rectangle 2 selections,select all, float,defloat
paste a paper of choice from the kit - I used paper1
selection invert delete
select none delete the original
Click on oval selections,select all, float,defloat
paste a paper of choice from the kit - I used paper12
selection invert delete
select none delete the original
Click on circle selections,select all, float,defloat
paste a paper of choice from the kit - I used paper2
selection invert delete
select none delete the original
Recolor stars to your liking
Click inside large wordart and dill with paper,gradient or color of choice
Place your main tube in center
apply Xero radiance with settings of choice
Now add any elements of your choice
I used the following:
Element 3
Element 6
Element 14
Element 21
Element 23
Element 26
Merge your layers
Place your name where you like it
Add the Copyright and your License Number for the tube
Resize to your liking and save as PNG
This tutorial was created on July 5,2015 by Rhonda
Any resemblance to another Tag or Tutorial is purely coincidental
Saturday, July 4, 2015
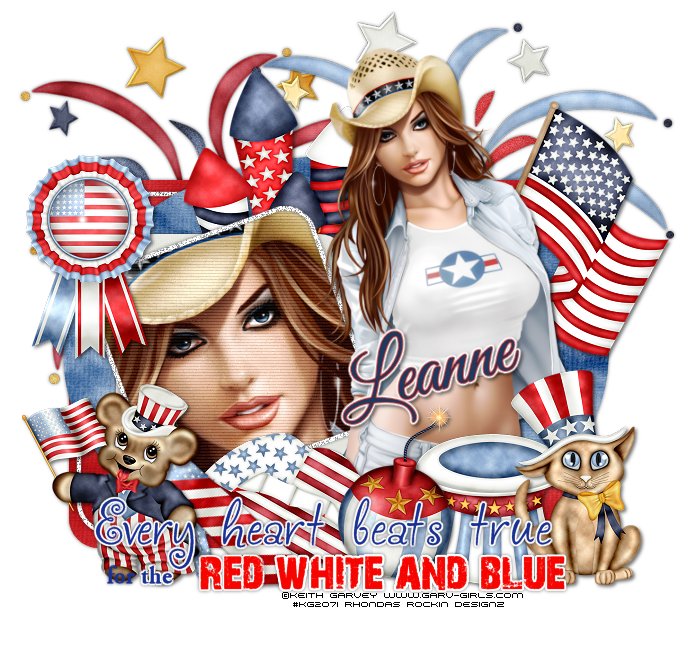
This tutorial is written for those with knowledge of PSP
Supplies Needed:
Tube of choice: I'm using the wonderful art work of Keith Garvey
You can purchase his tubes HERE
PTU Scrap Kit by Icy Blue Mystic Designs "Sweet Liberty"
You can purchase this kit at one of her stores HERE
Template #766 from Millie HERE
Use mask of choice if desired
Ok Lets get Started:
Open template - Shift D to duplicate then close out original
Canvas size 700x700
delete copyright
Click on raster 1 selections,select all, float,defloat
paste a paper of choice from the kit - I used paper8
selection invert delete
select none delete the original
Layers 2,3&4 add noise with settings of choice
Click on raster 5 selections,select all, float,defloat
paste a paper of choice from the kit - I used paper5
selection invert delete
select none delete the original
Click on raster 6 selections,select all, float,defloat
paste a paper of choice from the kit - I used paper7
selection invert delete
select none delete the original
Click on raster 7 selections,select all, float,defloat
paste closeup of tube
selection invert delete
select none delete the original
add PhotoEffex Scanlines
Leave other layers as they are
Place your tube
Now time to add our elements
I used the following:
Cat
Double Flags
Firecrackers
Fireworks 1&2
Flag Lips
Patriotic Button Ribbon 1
Patriotic Hat 2
Patriotic Teddy
Patriotic Tie
StarsNStripes Bomb 1
Merge layers
Apply mask if desired
Place your name where you like it
Add the Copyright and your License Number for the tube
Resize to your liking and save as PNG
This tutorial was created on July 4,2015 by Rhonda
Any resemblance to another Tag or Tutorial is purely coincidental
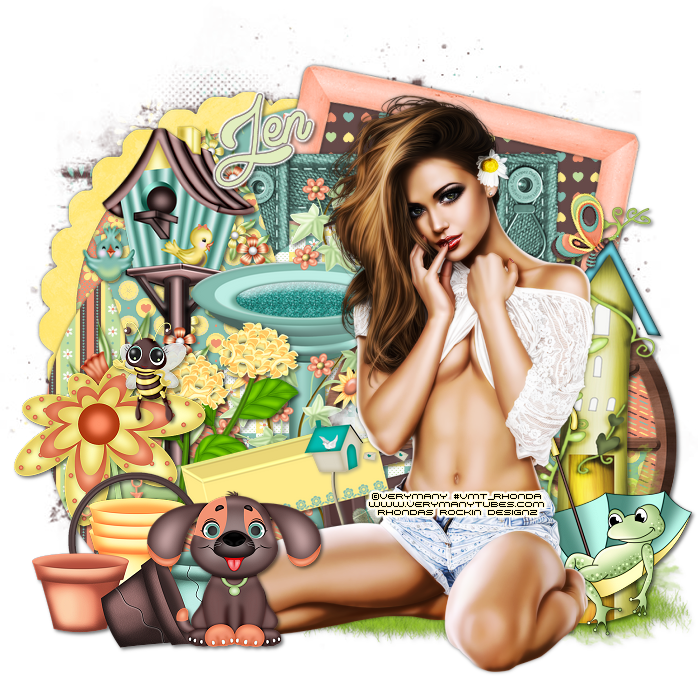
This tutorial is written for those with knowledge of PSP
Supplies Needed:
Tube of choice: Im using the wonderful art work of VeryMany
Which you must obtain a license to use HERE
You an purchase this awesome kit from one of her stores HERE
Template by Jus Graphix HERE
Mask by Rachel HERE
Ok Lets get Started:
Open template - Shift D to duplicate then close out original
Canvas size 700x700
delete copyright & layers 9&10
Click on layer 7 selections,select all, float,defloat
paste a paper of choice from the kit - I used paper4
selection invert delete
select none delete the original
Click on layer 6 selections,select all, float,defloat
paste a paper of choice from the kit - I used paper6
selection invert delete
select none delete the original
Click on layer 5 selections,select all, float,defloat
paste a paper of choice from the kit - I used paper5
selection invert delete
select none delete the original
Click on layer 4 selections,select all, float,defloat
paste a paper of choice from the kit - I used paper7
selection invert delete
select none delete the original
Click on layer 3 selections,select all, float,defloat
paste a paper of choice from the kit - I used paper1
selection invert delete
select none delete the original
Click on layer 1&2 selections,select all, float,defloat
paste a paper of choice from the kit - I used paper8
selection invert delete
select none delete the original
Place your main tube
Xero Radiance with settings of choice
Now time to add our elements
I used the following:
Bee
BFly 1
Birdhouse
Birdbath
Dog
Flower 1&3
Frame 1,2&3
Frog 1
Garden
Misc
Pots
Wheel
Wheelbarrow
Merge your layers
Open paper 3 and apply mask
Place your name where you like it
Add the Copyright and your License Number for the tube
Resize to your liking and save as PNG
This tutorial was created on July 4, 2015 by Rhonda
Any resemblance to another Tag or Tutorial is purely coincidental
Subscribe to:
Posts
(Atom)
Grab My Blinkie

I CT For



Blogs I Visit
























