Thursday, January 21, 2016
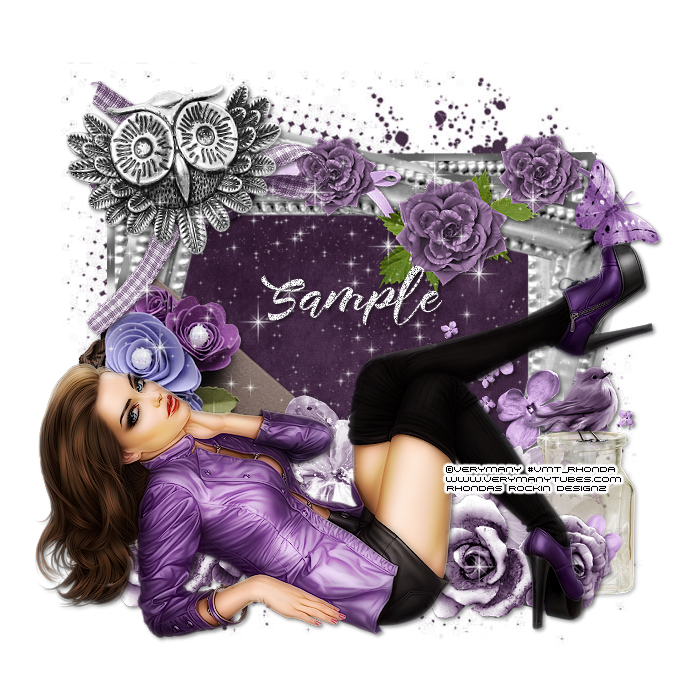
This tutorial is written for those with knowledge of PSP
Supplies Needed:
Tube of choice: I'm using the wonderful art work of VeryMany
You must obtain a license to use HERE
FTU Scrapkit from Niqui's Designs HERE
Mask of choice
Ok Lets get Started:
Resize elements to your liking
This is a very quick and easy tutorial
Open blank canvas 700x700
Open element - resize to your liking
Duplicate and rotate a little to the right (see my tag for example)
Click inside with magic wand & expand by 10
Open paper 5 and paste as new layer
Selections invert delete
Move paper under frame
Place your main tube & build around it
Now time to add our elements
I used the following:
Element 9
Element 12
Element 14
Element 19
Element 20
Element 21
Element 22
Element 25
Element 30
Element 32
Element 33
Element 34
Merge layers
Open paper of choice and apply mask
Place your name where you like it
Add the Copyright and your License Number for the tube
Resize to your liking and save as PNG
This tutorial was created on January 21,2016 by Rhonda
Any resemblance to another Tag or Tutorial is purely coincidental

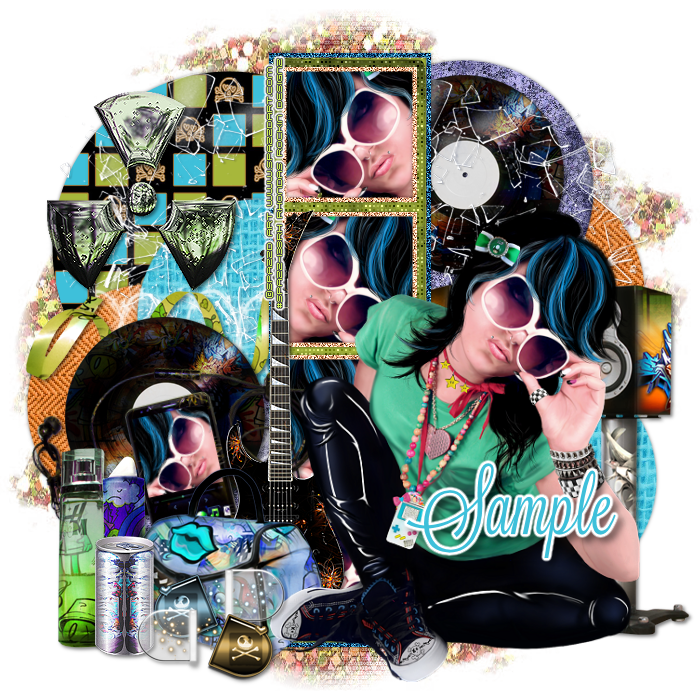
This tutorial is written for those with knowledge of PSP
Supplies Needed:
Tube of choice: I'm using the wonderful art work of Spazzd Art
Which you must obtain a license to use HERE
FTU Scrapkit by Tasha's Playground called Urban Glam HERE
Template #344 by Seraph Creations HERE
Mask of choice
Don't forget to leave a thank you when downloading
Ok Lets get Started:
Open template - Shift D to duplicate then close out original
Canvas 700x700
deleted copyright
Click on L&R circle 1 selections,select all, float,defloat
paste a paper of choice from the kit - I used paper4
selection invert delete
select none delete the original
Click on L&R circle 2 selections,select all, float,defloat
paste a paper of choice from the kit - I used paper3
selection invert delete
select none delete the original
Click on L&R circle 3 selections,select all, float,defloat
paste a paper of choice from the kit - I used paper1
selection invert delete
select none delete the original
Click on rectangle background selections,select all, float,defloat
paste a paper of choice from the kit - I used paper10
selection invert delete
select none delete the original
Click on rectangle border selections,select all, float,defloat
I cahned the color to lighter blue & added noise
selection invert delete
select none delete the original
Click on square backgrounds selections,select all, float,defloat
paste a close-up of tube inside squares
selection invert delete
select none delete the original
Click on square borders
add noise
I added a circle to left upper side and flood filled with paper6
Place your tube
Xero Radiance with settings of choice
Now add any other elements of choice
I used the following:
Broken Glass
Can
Guitar
Lipstick
Music Player
Perfume
Pills
Purse
Record
Ribbon
Toxic
Merge your layers
Open paper of choice & apply mask
Place your name where you like it
Add the Copyright and your License Number for the tube
Resize to your liking and save as PNG
This tutorial was created on January 18,2016 by Rhonda
Any resemblance to another Tag or Tutorial is purely coincidental
Sunday, January 17, 2016


Monday, January 11, 2016
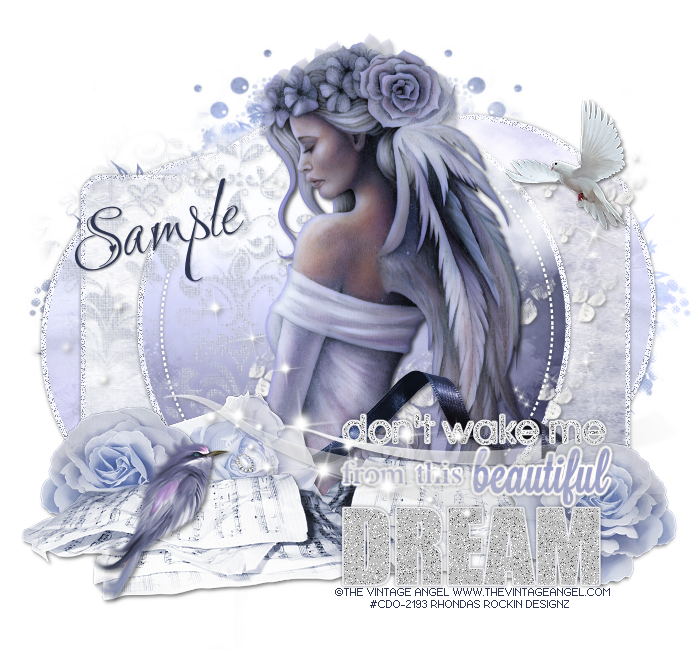
This tutorial is written for those with knowledge of PSP
Supplies Needed:
Tube of choice: Im using the wonderful art work of The Vintage Angel
You can purchase this work at CDO HERE
Matching kit by Chichi Designz at store HERE
Template #624 by Millie HERE
Mask of choice
Ok Lets get Started:
Open template - Shift D to duplicate then close out original
Canvas size 700x650
Deleted copyright & layers 4&7
Click on layer 1&2 selections,select all, float,defloat
paste a paper of choice from the kit - I used paper5
selection invert delete
select none delete the original
add border with noise
Click on layer 3 selections,select all, float,defloat
paste a paper of choice from the kit - I used paper1
selection invert delete
select none delete the original
add border with noise
Click on layer 5 selections,select all, float,defloat
paste a paper of choice from the kit - I used paper8
selection invert delete
select none delete the original
add border with noise
Decorate wordart to your liking
Place your main tube to right of tag
Xero Porcelin with settings of choice
Now time to add our elements
I used the following:
Bird
Box
Brush
Brush Sparkle
Cloud
Dove
Music Sheets
Ribbon
Sparkle
Merge your layers
Open paper of choice and apply mask
Place your name where you like it
Add the Copyright and your License Number for the tube
Resize to your liking and save as PNG
This tutorial was created on January 11,2016 by Rhonda
Any resemblance to another Tag or Tutorial is purely coincidental
Friday, November 27, 2015

This tutorial is written for those with knowledge of PSP
Supplies Needed:
Tube of choice: I'm using the wonderful art work of Keith Garvey
You must obtain a license to use HERE
FTU Scrap Kit by Tasha's Playground HERE
Template #44 by Just Like Candy Designs HERE
Mask of choice
Ok Lets get Started:
Open template - Shift D to duplicate then close out original
Resize template 82% all layers
Increase canvas size to 700x700
Delete copyright & dots
Click on circles selections,select all, float,defloat
paste a paper of choice from the kit - I used paper2
selection invert delete
select none delete the original
Click on squares selections,select all, float,defloat
paste a paper of choice from the kit - I used paper4
selection invert delete
select none delete the original
Click on center rectangle selections,select all, float,defloat
paste a paper of choice from the kit - I used paper7
selection invert delete
select none delete the original
Place your tube
Now time to add our elements
I used the following:
Bear
Candles
Cornucopia
Frame 2
Frame 3
Scarecrow
Tree
Wheel
Wordart
Merge your layers
Open paper of choice and apply any mask
Place your name where you like it
Add the Copyright and your License Number for the tube
Resize to your liking and save as PNG
This tutorial was created on November 27,2015 by Rhonda
Any resemblance to another Tag or Tutorial is purely coincidental

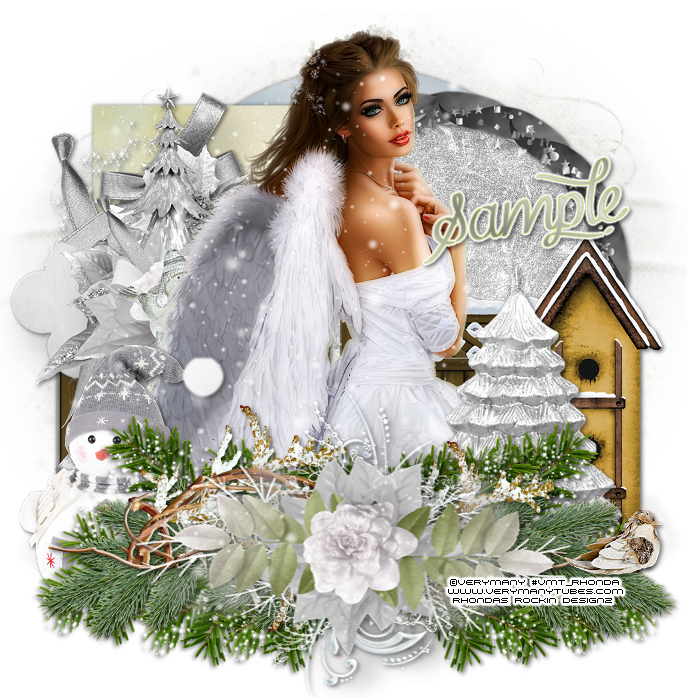
This tutorial is written for those with knowledge of PSP
Supplies Needed:
Tube of choice: I'm using the wonderful art work of VeryMany
You must obtain a license to use their art HERE
FTU Scrap Kit by Sweet Addictionz Scraps HERE
Template #25 by Just Like Candy Designs HERE
Mask of choice
Ok Lets get Started:
Open template - Shift D to duplicate then close out original
Resize template 82% all layers
Increase canvas size to 700x700
Delete copyright,right light brown square,
Click on center light brown circle selections,select all, float,defloat
paste a paper of choice from the kit - I used paper12
selection invert delete
select none delete the original
Click on left vertical rectangle selections,select all, float,defloat
paste a paper of choice from the kit - I used paper11
selection invert delete
select none delete the original
Click on middle rectangle selections,select all, float,defloat
paste a paper of choice from the kit - I used paper4
selection invert delete
select none delete the original
Click on left peach circle selections,select all, float,defloat
paste a paper of choice from the kit - I used paper9
selection invert delete
select none delete the original
Click on right upper brown circle selections,select all, float,defloat
paste a paper of choice from the kit - I used paper7
selection invert delete
select none delete the original
Place your tube
Now time to add our elements
I used the following:
Element 14
Element 17
Element 18
Element 19
Element 20
Element 21
Element 22
Element 34
Element 35
Element 38
Element 41
Frame 3
Merge your layers
Open paper of choice and apply any mask
Place your name where you like it
Add the Copyright and your License Number for the tube
Resize to your liking and save as PNG
This tutorial was created on November 27,2015 by Rhonda
Any resemblance to another Tag or Tutorial is purely coincidental
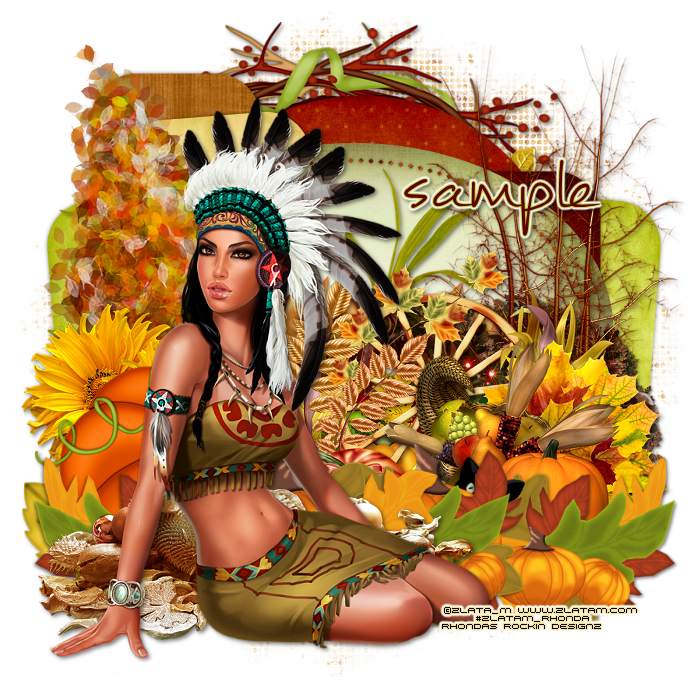
This tutorial is written for those with knowledge of PSP
Supplies Needed:
Tube of choice: I'm using the wonderful art work of Zlata_M
You can purchase these tubes HERE
PTU Scrap Kit by Scrappin With Lil Ole Me called Gather Together
You can purchase this awesome kit at Tiny Turtle Designs HERE
Template #733 by Millie HERE
Mask of choice
Ok Lets get Started:
Open template - Shift D to duplicate then close out original
Canvas size 700x700
Delete copyright & word art
Click on layer 1&2 selections,select all, float,defloat
paste a paper of choice from the kit - I used paper11
selection invert delete
select none delete the original
Click on layer 3&4 selections,select all, float,defloat
paste a paper of choice from the kit - I used paper13
selection invert delete
select none delete the original
Click on layer 5 circle selections,select all, float,defloat
paste a paper of choice from the kit - I used paper17
selection invert delete
select none delete the original
Click on layer 6 selections,select all, float,defloat
paste a paper of choice from the kit - I used paper18
selection invert delete
select none delete the original
Click on layer 7&8 selections,select all, float,defloat
paste a paper of choice from the kit - I used paper23
selection invert delete
select none delete the original
Click on layer 9 circle selections,select all, float,defloat
paste a paper of choice from the kit - I used paper6
selection invert delete
select none delete the original
Click on layer 10 selections,select all, float,defloat
paste a paper of choice from the kit - I used paper22
selection invert delete
select none delete the original
Place your tube
apply Xero Radiance
Now time to add our elements
I used the following:
Element 1
Element 3
Element 8
Element 16
Element 22
Element 25
Element 36
Element 49
Element 67
Element 87
Element 94
Element 95
Element 112
Merge your layers
Open paper of choice & apply mask
Place your name where you like it
Add the Copyright and your License Number for the tube
Resize to your liking and save as PNG
This tutorial was created on November 27,2015 by Rhonda
Any resemblance to another Tag or Tutorial is purely coincidenta
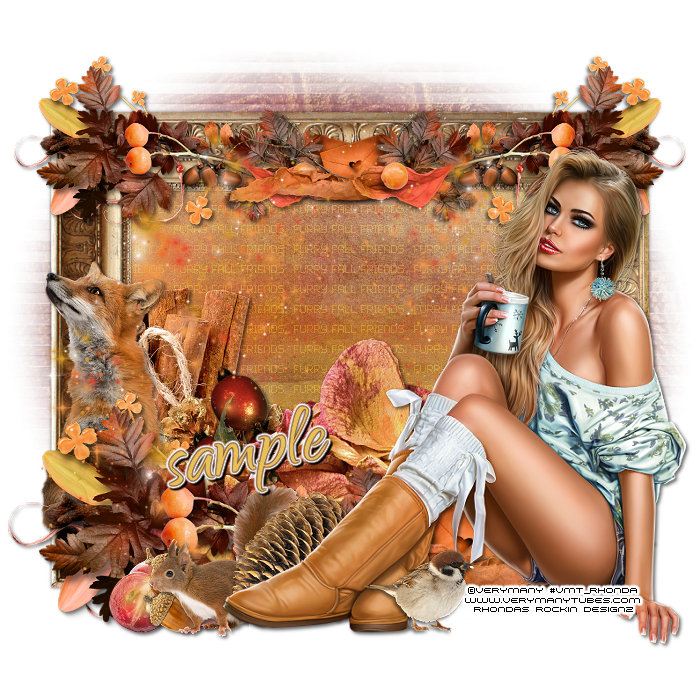
This tutorial is written for those with knowledge of PSP
Supplies Needed:
Tube of choice: I'm using the wonderful art work of VeryMany
You must obtain a license to use their art HERE
FTU Scrap Kit by PinkParadox Productions HERE
Mask of choice
Ok lets get started:
This is a very quick and easy tutorial
Open blank canvas 700x700
Open frame 7 & place in center of tag
Rotate to left
Grab the magic wand & click inside frame
Selections modify expand by 10
Add new layer under frame
Open paper 17 & paste into selection
I used a pixel font and wrote Furry Fall Friends
Apply Mura Meister Copies filter
Place your tube
Now time to add our elements
I used the following:
Element 6
Element 7
Element 8
Element 10
Element 18
Element 19
Element 67
Element 68
Element 70
Element 76
Merge your layers
Open paper of choice & apply mask
Place your name where you like it
Add the Copyright and your License Number for the tube
Resize to your liking and save as PNG
This tutorial was created on November 27,2015 by Rhonda

This tutorial is written for those with knowledge of PSP
Supplies Needed:
Tube of choice: I'm using the wonderful art work of VeryMany
You must obtain a license to use their art HERE
FTU Scrap Kit by PinkParadox Productions HERE
Kit matches tube
Mask of choice
Ok lets get started:
This is a very quick and easy tutorial
Open element 54 & place in center of tag
Grab the magic wand & click inside frame
Selections modify expand by 10
Add new layer under frane
Open paper 18 & paste into selections
Place your tube
Now time to add our elements
I used the following:
Element 14
Element 15
Element 28
Element 29
Element 30
Element 31
Element 34
Element 39
Element 40
Element 42
Element 43
Element 45
Element 61
Element 68
Merge your layers
Open paper of choice & apply mask
Place your name where you like it
Add the Copyright and your License Number for the tube
Resize to your liking and save as PNG
This tutorial was created on November 27,2015 by Rhonda
Monday, November 23, 2015

This tutorial is written for those with knowledge of PSP
Supplies Needed:
Tube of choice: I'm using the wonderful art work of Trinita
You can purchase this work at PFD HERE
PTU Scrap Kit by Jen's Sweet Temptation HERE
Matching Cluster by Maria HERE
Mask of choice
Don't forget to leave a thank you when downloading
Open blank canvas 700x700
Open cluster and paste as new layer
Draw around frame using freehand tool
Add new layer under frame
Open paper 10 and paste into selection
Select none
Place your tube
Xero Radiance with settings of choice
Now time to add our elements
I used the following:
Bird 3
Door
Frame 2
Kitten
Owl 2
Pinecone 1
Merge your layers
Open paper of choice and apply mask
For my mask I used centerpiece element
Used Mura Meister with wallpaper settings
Place your name where you like it
Add the Copyright and your License Number for the tube
Resize to your liking and save as PNG
This tutorial was created on November 23,2015 by Rhonda
Any resemblance to another Tag or Tutorial is purely coincidental
Subscribe to:
Posts
(Atom)
Grab My Blinkie

I CT For



Blogs I Visit
























