Saturday, May 20, 2017
I just don't have time to get all these tutorial wrote
I am posting the tag along with the temp or kit needed to make tag

Kit called American Native by Designs by Joan purchased at SNCO HERE

Kit by Pink Paradox Productions HERE

Kit by Sophisticat Simone at CDO HERE

Kit by Kissing Kate called Pilgrim Ink HERE
Kit and tube bought as a bundle at Arthur Crowe's Factory

Kit by Blissful Designs called Beauty Pilgrim
Kit and tube purchased at Arthur Crowe Factory HERE

Saturday, May 13, 2017
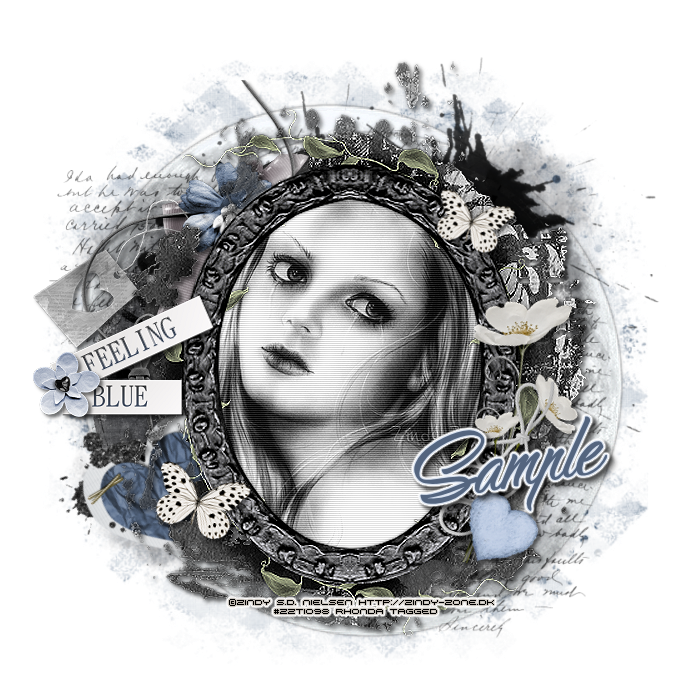
This tutorial is written for those with knowledge of PSP
Supplies Needed:
Tube of choice: I'm using the wonderful art work of Zindy Zone
You can purchase her tubes HERE
FTU Scrapkit by Scraps by Chaos Priestess HERE
Mask of choice
Resize elements to your liking
Ok Lets get Started:
Open a blank 700x700 image
Open frame 1 and place in center
Place tube in frame
Apply Xero Radiance
Now add any other elements of choice
I used the following:
Backdrop
Butterfly
Element 1
Heart E101
Moon
Word Arts
String E102
Merge your layers
Open paper of choice and apply mask
Place your name where you like it
Add the Copyright and your License Number for the tube
Resize to your liking and save as PNG
This tutorial was created on May 13,2017 by Rhonda
Any resemblance to another Tag or Tutorial is purely coincidental
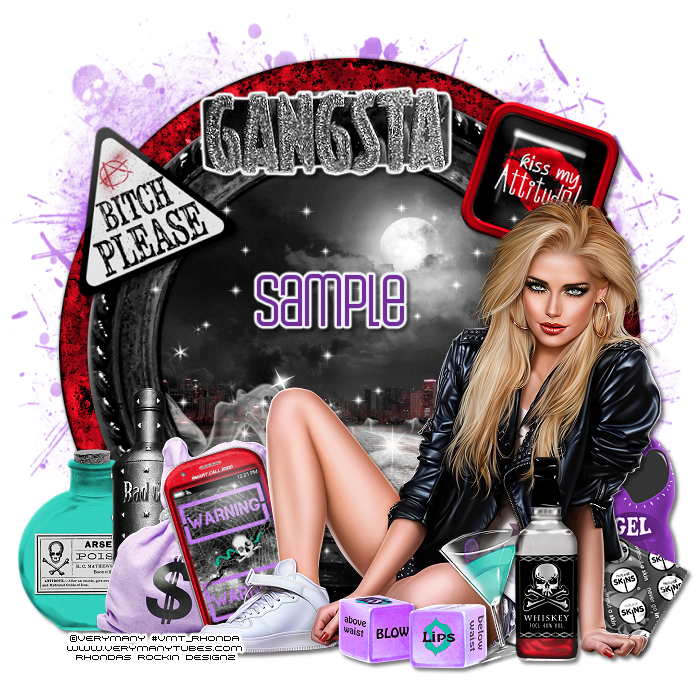
This tutorial is written for those with knowledge of PSP
Supplies Needed:
Tube of choice: I'm using the wonderful art work of VeryMany
You can purchase this tube HERE
PTU Scrapkit by Pink Paradox Production called Dangerous Bitch HERE
Resize elements to your liking
Ok lets get started:
Open a blank 700x700 image
Open frame 2 and place in center
Open frame 5 and place on top
Using magic wand click inside to frame
Selections modify, expand by 10
Add new layer under frame
Open paper 8 and paste into selection
Select none
Place your tube
Apply Xero Radiance
Now add any other elements of choice
I used the following:
Element 32
Element 38
Element 39
Element 40
Element 41
Element 62
Element 66
Element 69
Element 72
Element 93
Element 94
Element 101
Element 127
Element 186
Merge your layers
Open paper of choice and apply mask
Place your name where you like it
Add the Copyright and your License Number for the tube
Resize to your liking and save as PNG
This tutorial was created on May 10,2017 by Rhonda
Any resemblance to another Tag or Tutorial is purely coincidental
Wednesday, May 10, 2017
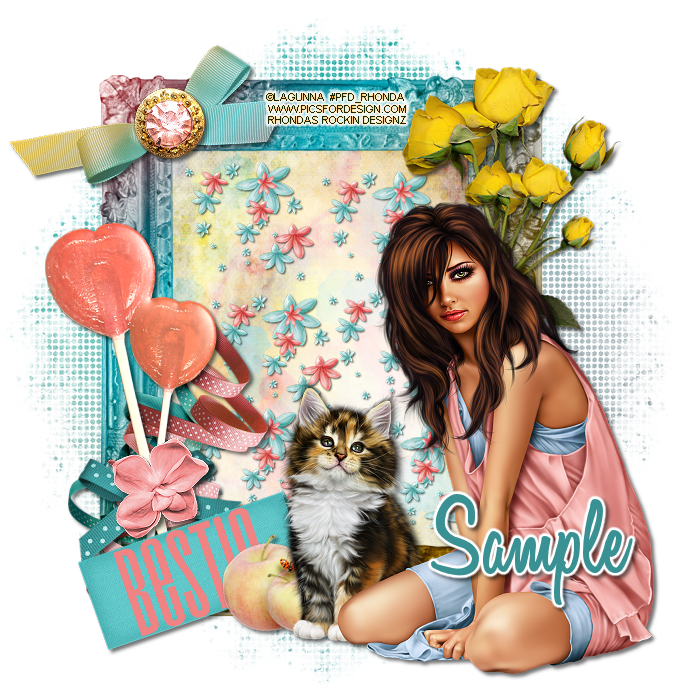
This tutorial is written for those with knowledge of PSP
Supplies Needed:
Tube of choice: I'm using the wonderful art work of Laguna
You must obtain a license to PFD HERE
FTU Scrapkit by Designs by Helly HERE
Mask of choice
Ok lets get started:
Resize elements to your liking
This is a full size kit
Open blank canvas 700x700
Open frame 3 & place to center
Click inside with magic wand & expand by10
Add new layer under frame and select all
Open paper 7 and paste into selection
KEEP SELECTED
Add another layer on top and select all
Open paper 7 and paste into selection
Select none
On top paper layer change blend mode to Luminance
Place your tube to far right
Open scatter and place inside frame (I made mine small & duplicated several times)
Open bow and place to top left
Open button 2 and place in center of bow
Open bouguet and lace to right side of frame
Duplicate bouguet and resize again then rotate to right a little
Open apples and place beside tube
Open bestie and place behind apples - rotate to left
Open curls and place behind bestie sign
Open suckers and place to left side of frame (Let bow touch the bestie sign)
Open flower 4 and place on top of stick bow
Merge layers
Open paper of choice and apply mask
Place your name where you like it
Add the Copyright and your License Number for the tube
Resize to your liking and save as PNG
This tutorial was created on April 29,2017 by Rhonda
Any resemblance to another Tag or Tutorial is purely coincidental
Friday, May 5, 2017
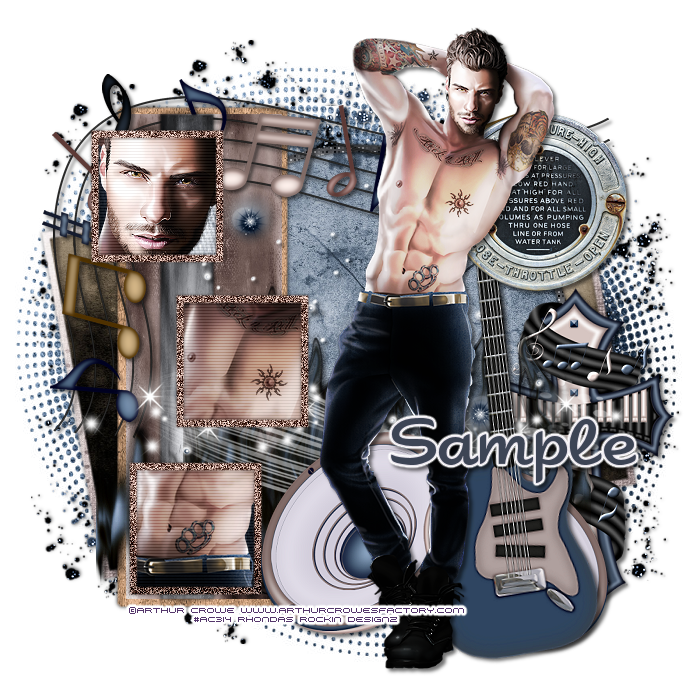
This tutorial is written for those with knowledge of PSP
Supplies Needed:
Tube of choice: I'm using the wonderful art work of Arthur Crowe
You can purchase his work at his store HERE
PTU Scrapkit by Creation by Sanie called RocknRoll
Kit can also be purchased at Crowes Store and can be bought as a bundle HERE
Template #51 by Melissaz Creationz HERE
Mask of choice
Don't forget to leave a thank you when downloading
Ok lets get started:
Open template - Shift D to duplicate then close out original
Resize template 123% all layers
Increase canvas size 700x700
Deleted copyright
Click on bottom rectangle selections,select all, float,defloat
paste a paper of choice from the kit - I used paper7
selection invert delete
select none delete the original
Click on bottom rectangle frame selections,select all, float,defloat
paste a paper of choice from the kit - I used paper2
selection invert delete
select none delete the original
Click on circle selections,select all, float,defloat
paste a paper of choice from the kit - I used paper11
selection invert delete
select none delete the original
Click on circle frame selections,select all, float,defloat
paste a paper of choice from the kit - I used paper5
selection invert delete
select none delete the original
add Xero Fritillary with settings of choice
Click on rectangle frame selections,select all, float,defloat
paste a paper of choice from the kit - I used paper3
selection invert delete
select none delete the original
Click on rectangle selections,select all, float,defloat
paste a paper of choice from the kit - I used paper6
selection invert delete
select none delete the original
Click on narrow rectangle selections,select all, float,defloat
paste a paper of choice from the kit - I used paper5
selection invert delete
select none delete the original
Click on squares selections,select all, float,defloat
paste a paper of choice from the kit - I used paper7
selection invert delete
select none delete the original
Add close-up of tubes in each square
apply PhotoEffex Scanlines at default settings
apply Xero Radiance with settings of choice
Click on square frames selections,select all, float,defloat
paste a paper of choice from the kit - I used paper9
selection invert delete
select none delete the original
Place your tube
Xero Porcelin with settings of choice
Now time to add our elements
I used the following:
Element 3
Element 4
Element 5
Element 8
Element 14
Element 21
Element 22
Element 23
Element 31
Merge your layers
Open paper of choice and apply mask
Place your name where you like it
Add the Copyright and your License Number for the tube
Resize to your liking and save as PNG
This tutorial was created on May 2,2017 by Rhonda
Any resemblance to another Tag or Tutorial is purely coincidental
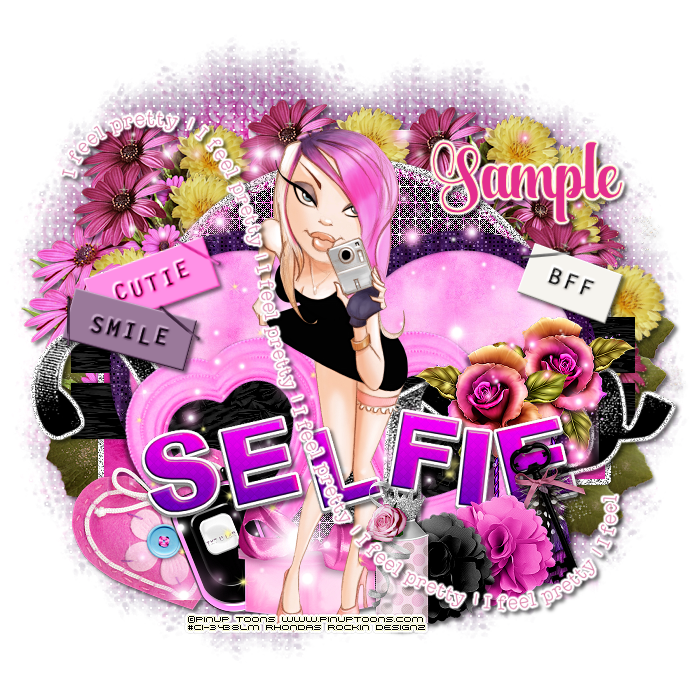
This tutorial is written for those with knowledge of PSP
Supplies Needed:
Tube of choice: I'm using the wonderful art work of PinUp Toons
You can purchase this work at CDO HERE
PTU Scrapkit by Ladyhawwks Designs also at CDO HERE
Template #20 by Design by Wendy HERE
Mask of choice
Ok lets get started:
Open template - Shift D to duplicate then close out original
Increase canvas to 700x700
Deleted copyright
Click on circle selections,select all, float,defloat
paste a paper of choice from the kit - I used paper5
selection invert delete
select none delete the original
apply Screenworks block tile 62
apply border & noise if desired
Click on big rectangle selections,select all, float,defloat
paste a paper of choice from the kit - I used paper3
selection invert delete
select none delete the original
add border with nose if desired
Click on small rectangle1&2 selections,select all, float,defloat
paste a paper of choice from the kit - I used paper4
selection invert delete
select none delete the original
Click on circle bkg left & right selections,select all, float,defloat
paste a paper of choice from the kit - I used paper1
selection invert delete
select none delete the original
Click on circle frame 1&2 selections,select all, float,defloat
paste a paper of choice from the kit - I used paper6
selection invert delete
select none delete the original
apply Xero Fritillary with settings of choice
Place your tube to center
Now time to add our elements
I used the following:
Element 2
Element 3
Element 8
Element 11
Element 12
Element 13
Element 21
Element 24
Element 29
Element 30
Element 31
Element 32
Element 34
Element 36
Frame 1
Word Art 1&2
Merge your layers
Open paper of choice and apply mask
Place your name where you like it
Add the Copyright and your License Number for the tube
Resize to your liking and save as PNG
This tutorial was created on May 1,2017 by Rhonda
Any resemblance to another Tag or Tutorial is purely coincidental
Wednesday, April 26, 2017
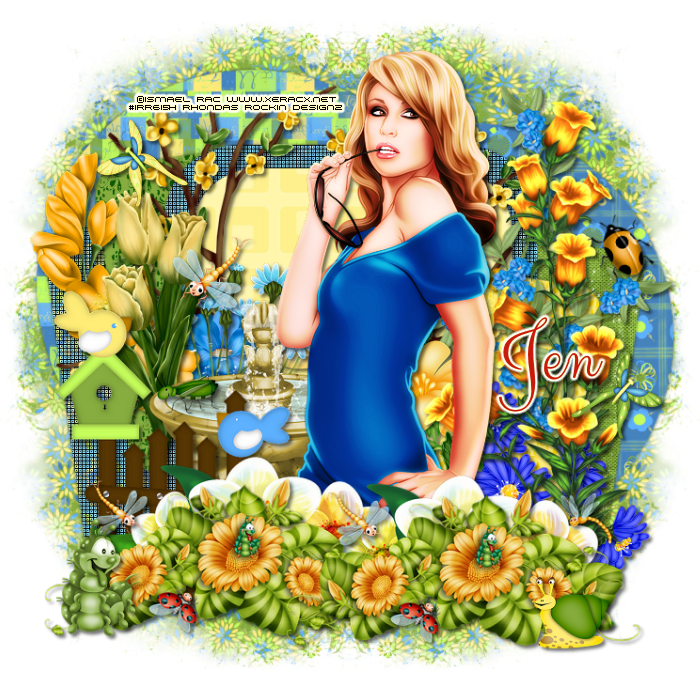
This tutorial is written for those with knowledge of PSP
Supplies Needed:
Tube of choice: I'm using the wonderful art work of Ismael Rac
Store is closing and Rac has tubes 60% off until 4/30/17
You can find his tubes and sale HERE
PTU Scrapkit by Jen's Sweet Temptations called "Spring Time Dreams"
You can purchase this awesome kit at one of her stores HERE
Spring Template #1 by Fired by Flamin HERE
Mask of choice
Ok lets get started:
Open template - Shift D to duplicate then close out original
Delete word art & flowers
I increased the size of my layers (optional)
Click on (L) yellow circle selections,select all, float,defloat
paste a paper of choice from the kit - I used paper10
selection invert delete
select none delete the original
Duplicate circle and move over to right (see my tag)
Click on (R) yellow circle selections,select all, float,defloat
paste a paper of choice from the kit - I used paper4
selection invert delete
select none delete the original
Click on green rect 1 selections,select all, float,defloat
paste a paper of choice from the kit - I used paper3
selection invert delete
select none delete the original
Click on pink rect 1 selections,select all, float,defloat
paste a paper of choice from the kit - I used paper7
select none delete the original
add noise with settings of choice
Click on green rect 2 selections,select all, float,defloat
paste a paper of choice from the kit - I used paper6
selection invert delete
select none delete the original
apply Filters Unlimited Fine Canvas with settings of choice
Click on grey rect selections,select all, float,defloat
paste a paper of choice from the kit - I used paper5
selection invert delete
select none delete the original
apply Cybia Boxed Doys with settings of choice
Click on blue rectangle selections,select all, float,defloat
paste a paper of choice from the kit - I used paper9
selection invert delete
select none delete the original
Click on pink rectangle 2 selections,select all, float,defloat
paste a paper of choice from the kit - I used paper8
selection invert delete
select none delete the original
Place your main tube
Xero Radiance at default settings
Now time to add our elements
I used the following:
Element 7
Element 10
Element 11
Element 16
Element 19
Element 20
Element 26
Element 27
Element 30
Element 32
Element 39
Element 40
Element 42
Element 43
Element 45
Element 47
Element 50
Element 51
Element 53
Element 59
Merge your layers
Open paper of choice & apply mask
Place your name where you like it
Add the Copyright and your License Number for the tube
Resize to your liking and save as PNG
This tutorial was created on April 20,2017 by Rhonda
Any resemblance to another Tag or Tutorial is purely coincidental
Wednesday, April 19, 2017
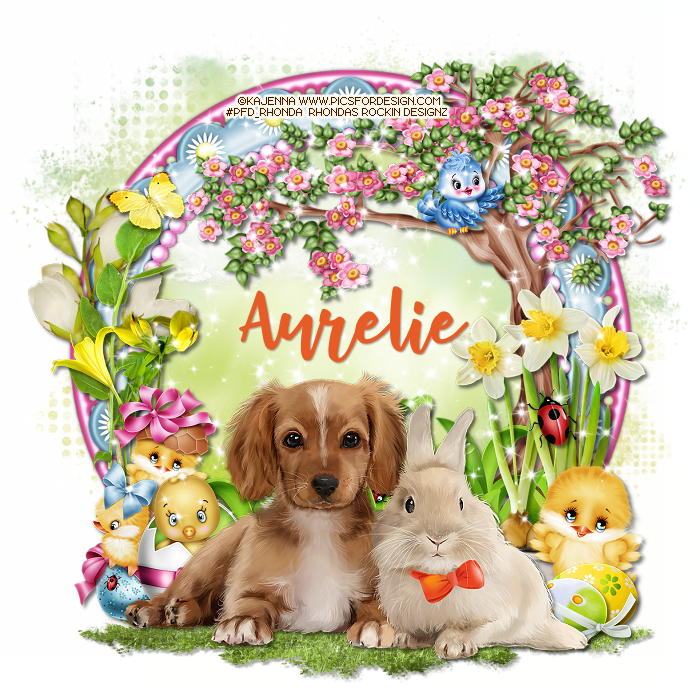
This tutorial is written for those with knowledge of PSP
Supplies Needed:
Tube of choice: I'm using the wonderful art work of Kajenna
You can purchase this tube at HERE
PTU Scrapkit by Purple Dream Scraps called Easter Fun
You can purchase this awesome kit HERE
Mask of choice
Resize elements to your liking & drop shadow
Ok lets get Started:
Open a blank image 700x700
Open frame 55 from kit and place as a new image
Open frame 54 and place on top of other frame
Grab the magik wand and click inside frame
Select modify expand by 10
Add new layer under first frame & select all
Open paper 4 & paste into selection
Select none
Place your tube to bottom
Now add any elements of choice
I used the following:
Element 1
Element 8
Element 9
Element 10
Element 11
Element 12
Element 15
Element 17
Element 18
Element 20
Element 21
Element 25
Element 26
Element 36
Element 39
Element 40
Element 41
Element 42
Merge your layers
Open paper of choice and apply mask
Place your name where you like it
Add the Copyright and your License Number for the tube
Resize to your liking and save as PNG
This tutorial was created on April 19,2017 by Rhonda
Any resemblance to another Tag or Tutorial is purely coincidental
Sunday, April 16, 2017
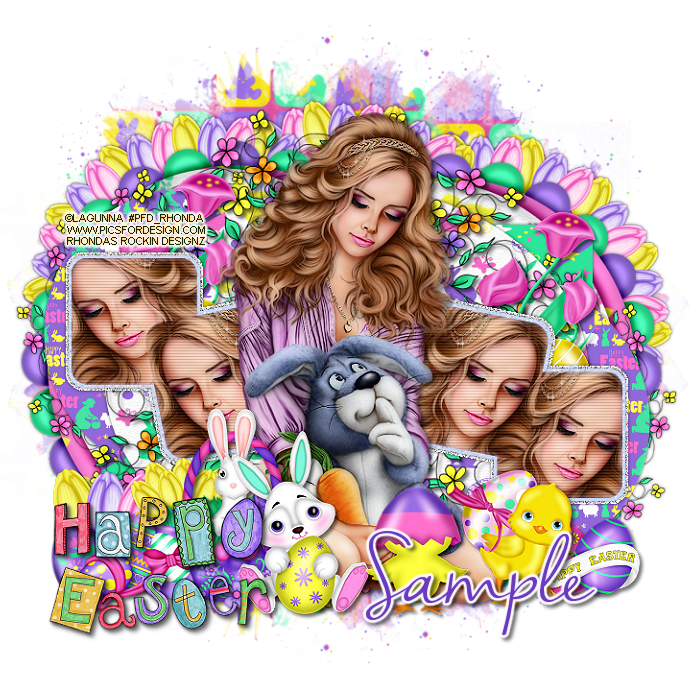
This tutorial is written for those with knowledge of PSP
Supplies Needed:
Tube of choice: I'm using the wonderful art work of Laguna
Which you must obtain a license to use at PFD HERE
FTU Scrapkit by Kittz HERE
Template #806 by Millie HERE
Mask of choice
Don't forget to leave a thank you when downloading
Ok Lets get Started:
Open template - Shift D to duplicate then close out original
Canvas size 700x700
Delete word art
Click on layer 1 selections,select all, float,defloat
paste a paper of choice from the kit - I used paper10
selection invert delete
select none delete the original
Click on layer 2&3 selections,select all, float,defloat
paste a paper of choice from the kit - I used paper8
selection invert delete
select none delete the original
Click on layer 4 selections,select all, float,defloat
paste a paper of choice from the kit - I used paper9
selection invert delete
select none delete the original
Add extra noise to layer 5
Click on layer 6 selections,select all, float,defloat
add new layer and fill with solid color of choice
select none delete the original
Click on layer 7,8,9&10 selections,select all, float,defloat
paste close-up of tube into squares
selection invert delete
select none delete the original
apply Xero Radiance & PhotoEffex Scanlines
Place your tube
Now time to add our elements
I used the following:
Element 2
Element 3
Element 4
Element 5
Element 7
Element 10
Element 12
Element 13
Element 14
Element 16
Element 30
Element 35
Element 39
Element 43
Merge your layers
Open paper of choice and apply mask
Place your name where you like it
Add the Copyright and your License Number for the tube
Resize to your liking and save as PNG
This tutorial was created on April16, 2017 by Rhonda
Any resemblance to another Tag or Tutorial is purely coincidental
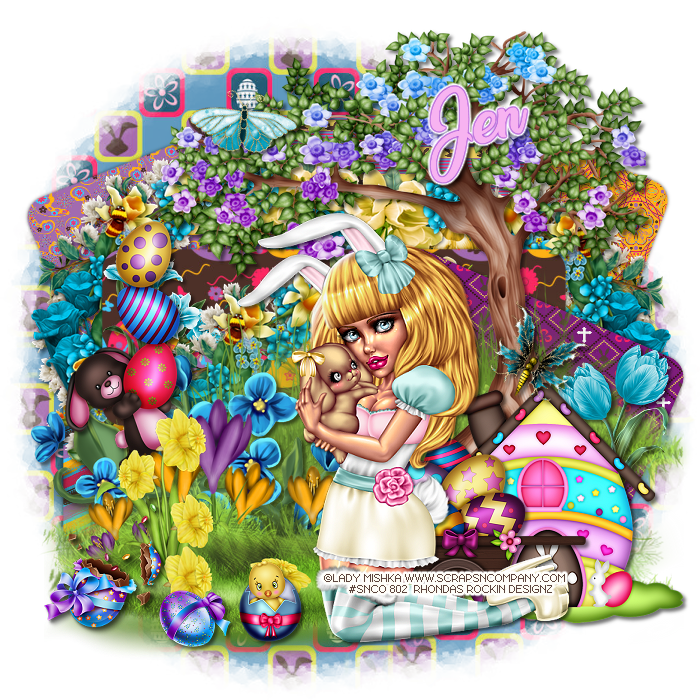
This tutorial is written for those with knowledge of PSP
Supplies Needed:
Tube of choice: I'm using the wonderful art work of Lady Mishka
Which you must obtain a license to use at S&CO HERE
PTU Scrapkit by Jen from Sweet Temptations called "Easter Baskets"
You an purchase this awesome kit HERE
Template #83 by Rissa's Designs HERE
Mask of choice
Don't forget to leave a thank you when downloading
Ok Lets get Started:
Open template - Shift D to duplicate then close out original
Canvas size 700x700
I moved my layers down to bottom for room to work
Delete copyright, layer 8 &word art
Click on layer 5 selections,select all, float,defloat
paste a paper of choice from the kit - I used paper7
selection invert delete
select none delete the original
Click on layer 6 selections,select all, float,defloat
paste a paper of choice from the kit - I used paper2
selection invert delete
select none delete the original
Click on layer 2 selections,select all, float,defloat
paste a paper of choice from the kit - I used paper8
selection invert delete
select none delete the original
Click on layer 3 selections,select all, float,defloat
paste a paper of choice from the kit - I used paper6
selection invert delete
select none delete the original
Click on layer 4 selections,select all, float,defloat
paste a paper of choice from the kit - I used paper5
selection invert delete
select none delete the original
Click on layer 7 selections,select all, float,defloat
paste a paper of choice from the kit - I used paper4
selection invert delete
select none delete the original
Place your tube
Now time to add our elements
I used the following:
Element 3
Element 9
Element 10
Element 11
Element 12
Element 13
Element 14
Element 15
Element 16
Element 19
Element 20
Element 22
Element 26
Element 28
Element 39
Element 45
Element 49
Element 50
Element 51
Merge your layers
Open paper of choice and apply mask
Place your name where you like it
Add the Copyright and your License Number for the tube
Resize to your liking and save as PNG
This tutorial was created on April14, 2017 by Rhonda
Any resemblance to another Tag or Tutorial is purely coincidental
Subscribe to:
Posts
(Atom)
Grab My Blinkie

I CT For



Blogs I Visit
























