Sunday, May 28, 2017
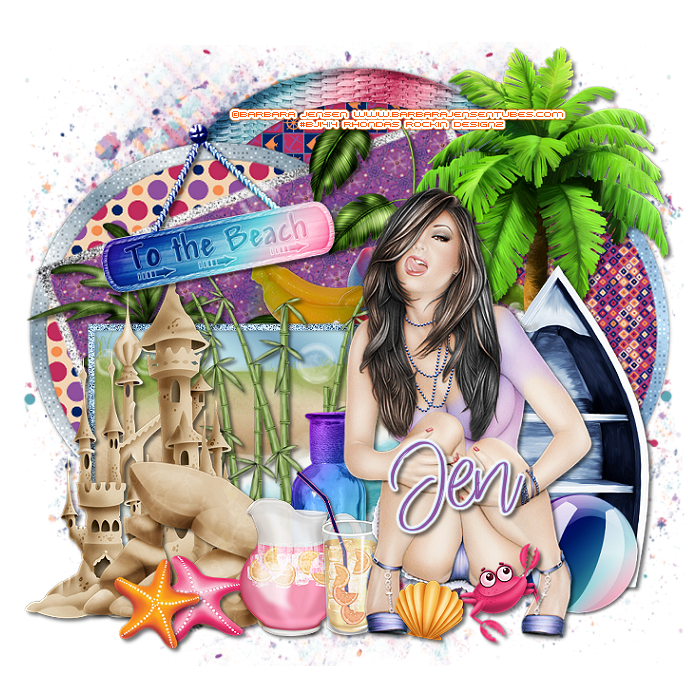
This tutorial is written for those with knowledge of PSP
Supplies Needed:
Tube of choice: I'm using the wonderful art work of Barbara Jensen
You must obtain a license to use from HERE
PTU Scrapkit from Jen's Sweet Temptation called Moonlight Beach Party
Kit can be purchased at one of her stores HERE
Template #33 by Rosa tag Templates HERE
Mask of choice
I duplicated layer 5&6 and moved them around
See my tag for example
Ok lets get started:
Open template - Shift D to duplicate then close out original
Resize tag to your liking
Delete copyright, word art, flowers & layers 1-4
Click on raster 5 selections,select all, float,defloat
add new layer and use solid color or gradient
selection invert delete
select none delete the original
Xero Fritillary of choice
Click on raster 6 selections,select all, float,defloat
paste a paper of choice from the kit - I used paper1
selection invert delete
select none delete the original
I duplicated the 2 layers but used a different paper from kit
Used a gradient for the border & Xero Fritillary
Click on raster 7 selections,select all, float,defloat
paste a paper of choice from the kit - I used paper3
selection invert delete
select none delete the original
Click on raster 8 selections,select all, float,defloat
add new layer and use solid color or gradient
selection invert delete
select none delete the original
Xero Fritillary of choice
Click on raster 9 selections,select all, float,defloat
paste a paper of choice from the kit - I used BG paper
selection invert delete
select none delete the original
Click on raster 10 selections,select all, float,defloat
add new layer and use solid color or gradient
selection invert delete
select none delete the original
Xero Fritillary of choice
Place your tube
Xero Radiance with settings of choice
Place your tube & build around it
Now time to add our elements
I used the following:
Elements 2
Elements 5
Elements 10
Elements 14
Elements 15
Elements 17
Elements 19
Elements 23
Elements 24
Elements 25
Elements 44
Elements 54
Elements 56
Elements 59
Elements 62
Elements 75
Elements 82
Elements 85
Elements 87
Elements 88
Merge layers
Open paper of choice and apply mask
Place your name where you like it
Add the Copyright and your License Number for the tube
Resize to your liking and save as PNG
This tutorial was created on May 28,2017 by Rhonda
Any resemblance to another Tag or Tutorial is purely coincidental

Saturday, May 27, 2017


Friday, May 26, 2017
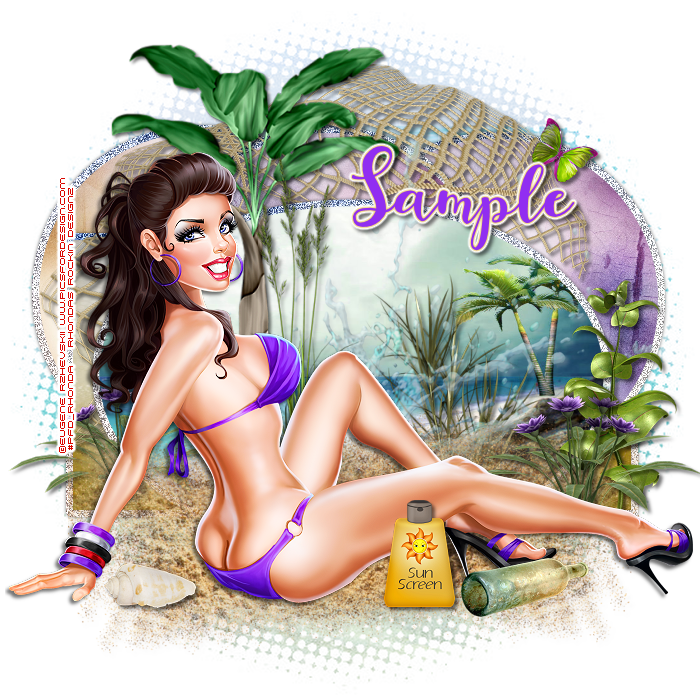
This tutorial is written for those with knowledge of PSP
Supplies Needed:
Tube of choice: I'm using the wonderful art work of Eugene Rzhevskii
Which you must obtain a license to use HERE
FTU Scrapkit by HorsePlay's Pasture Design called Sandy Toes &Salty Kisses
Download this awesome kit HERE
Template by Millie & Nikki HERE
Mask of choice
Ok lets get started:
Open template - Shift D to duplicate then close out original
Canvas size 700x700
Delete copyright, word art, layers 2,3&7
I placed my layers a little different (see tag for example)
Click on raster 1 selections,select all, float,defloat
paste a paper of choice from the kit - I used paper9
selection invert delete
select none delete the original
add border with noise
Click on raster 2 & copy 2 selections,select all, float,defloat
paste a paper of choice from the kit - I used paper7
selection invert delete
select none delete the original
add border with noise
Click on raster 8 selections,select all, float,defloat
paste a paper of choice from the kit - I used paper6
selection invert delete
select none delete the original
add border with noise
Click on raster 4 selections,select all, float,defloat
paste a paper of choice from the kit - I used paper10
selection invert delete
select none delete the original
add border with noise
Place your tube
Xero Radiance with settings of choice
Now time to add our elements
I used the following:
Element 1
Element 5
Element 9
Element 11
Element 13
Element 15
Element 19
Element 21
Element 35
Element 43
Element 51
Element 21
Merge your layers
Open paper of choice and apply mask
Place your name where you like it
Add the Copyright and your License Number for the tube
Resize to your liking and save as PNG
This tutorial was created on May 25,2017 by Rhonda
Any resemblance to another Tag or Tutorial is purely coincidental
Thursday, May 25, 2017
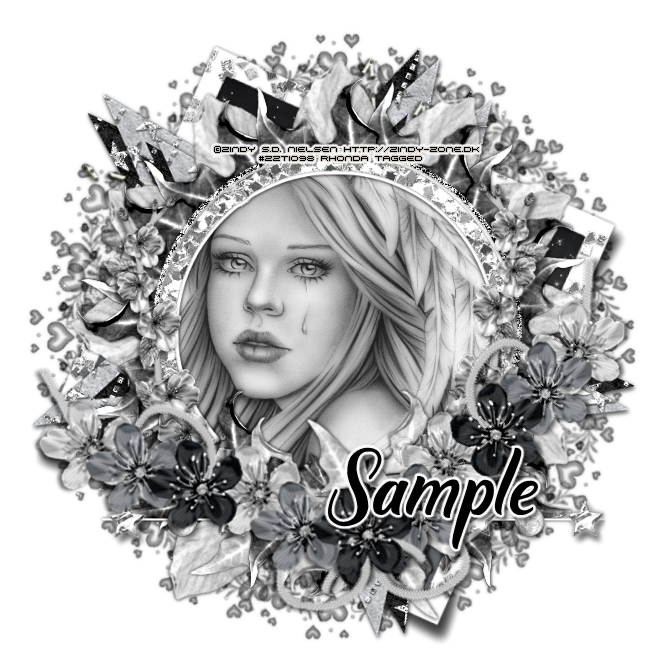
This tutorial is written for those with knowledge of PSP
Supplies Needed:
Tube of choice: I'm using the wonderful art work of Zindy Zone
You must obtain a license to use at her store HERE
FTU Scrapkit by Candy's Treat HERE
Mask of choice
Ok lets get started:
This is a very quick and easy tutorial
Resize elements to your liking
Open blank canvas 700x700
Open Leaf Frame 2 dark and place in center
Open close-up of tube and place in circle
Now time to add our elements
I used the following:
Glitter Frame 2
Glitter Circle 2
Frame Star
Branches 2
Flower String 1
Merge your layers
Open paper of choice & apply mask
Place your name where you like it
Add the Copyright and your License Number for the tube
Resize to your liking and save as PNG
This tutorial was created on May 25,2017 by Rhonda
Wednesday, May 24, 2017
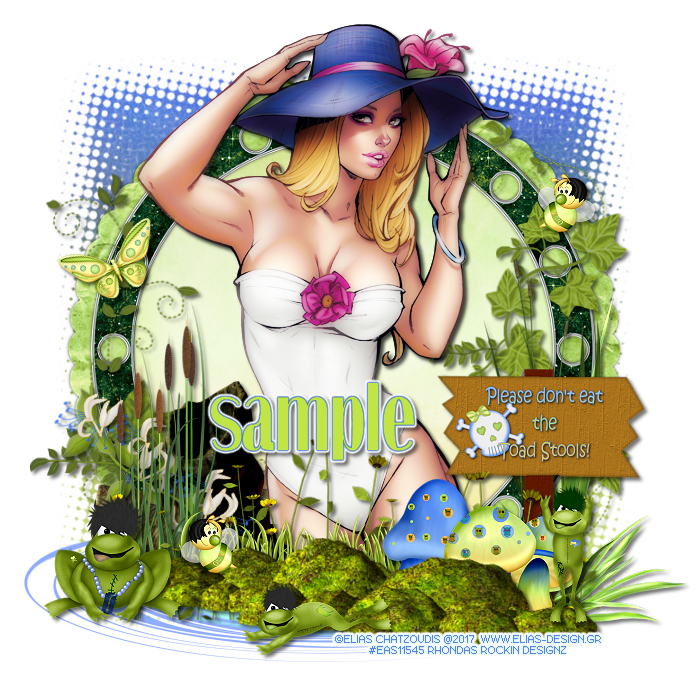
This tutorial is written for those with knowledge of PSP
Supplies Needed:
Tube of choice: I'm using the wonderful art work of Elias Chatzoudis
Tube was purchased at his store HERE
FTU Scrapkit from Digicats HERE
Mask of choice
Ok lets get started:
Resize elements to your liking
This is a very quick and easy tutorial
Open blank canvas 700x700
Open frame 9 and place in center
Open frame 7 and place on top
Click inside frame with magik wand
Selections modify expand by 10
Add new layer under frames and select all
Open paper 2 and paste into selections
Select none
Place your tube & build around it
Now time to add our elements
I used the following:
Butterfly 1
CatTails 1,2&3
Bee
Frog 1,2&3
Flower 3&5
Grassy Border
Log
Ivy 1&2
Pond Scum
Puddle
Toad Stool Sign
Toad Stool 2&3
Tree Stump
Merge layers
Open paper of choice and apply mask
Place your name where you like it
Add the Copyright and your License Number for the tube
Resize to your liking and save as PNG
This tutorial was created on May 24,2017 by Rhonda
Any resemblance to another Tag or Tutorial is purely coincidental
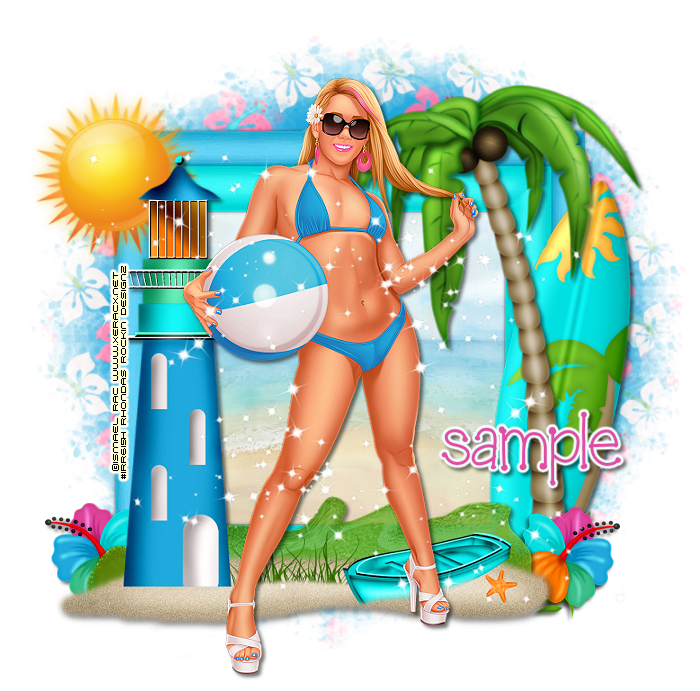
This tutorial is written for those with knowledge of PSP
Supplies Needed:
Tube of choice: I'm using the wonderful art work of Ismael Rac
This tube was purchased at his store which has closed
He is selling at SNCO & Hannia's Design
PTU Scrapkit from Crystal Creations which was also purchased at Rac store
You can check Crystals Creations kit HERE
Mask of choice
Ok lets get started:
Resize elements to your liking
This is a very quick and easy tutorial
Open blank canvas 700x700
Open element 2 and place in center
Click inside frame with magik wand
Selections modify expand by 10
Add new layer under frame and select all
Open paper 6 and paste into selections
Select none
Place your tube & build around it
Now time to add our elements
I used the following:
Elements 1
Elements 6
Elements 10
Elements 11
Elements 19
Elements 24
Merge layers
Open paper of choice and apply mask
Place your name where you like it
Add the Copyright and your License Number for the tube
Resize to your liking and save as PNG
This tutorial was created on May 24,2017 by Rhonda
Any resemblance to another Tag or Tutorial is purely coincidental
Sunday, May 21, 2017
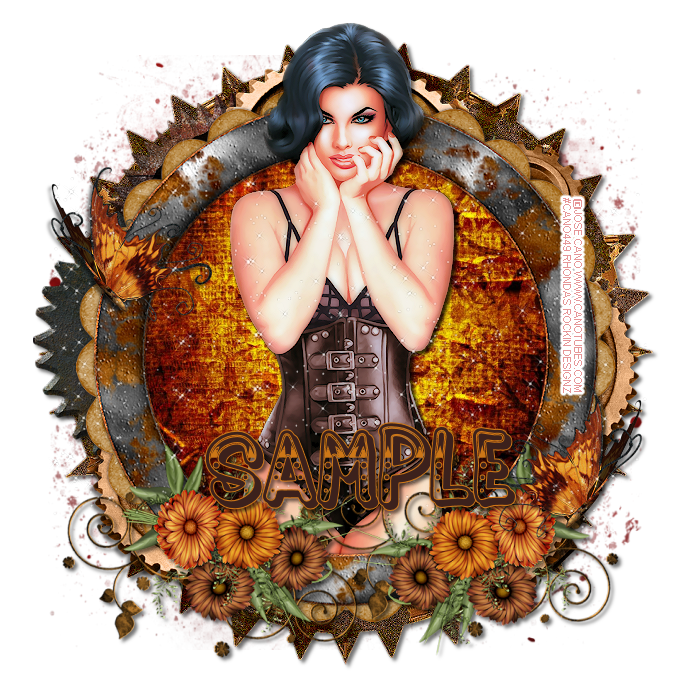
This tutorial is written for those with knowledge of PSP
Supplies Needed:
Tube of choice: I'm using the wonderful art work of Jose Cano
You must obtain a license to use his tubes HERE
Matching PTU Scrapkit by Designs by Vi HERE
Kit and tube can be purchased together at store
Mask of choice
Ok lets get started:
This is a very quick and easy tutorial
Open blank canvas 700x700
Open frame 1 and place in center
Open frame 3 and place on top
Grab the magic wand & click inside top frame
Selections modify expand by 10
Add new layer under frame
Open paper 11 & paste into selection
Select none
Place your tube & build around it
Now time to add our elements
I used the following:
Element 2
Element 10
Element 12
Element 16
Element 31
Element 41
Element 42
Element 58
Element 61
Merge your layers
Open paper of choice & apply mask
Place your name where you like it
Add the Copyright and your License Number for the tube
Resize to your liking and save as PNG
This tutorial was created on May 21,2017 by Rhonda
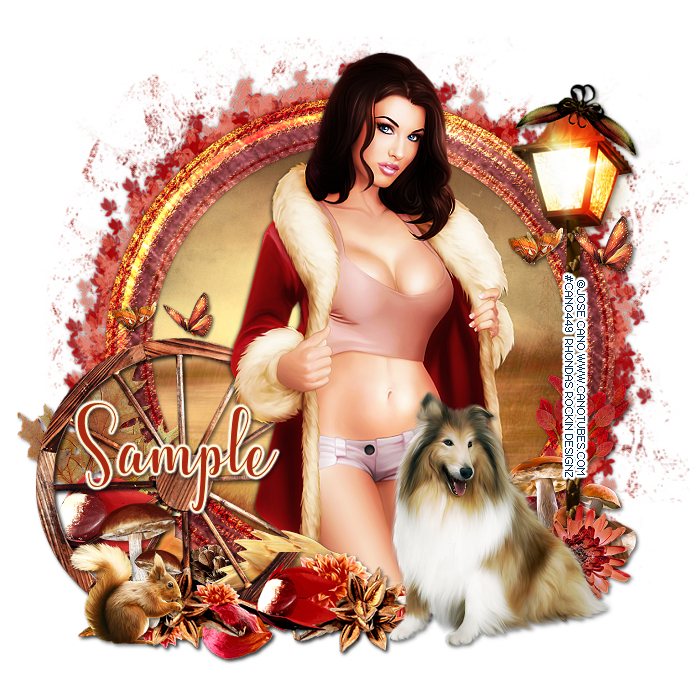
This tutorial is written for those with knowledge of PSP
Supplies Needed:
Tube of choice: I'm using the wonderful art work of Jose Cano
You must obtain a license to use his tubes HERE
Matching PTU Scrapkit by Kissing Kate HERE
Kit and tube can be purchased as bundle
Ok lets get started:
This is a very quick and easy tutorial
Open blank canvas 700x700
Open frame 1 and place in center
Open frame 2 and place on top
Grab the magic wand & click inside top frame
Selections modify expand by 10
Add new layer under frame
Open paper 11 & paste into selection
Select none
Place your tube & build around it
Now time to add our elements
I used the following:
Element 2
Element 9
Element 11
Element 12
Element 13
Element 15
Element 16
Element 17
Element 24
Element 26
Element 29
Element 34
Element 35
Element 36
Merge your layers
Open paper of choice & apply mask
Place your name where you like it
Add the Copyright and your License Number for the tube
Resize to your liking and save as PNG
This tutorial was created on January 8,2017 by Rhonda
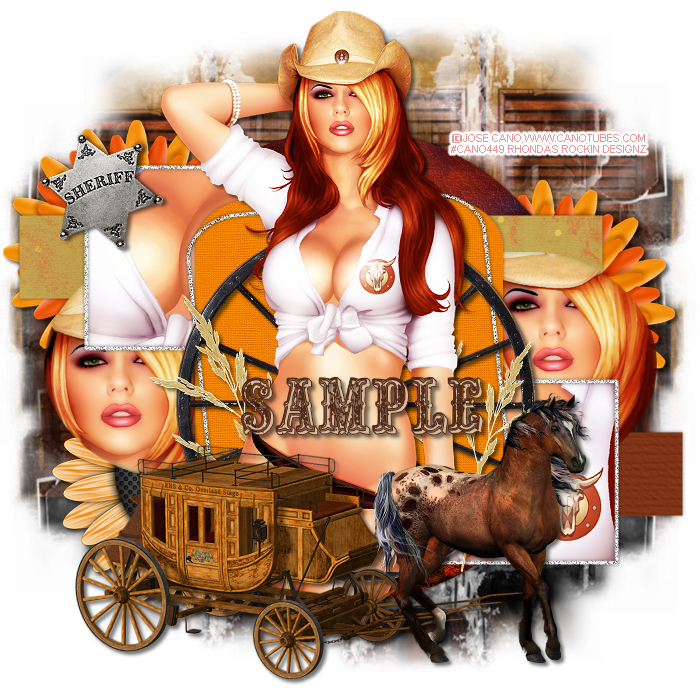
This tutorial is written for those with knowledge of PSP
Supplies Needed:
Tube of choice: I'm using the wonderful art work of Jose Cano
You can purchase his tubes HERE
PTU Scrap Kit by Mellie Beans called "Cowgirl" HERE
Tube and kit can be purchased as a bundle
Halloween Template #3 by TwyztedT's Playroom HERE
Mask of choice
Ok Lets get Started:
Open template - Shift D to duplicate then close out original
Resize template to your liking
Delete copyright, word art and dotted circle
Click on raster 5 selections,select all, float,defloat
paste a paper of choice from the kit - I used paper7
selection invert delete
select none delete the original
Click on raster 6 selections,select all, float,defloat
paste a paper of choice from the kit - I used paper2
selection invert delete
select none delete the original
Click on copy of raster 6 selections,select all, float,defloat
paste a paper of choice from the kit - I used paper7
selection invert delete
select none delete the original
Click on raster 4 selections,select all, float,defloat
place close-up of tubes on each side
selection invert delete
select none delete the original
Click on raster 3 selections,select all, float,defloat
place parts of tubes inside squares
selection invert delete
select none delete the original
Add extra noise to the frame layers
Click on raster 2 selections,select all, float,defloat
paste a paper of choice from the kit - I used paper9
selection invert delete
select none delete the original
Place your main tube
Now add any other elements of choice
I used the following:
Element 6
Element 7
Element 11
Element 16
Element 19
Element 21
Element 22
Element 27
Merge your layers
Open paper of choice and apply mask
Place your name where you like it
Add the Copyright and your License Number for the tube
Resize to your liking and save as PNG
This tutorial was created on May 21,2017 by Rhonda
Any resemblance to another Tag or Tutorial is purely coincidental

This tutorial is written for those with knowledge of PSP
Supplies Needed:
Tube of choice: I'm using the wonderful art work of Jose Cano
You can purchase his tubes HERE
PTU Scrap Kit by Kizzed by Kelz called "Wrangler" HERE
Tube and kit can be purchased as a bundle
Template #508 by Millie HERE
Mask of choice
Ok Lets get Started:
Open template - Shift D to duplicate then close out original
Canvas size 700x700
Delete copyright & star
Click on layer 1 selections,select all, float,defloat
paste a paper of choice from the kit - I used paper9
selection invert delete
select none delete the original
Click on layer 1 selections,select all, float,defloat
paste a paper of choice from the kit - I used paper9
selection invert delete
select none delete the original
Click on layer 1 selections,select all, float,defloat
paste a paper of choice from the kit - I used paper9
selection invert delete
select none delete the original
Click on layer 2 selections,select all, float,defloat
paste a paper of choice from the kit - I used paper2
selection invert delete
select none delete the original
Click on layer 3 selections,select all, float,defloat
paste a paper of choice from the kit - I used paper4
selection invert delete
select none delete the original
Click on layer 4 selections,select all, float,defloat
paste a paper of choice from the kit - I used paper3
selection invert delete
select none delete the original
Click on layer 5 selections,select all, float,defloat
paste a paper of choice from the kit - I used paper1
selection invert delete
select none delete the original
I used solid colors and noise on my word art
Place your main tube
Now add any other elements of choice
I used the following:
Element 13
Element 15
Element 16
Element 19
Element 21
Element 23
Element 27
Element 29
Element 32
Element 34
Merge your layers
Open paper of choice and apply mask
Place your name where you like it
Add the Copyright and your License Number for the tube
Resize to your liking and save as PNG
This tutorial was created on May 21,2017 by Rhonda
Any resemblance to another Tag or Tutorial is purely coincidental
Subscribe to:
Posts
(Atom)
Grab My Blinkie

I CT For



Blogs I Visit
























