Friday, September 8, 2017

This tutorial is written for those with knowledge of PSP
Supplies Needed:
Tube of choice: I'm using the wonderful art work of Ken Morton
You can purchase his tubes from CDO HERE
Matching kit by Monti's Scraps purchased at CDO HERE
Mask of choice
Ok Lets get Started:
Open blank canvas 700x700
Open frame 1 and place to center
Click inside with magic wand and expand by 10
Add new layer under frame
Open paper of choice and paste into selection
Place your tube
Add elements around the tube
Here are the ones I used:
Element 1
Element 4
Element 5
Element 6
Element 9
Element 11
Element 12
Element 15
Element 16
Element 17
Element 19
Word Art
Merge your layers
Open paper of choice & apply mask
Place your name where you like it
Add the Copyright and your License Number for the tube
Resize to your liking and save as PNG
This tutorial was created on September 8,2017 by Rhonda
Any resemblance to another Tag or Tutorial is purely coincidental


This tutorial is written for those with knowledge of PSP
Supplies Needed:
Tube of choice: I'm using the wonderful art work of Arthur Crowe
You can find his tubes HERE
PTU Scrapkit by Creation by Sanie called Sweet Doggy HERE
Kit and tube can be bought as a bundle
Template #62 by Fired by Flamin HERE
Mask of choice
Ok Lets get Started:
Open template - Shift D to duplicate then close out original
I increased the size of my layers by 125%
Delete copyright
Click on layer 1&7 selections,select all, float,defloat
paste a paper of choice from the kit - I used paper6
selection invert delete
select none delete the original
Click on layer 2 selections,select all, float,defloat
paste a paper of choice from the kit - I used paper2
selection invert delete
select none delete the original
Click on layer 3 selections,select all, float,defloat
paste a paper of choice from the kit - I used paper1
selection invert delete
select none delete the original
Click on layer 4 selections,select all, float,defloat
paste a paper of choice from the kit - I used paper4
selection invert delete
select none delete the original
Click on layer 5 selections,select all, float,defloat
paste a paper of choice from the kit - I used paper10
selection invert delete
select none delete the original
Click on layer 6 selections,select all, float,defloat
paste a paper of choice from the kit - I used paper5
selection invert delete
select none delete the original
Click on layer 8 selections,select all, float,defloat
paste a paper of choice from the kit - I used paper7
selection invert delete
select none delete the original
Decorate word art to your liking
Place your tube
Now time to add our elements
I used the following:
Element 4
Element 7
Element 12
Element 16
Element 17
Element 25
Element 26
Element 32
Element 35
Element 43
Element 44
Element 47
Element 54
Merge your layers
Open paper of choice and apply mask
Place your name where you like it
Add the Copyright and your License Number for the tube
Resize to your liking and save as PNG
This tutorial was created on September 6,2017 by Rhonda
Any resemblance to another Tag or Tutorial is purely coincidental
Tuesday, September 5, 2017

This tutorial is written for those with knowledge of PSP
Supplies Needed:
Tube of choice: I'm using the beautiful art work of Alex Prihodko
You must obtain a license to use from PFD HERE
PTU Scrapkit from Jens Sweet Temptations called Remember September
Kit and clusters available on her blog soon HERE
Mask of choice
Ok Lets get Started:
Resize elements to your liking
This is a very quick and easy tutorial
Open blank canvas 700x700
Open element 8 and place in center
Rotate frame a little to the left
Click inside frame with magik wand
Selections modify expand by 10
Add new layer under frame and select all
Open paper or solid color of choice and paste into selections
Select none
Now time to add our elements.
I used the following:
Element 2
Element 18
Element 20
Element 25
Element 41
Element 42
Element 43
Element 45
Element 47
Element 49
Element 55
Element 60
Element 62
Element 63
Element 65
Merge layers
Open paper of choice and apply mask
Place your name where you like it
Add the Copyright and your License Number for the tube
Resize to your liking and save as PNG
This tutorial was created on September 5,2017 by Rhonda
Any resemblance to another Tag or Tutorial is purely coincidental


This tutorial is written for those with knowledge of PSP
Supplies Needed:
Tube of choice: I'm using the wonderful art work of Danny Lee
You must obtain a license to use this art at S&Co HERE
PTU Scrapkit from Purple Dreams Scraps called "Autumn Blessings"
You can purchase this awesome kit at PFD HERE
Template #1 from Denz Designz HERE
Mask of choice
Ok Lets get Started:
Open template - Shift D to duplicate then close out original
Resize template to your liking
Delete copyright
Click on dk grey circle selections,select all, float,defloat
paste a paper of choice from the kit - I used paper1
selection invert delete
select none delete the original
Click on yellow circle 1&2 selections,select all, float,defloat
paste a paper of choice from the kit - I used paper6
selection invert delete
select none delete the original
Click on dotted circle selections,select all, float,defloat
paste a paper of choice from the kit - I used paper9
selection invert delete
select none delete the original
Click on blue rectangle selections,select all, float,defloat
paste a paper of choice from the kit - I used paper3
selection invert delete
select none delete the original
Click on yellow rectangle selections,select all, float,defloat
paste a paper of choice from the kit - I used paper7
selection invert delete
select none delete the original
Click on white square selections,select all, float,defloat
paste a paper of choice from the kit - I used paper8
selection invert delete
select none delete the original
Click on blue frame selections,select all, float,defloat
paste a paper of choice from the kit - I used paper10
selection invert delete
select none delete the original
add noise
Click on 2 yellow circles selections,select all, float,defloat
paste a paper of choice from the kit - I used paper11
selection invert delete
select none delete the original
Click on 2 blue circles selections,select all, float,defloat
paste a paper of choice from the kit - I used paper4
selection invert delete
select none delete the original
Click on 2 black strips selections,select all, float,defloat
paste a paper of choice from the kit - I used paper
selection invert delete
select none delete the original
Click on 2 white scraps selections,select all, float,defloat
paste a paper of choice from the kit - I used paper
selection invert delete
select none delete the original
Click on selections,select all, float,defloat
paste a paper of choice from the kit - I used paper
selection invert delete
select none delete the original
Place your tube
Now time to add our elements
I used the following:
Element 1
Element 4
Element 6
Element 10
Element 17
Element 19
Element 28
Element 29
Element 30
Element 31
Element 32
Element 34
Element 36
Element 37
Element 40
Element 41
Element 45
Element 53
Element 54
Merge your layers
Open paper of choice & apply mask
Place your name where you like it
Add the Copyright and your License Number for the tube
Resize to your liking and save as PNG
This tutorial was created on September 3,2017 by Rhonda
Any resemblance to another Tag or Tutorial is purely coincidental
Sunday, September 3, 2017




This tutorial is written for those with knowledge of PSP
Supplies Needed:
Tube of choice: I'm using the wonderful art work of Lysisange
You must obtain a license to use this art at S&Co HERE
PTU Scrapkit from A Lil Mz Brainstorm called "My Little Love"
You can purchase this awesome kit at S&Co HERE
Template #73 from Drama Bomb Designs HERE
Mask of choice
Ok Lets get Started:
Open template - Shift D to duplicate then close out original
Canvas size 700x700
Delete copyright & layer 6
Click on layer 1 selections,select all, float,defloat
paste a paper of choice from the kit - I used paper7
selection invert delete
select none delete the original
Click on layer 2,select all, float,defloat
paste a paper of choice from the kit - I used paper12
selection invert delete
select none delete the original
Click on layer 3 selections,select all, float,defloat
paste a paper of choice from the kit - I used paper3
selection invert delete
select none delete the original
Click on layer 4 selections,select all, float,defloat
paste a paper of choice from the kit - I used paper14
selection invert delete
select none delete the original
Click on layer 5 selections,select all, float,defloat
paste a paper of choice from the kit - I used paper6
selection invert delete
select none delete the original
Place your tube
Now time to add our elements
I used the following:
Element 14
Element 17
Element 22
Element 30
Element 32
Element 40
Element 41
Element 52
Element 55
Element 65
Element 87
Element 97
Element 99
Element 123
Element 124
Merge your layers
Open paper of choice & apply mask
Place your name where you like it
Add the Copyright and your License Number for the tube
Resize to your liking and save as PNG
This tutorial was created on September 3,2017 by Rhonda
Any resemblance to another Tag or Tutorial is purely coincidental

This tutorial is written for those with knowledge of PSP
Supplies Needed:
Tube of choice: I'm using the wonderful art work of CelineArt Pinup
This tube was purchased at SNCO HERE
FTU scrapkit by kaigel HERE
Mask of choice
Please leave some love when you download
Resize elements to your liking
Ok Lets get Started:
Open a blank 700x700 image
Open frame 6 and place in center
Click inside with magic wand & expand by 10
Open paper 13 & paste as new layer
Selections invert delete
Select none
Place your main tube
Apply Xero Radiance
Now add any other elements of choice
I used the following:
Butterfly
Charm 2
Cluster 3
Cog
Cog 1
Deco 2&3
Doodle 2
Hat 2
Key
Leaves 1
Scatter 1
Merge your layers
Open paper 5 & apply mask
Place your name where you like it
Add the Copyright and your License Number for the tube
Resize to your liking and save as PNG
This tutorial was created on September 3,2017 by Rhonda
Any resemblance to another Tag or Tutorial is purely coincidental

This tutorial is written for those with knowledge of PSP
Supplies Needed:
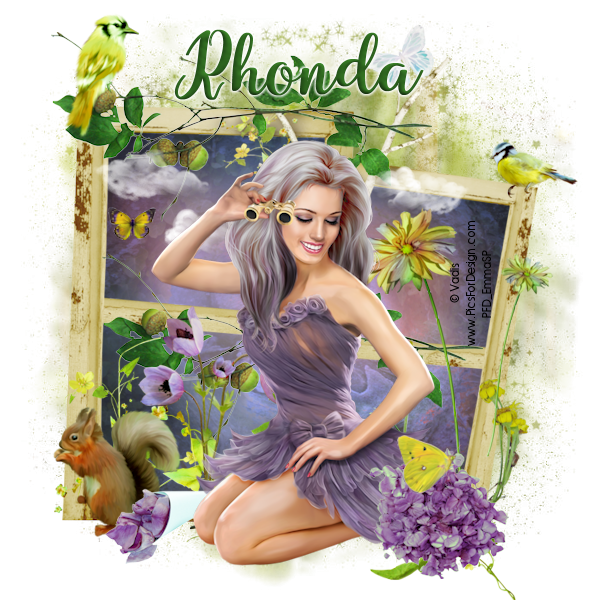
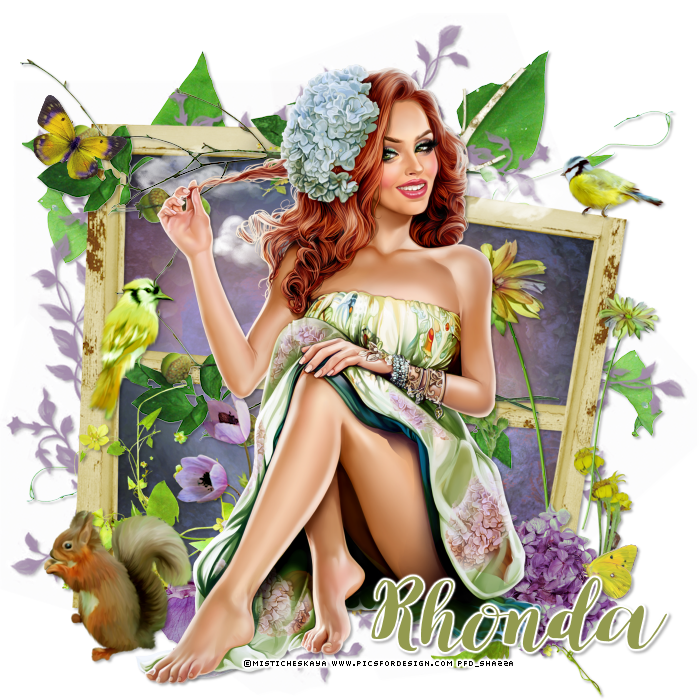
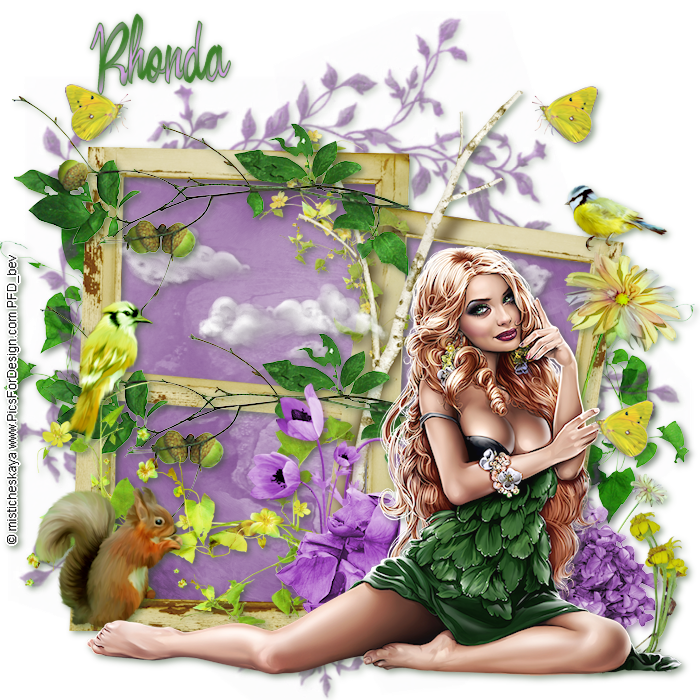
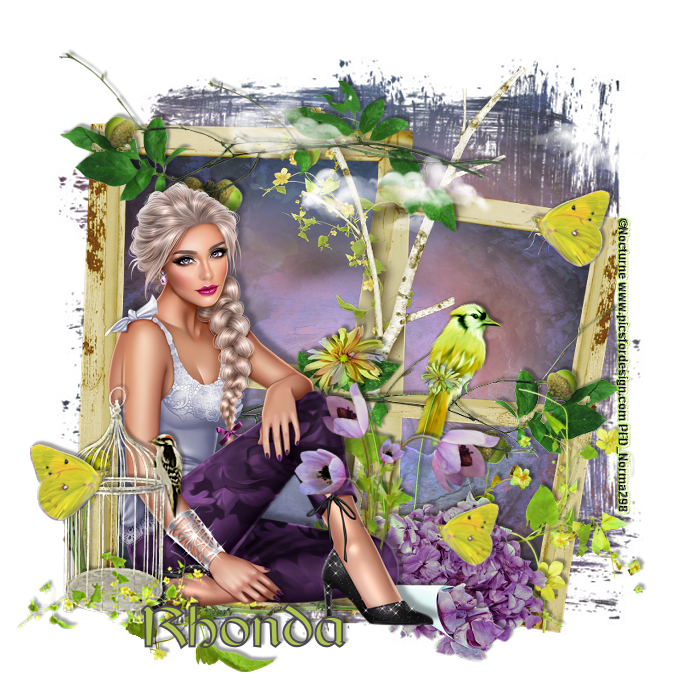
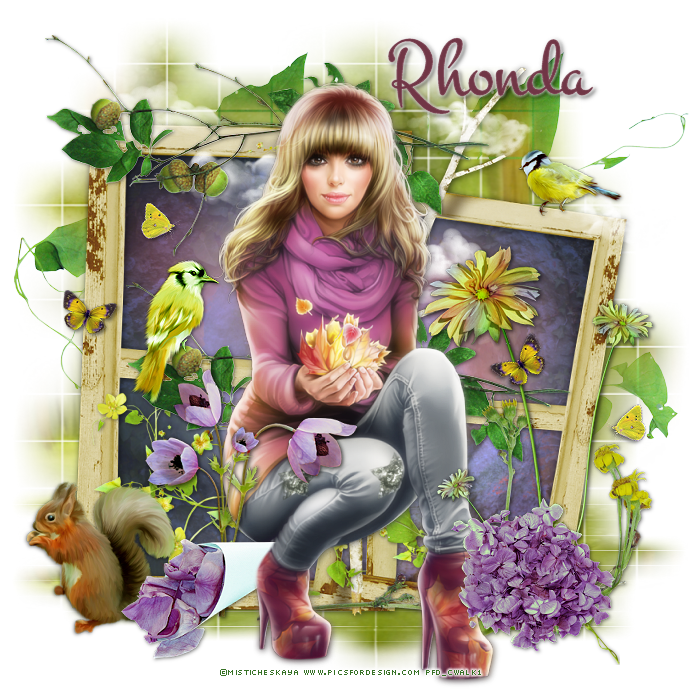
Tube of choice: I'm using the wonderful art work of Misticheskaya
You can purchase this tube at PFD HERE
FTU scrapkit by Jackie's Jewels called Enchanted Woods HERE
Mask of choice
Ok lets get started:
Open a blank 700x700 image
Open frame 3 - resize 85% and place in center
Using freehand tool draw around both sides of frame
Add new layer under frame
Open paper 6 & paste into selection
Select none
Merge frame and paper layer
Place your tube to bottom of frame - mine is facing right of frame
Apply these elements according to your tube
Open clouds - resize 57% and apply to top of frame 3
Open branch2 - resize 82% and place halfway in the middle of frame
Open flowers 2 and place toward bottom of frame
Open bird 2 - resize 50% and place to left side middle window
Open branch 2 - resize 82% and place to top of frame on left side
Open flowers 1 - resize 72% and place to bottom of right side
Open bird 1 - resize 40% and place to top of window to right side
Open flower 3 - resize 70% and place to right sideof frame
Open flower bundle - resize 45% and place in front of flower 3
Open flower 5 - resize 72% and place near center of frame to left
Open petals and place in front of flower 5
Open squirrel - resize 55% and place to far left at bottom of frame
Open as many butterflies as you want and place on tag
Merge layers
You can use the mask in the file if desired behind tag
Merge your layers
Open paper of choice & apply mask
I added the leaves 2 behind my mask
Place your name where you like it
Add the Copyright and your License Number for the tube
Resize to your liking and save as PNG
This tutorial was created on August 10,2017 by Rhonda
Any resemblance to another Tag or Tutorial is purely coincidental

This tutorial is written for those with knowledge of PSP
Supplies Needed:
Tube of choice: I'm using the wonderful art work of Ellie_Milk
You can purchase this work at PFD HERE
PTU Scrap Kit by Purple Dreams Scraps called Autumn Day
Kit can be purchased at PFD HERE
Template #671 by Millie HERE
Ok Lets get Started:
Open template - Shift D to duplicate then close out original
Deleted copyright
Click on layer 1 selections,select all, float,defloat
paste a paper of choice from the kit - I used paper2
selection invert delete
select none delete the original
Click on layer 2&3 selections,select all, float,defloat
paste a paper of choice from the kit - I used paper8
selection invert delete
select none delete the original
Click on layer 4 selections,select all, float,defloat
paste a paper of choice from the kit - I used paper6
selection invert delete
select none delete the original
Click on layer 5 selections,select all, float,defloat
paste a paper of choice from the kit - I used paper1
selection invert delete
select none delete the original
Click on layer 6&8 selections,select all, float,defloat
paste a paper of choice from the kit - I used paper7
selection invert delete
select none delete the original
Click on layer 7 selections,select all, float,defloat
paste a paper of choice from the kit - I used paper4
selection invert delete
select none delete the original
Decorate word art to your liking
Place tube to center
Now time to add our elements
I used the following:
Element 15
Element 28
Element 29
Element 30
Element 31
Element 34
Element 35
Element 40
Element 42
Element 43
Element 44
Element 46
Element 47
Element 53
Element 57
Element 60
Element 63
Merge your layers
Open paper of choice and apply mask
Place your name where you like it
Add the Copyright and your License Number for the tube
Resize to your liking and save as PNG
This tutorial was created on September 2,2017 by Rhonda
Any resemblance to another Tag or Tutorial is purely coincidental

This tutorial is written for those with knowledge of PSP
Supplies Needed:
Tube of choice: I'm using the wonderful art work of Vi Nina
This tube was purchased at S&CO
You can find her tubes now at her store HERE
Fall in Love Collab by Bibi HERE
Template #64 by Fired by Flamin HERE
Mask #12 by Candys Treat HERE
Ok Lets get Started:
Open template - Shift D to duplicate then close out original
I increased the size of my layers
Deleted copyright
Click on layer 1 selections,select all, float,defloat
paste a paper of choice from the kit - I used paper3
selection invert delete
select none delete the original
Click on layer 2 selections,select all, float,defloat
paste a paper of choice from the kit - I used paper2
selection invert delete
select none delete the original
Click on layer 3 selections,select all, float,defloat
paste a paper of choice from the kit - I used paper6
selection invert delete
select none delete the original
Click on layer 4 selections,select all, float,defloat
paste a paper of choice from the kit - I used paper1
selection invert delete
select none delete the original
Click on layer 5 selections,select all, float,defloat
paste a paper of choice from the kit - I used paper5
selection invert delete
select none delete the original
Click on layer 6 selections,select all, float,defloat
paste a paper of choice from the kit - I used element 87
selection invert delete
select none delete the original
Click on layer7 selections,select all, float,defloat
paste a paper of choice from the kit - I used paper3
selection invert delete
select none delete the original
Click on layer 8 selections,select all, float,defloat
paste a paper of choice from the kit - I used paper4
selection invert delete
select none delete the original
Decorate word art to your liking
Place your tube
Now time to add our elements
I used the following:
Element 3
Element 4
Element 8
Element 26
Element 31
Element 33
Element 38
Element 40
Element 41
Element 73
Element 77
Merge your layers
Open paper 1 and apply mask
Place your name where you like it
Add the Copyright and your License Number for the tube
Resize to your liking and save as PNG
This tutorial was created on September 1,2017 by Rhonda
Any resemblance to another Tag or Tutorial is purely coincidental
Subscribe to:
Posts
(Atom)
Grab My Blinkie

I CT For



Blogs I Visit
























