This tutorial is written for those with knowledge of PSPSupplies Needed:Tube of choice: I'm using the wonderful artwork of Alex PrihodkoTube was purchased at VMA HEREFTU cluster designed by Pammers HEREFTU kit created by Catty Creationz Dezines HEREWA of choiceCheck out Pammers and Catty's blog for more freebies!!!!!
Ok Let's get Started:Open cluster frameShift D to duplicate, close originalI resized mine but totally your choiceUsing freehand tool, draw around clusterOpen paper 6 from kitDrop down a layer and paste as new layerArrange how desired in background - select noneAdd tube of choice to tagI used elements 45,12 and 17 to my tag
I leave my layers open for future use
Place your name where you like itAdd the Copyright and your License Number for the tubeResize to your liking and save as PNGThis tutorial was created on Feb 26,2024 by RhondaAny resemblance to another Tag or Tutorial is purely coincidental

Pammers created this awesome Sunflower kit.Sunflowers are one of my favorite flowers, theycan be used any time of the year for me.Download this fabby kit HERE.Check out all the great freebies Pammers offeras well as the tutorials.
Rick click to downloadI would love to see any tags made please
Had a chance to work on some clusters with this great kitKit by Diamond Creations and can be downloaded HERE.Check out other kits by EmmaI'll be working with them also
Right click to save I would love to see tags designed with these clusters
This tutorial is written for those with knowledge of PSPSupplies Needed:Tube of choice: I'm using the wonderful artwork of Alicia MujicaTube purchased at store HEREFTU kit by Pammers Passion called Sunflower FallDownload kit HERECheck out other goodies on her blogWA and Mask of choice
Ok let's get started:Open 725x725 blank canvasOpen frame 1, resize and rotate 90 to rightMove frame to far right of canvasClick inside with magic wand and expand 12New layer under frame, open paper of choice and paste into selectionSelect noneBe sure to sharpen all resized elements and drop shadowOpen frame 2 and place to far leftOpen element 9 and place to center (adjust as needed)Apply tube to tag as desired
Use any elements of choice from kit. I used the followingElement 52Element 47Element 41Element 15Element 12Element 11Element 5Element 38
Apply WA and mask of choiceI keep my layers open
Place your name where you like itAdd the Copyright and your License Number for the tubeResize to your liking and save as PNGThis tutorial was created on February 12,2024 by RhondaAny resemblance to another Tag or Tutorial is purely coincidental
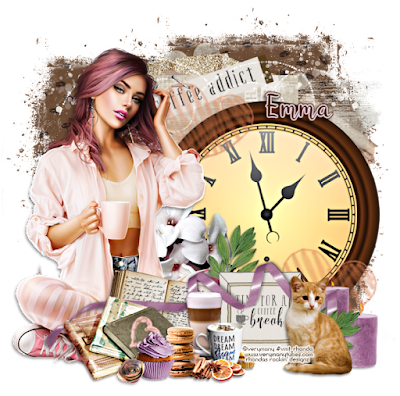
This tutorial is written for those with knowledge of PSPSupplies Needed:Tube of choice: I'm using the wonderful artwork of VeryManyTube was purchased at their store HEREFTU kit by Diamond Creations called Expresso Tales Download kit HEREMask #277 by MizTeeques HERE
Ok Let's get started:Open canvas 725x725Open element 18 and place to centerMove this layer up a littleOpen element 42 and place near top rightOpen element 34 and place to right sideOpen tube of choice and apply to left side
Start building your tag with other elements from kitI used the following:Element 54Element 3Element 4Element 5Element 13Element 19Element 25Element 26Element 27Element 28Element 33Element 35Element 48Element 52
Open paper of choice from kit and apply maskI leave my layers open to
Place your name where you like itAdd the Copyright and your License Number for the tubeResize to your liking and save as PNGThis tutorial was created on February 11,2024 by RhondaAny resemblance to another Tag or Tutorial is purely coincidental
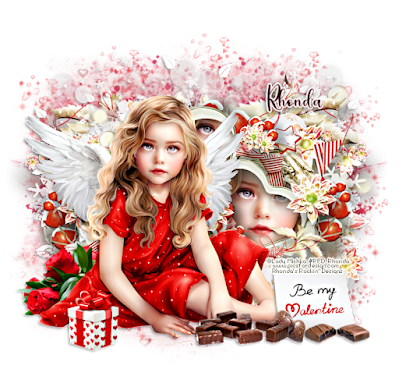
Ok Let's get Started:Open canvas 725x725Open element 10 from supplies and paste to canvasResize and move to right sideOpen tube of choice and paste to left sideI added parts of face into heart shapes on clusterOpen clusters 42,46,51 and 52 behind main clusterUse my tag as an example - resize if neededOpen other tubes and place on tag
Make sure to sharpen tubes after resize and drop shadow of choice
I keep all my layers open to use later if neededOpen paper of choice and add to canvasUse any masks of choice
Place your name where you like itAdd the Copyright and your License Number for the tubeResize to your liking and save as PNGThis tutorial was created on January 20,2024 by RhondaAny resemblance to another Tag or Tutorial is purely coincidental
This tutorial is written for those with knowledge of PSPSupplies Needed:A1 FTU kit & tube by April's Snagables "Be My Valentine"Kit and tube can be downloaded from her blog HEREBe sure to look at all April's graphics!!!Mask of choice
Ok Let's get Started:Open canvas 725x725Open frame 9, resize and place to left side of canvasOpen element 14, place to right side of frameOpen element 11, place to left in front of frameOpen element 32, place to right side of canvasOpen element 30, place to left side of canvasOpen element 29, place to right side of canvasOpen tube of choice and place where you want on tagI used tube element 49I used all cupcake elements and placed to left of canvas
I left all my layers openOpen paper of choice and apply mask of choice
Place your name where you like itAdd the Copyright and your License Number for the tubeResize to your liking and save as PNGThis tutorial was created on January 20,2024 by RhondaAny resemblance to another Tag or Tutorial is purely coincidental
Hope everyone is having a great 2024!!!Hard to believe last year went by so fast.It was a horrible year for me so not complaining.Ready to see what 2024 has for me.
I'm planning on creating more graphics and pushingmy boundaries in PSP.I want to learn how to create masks, templates,more cluster frames and other small designs Ihave seen on the internet.I will still be writing tutorials, but I want to changethat style as well. So be patient as I take these steps along the way.Thank you to everyone who has supported me.I appreciate you more than you know!!!!
Quick and easy tutorial!!!This tutorial is written for those with knowledge of PSPSupplies Needed:Tube of choice: I'm using the wonderful artwork of VeryManyTube can purchased at VMT HEREPTU kit by Kathy's PSP Designs called FallingKit can be purchased at PFD HERECheck out Kathy's blog for more freebies and goodies HEREMask of choiceWordArt of choice
Ok, let's get started:I have supplied 2 clusters I created belowChoose the one you preferAdd elements of your choice if neededOpen tube of choice and place on canvasApply mask and WA if needed
Place your name where you like itAdd the Copyright and your License Number for the tubeResize to your liking and save as PNGThis tutorial was created on January 12,2024 by RhondaAny resemblance to another Tag or Tutorial is purely coincidental
TTL hosted a Santa Approved blog train!!!!TY to all our wonderful members who took partTrain will depart the station on December 10Remember we are on different time zones If site not posted, come back laterEnjoy your ride and have a blessed Holiday season
Train Headquaters - HEREShelly - HEREJen - HERERhonda -HEREAnorie - HERELavada - HERE
I created 3 clusters and embellishment fromthese awesome kits.





























