Saturday, November 16, 2013
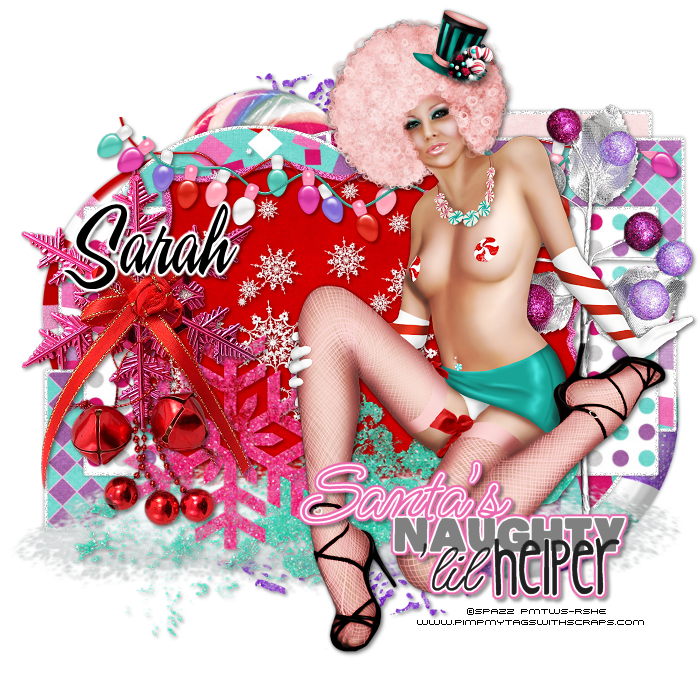
Supplies Needed:
Tube of choice: Im using the wonderful art work of SPAZZ
You must obtain a license to use this art at PMTWS HERE
PTU Scrap Collab Kit from Designs by Sarah called "Candy Girl"
You an purchase this awesome kit at Pimp My Tags With Scraps HERE
Template by Cakes only found in the Collab Kit at PMTWS HERE
until the first 40 have been purchased. Whichever comes first.
Xero Radiance
Open template - Shift D to duplicate then close out original
delete copyright
paste a paper of choice from the kit - I used paper1
selection invert delete
select none delete the original
paste a paper of choice from the kit - I used paper8
selection invert delete
select none delete the original
paste a paper of choice from the kit - I used paper2
selection invert delete
select none delete the original
paste a paper of choice from the kit - I used paper10
selection invert delete
select none delete the original
paste a paper of choice from the kit - I used paper12
selection invert delete
select none delete the original
paste a paper of choice from the kit - I used paper9
selection invert delete
select none delete the original
paste a paper of choice from the kit - I used paper5
selection invert delete
select none delete the original
I added a backing to all my layers with noise
Merge the wordart
Xero Radiance with settings of choice
I used the following:
Branch
Candy 7,8&9
Lights 1&2
Print 4
Snow
Snowflake Deco
Snowflakes
Add the Copyright and your License Number for the tube
Resize to your liking and save as PNG
This tutorial was created on November 16,2013 by Rhonda
Any resemblance to another Tag or Tutorial is purely coincidental

Friday, November 15, 2013
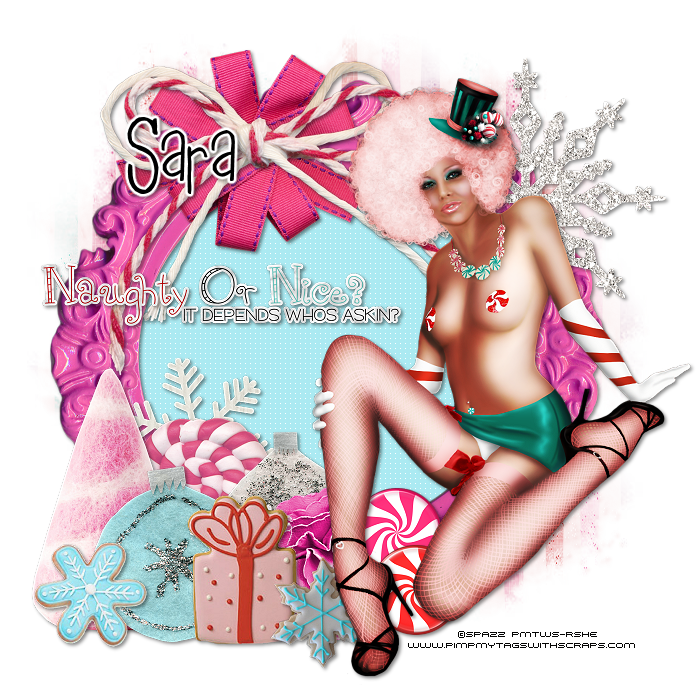
Supplies Needed:
Tube of choice: I'm using the wonderful art work of Spazz
Which you must obtain a license to use at PMTWS Store HERE
Collab Scrap Kit by Sara from Digital Indulgence called "Candy Girl"
You an purchase this awesome kit at Pimp My Tags With Scraps HERE
Mask of choice
until the first 40 have been purchased. Whichever comes first.
Xero Radiance
Penta Color Dot
Open blank canvas size 700x700
Open frame,resize and paste as new layer
Click inside frame with magic wand
Selections modify expand by 5
Add new layer under frame and flood fill with color of choice
Apply Penta Color Dot with settings of choice
Add tube to right of frame
Apply Xero Radiance with settings of choice
I used the following:
Bow 1
Brad 1&2
Candy tree
Cookies 1,2&3
Felt Ornament 1&2
Flower
Lollie
Ribbon Bow
Snowflake 1&2
Wordart
Open paper 8 & apply mask
Add the Copyright and your License Number for the tube
Resize to your liking and save as PNG
This tutorial was created on November 16,2013 by Rhonda
Any resemblance to another Tag or Tutorial is purely coincidental
Tuesday, November 12, 2013

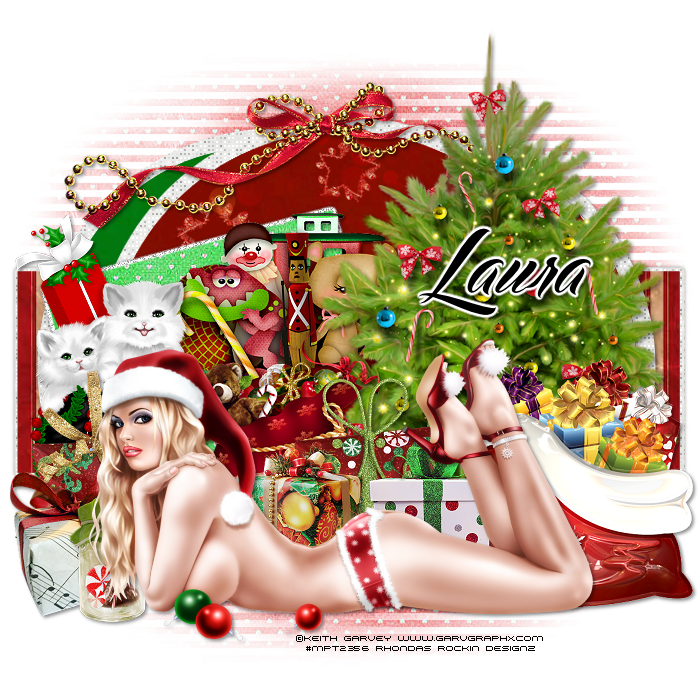
Supplies Needed:
Tube of choice: Im using the wonderful art work of Keith Garvey
This tube ws purchased at MPT which has closed
You can purchase his tubes at his store HERE
PTU Scrap Kit by Laura from Tiny Turtle Design called "Christmas Fairy"
You an purchase this awesome kit at her store HERE
Easter Template #4 by Tracy HERE
Mask of choice
Xero Radiance
Xero Fritillary
Open template - Shift D to duplicate then close out original
Canvas 700x700
Delete copyright,square 2 & glitter square 2
paste a paper of choice from the kit - I used paper16
selection invert delete
select none delete the original
apply Xero Fritillary with settings of choice
paste a paper of choice from the kit - I used paper12
selection invert delete
select none delete the original
paste a paper of choice from the kit - I used paper16
selection invert delete
select none delete the original
apply Xero Fritillary with settings of choice
paste a paper of choice from the kit - I used paper16
selection invert delete
apply Xero Fritillary with settings of choice
paste a paper of choice from the kit - I used paper39
selection invert delete
select none delete the original
paste a paper of choice from the kit - I used paper20
selection invert delete
select none delete the original
paste a paper of choice from the kit - I used paper16
selection invert delete
select none delete the original
apply Xero Fritillary with settings of choice
paste a paper of choice from the kit - I used paper38
selection invert delete
select none delete the original
paste a paper of choice from the kit - I used paper14
selection invert delete
select none delete the original
Add Xero Radiance again
I used the following:
Element 16
Element 31
Element 32
Element 45
Element 52
Element 83
Element 84
Element 94
Element 159
Element 160
Element 163
Element 187
Element 199
Open paper 27 & apply mask of choice
Add the Copyright and your License Number for the tube
Resize to your liking and save as PNG
This tutorial was created on November 10,2013 by Rhonda
Any resemblance to another Tag or Tutorial is purely coincidental
Saturday, November 9, 2013

Supplies Needed:
Tube of choice: I'm using the wonderful art work of Ellie_Milk
You can purchase these tubes at PFD HERE
FTU Scrap Kit by Topcats Tagz called Fall Ball HERE
Mask #10 by Melissaz Creationz HERE
Don't forget to leave a thank you when downloading
Open blank canvas size 700x700
Open element 44 & place in center of canvas
Grab the magic wand & click inside frame
Selections modify expand by 6
Open paper 3 & paste as new layer
Selections invert delete
Move paper under frame
Open element 54 & paste to top left of frame
Place tube in center of frame
Open element 53 & paste to bottom left of frame
Open element 14 - resize 60% & paste near the apples in the basket
Open element 16 - image mirror & paste to bottom right of frame
Open element 15 - resize 53% & paste in front of basket near the top of basket
Open element 21 and paste to bottom of the baskets to the left
Layers duplicate image mirror (You should have pumpkins at bottom of tag)
Open element 14 again & resize - paste between the pumpkins
Open paper 4 & apply mask
Add the Copyright and your License Number for the tube
Resize to your liking and save as PNG
This tutorial was created on October 30,2013 by Rhonda
Any resemblance to another Tag or Tutorial is purely coincidental
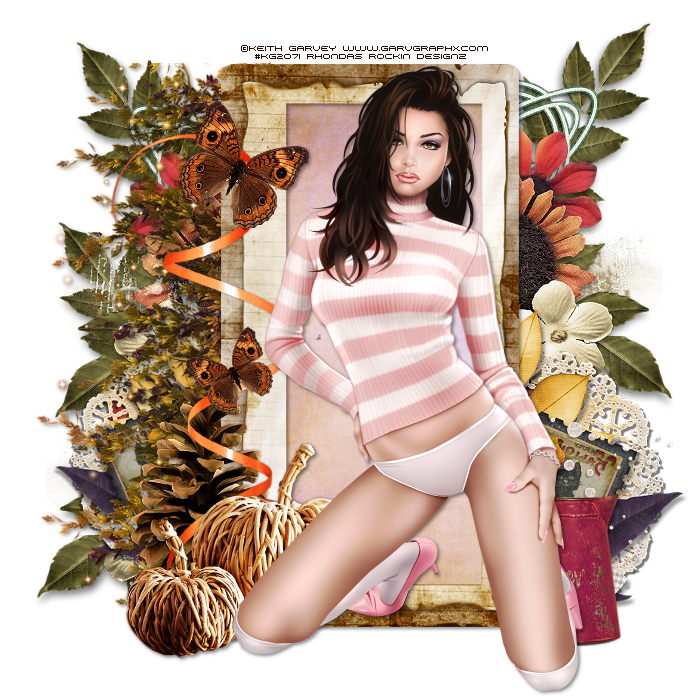
Supplies Needed:
Tube of choice: Im using the wonderful art work of Keith Garvey
You can purchase his tubes at Garv - Girls PSP HERE
FTU Cluster Frame by Millie HERE
FTU Cluster Frame by Kimeric Kreations HERE
FTU Cluster Frame by Kimeric Kreations HERE
FTU Add on Kit by Raspberry Road HERE
Don't forget to leave a thank you when downloading
Open Millie's cluster frame - Shift D to duplicate then close out original
Canvas size 700x700
Grab the freehand tool and go around the frame
Open paper 1 from kit - resize paper 20%
Paste as new layer under frame
Selections invert delete
Open the 2 cluster frames from Kimeric Kreations and resize
Place frames where desired under main frame
Open element 1 from kit and place on tag
Merge your layers
Add the Copyright and your License Number for the tube
Resize to your liking and save as PNG
This tutorial was created on November 9,2013 by Rhonda
Any resemblance to another Tag or Tutorial is purely coincidental

Supplies Needed:
Tube of choice: Im using the wonderful art work of Alex Prihodko
You must obtain a license to use his work at PFD HERE
PTU Scrap Kit by from Designs by Sarah called "Thankful"
You an purchase this awesome kit at Pimp My Tags With Scraps HERE
Template #404 from Millie HERE
Mask #218 by Gems HERE
Xero Radiance
Open template - Shift D to duplicate then close out original
Resize all layers 90%
Canvas size 700x700
delete copyright
paste a paper of choice from the kit - I used paper6
selection invert delete
select none delete the original
paste a paper of choice from the kit - I used paper2
selection invert delete
select none delete the original
paste a paper of choice from the kit - I used paper7
selection invert delete
select none delete the original
paste a paper of choice from the kit - I used paper1
selection invert delete
select none delete the original
paste a paper of choice from the kit - I used paper4
selection invert delete
select none delete the original
paste a paper of choice from the kit - I used paper3
selection invert delete
select none delete the original
Xero Radiance with settings of choice
I used the following:
Branch 1
Corner
Flower 3,4&7
Leaves
Letter
Indian Corn
Pumpkin
Open paper 5 & apply mask
Add the Copyright and your License Number for the tube
Resize to your liking and save as PNG
This tutorial was created on November 9,2013 by Rhonda
Any resemblance to another Tag or Tutorial is purely coincidental
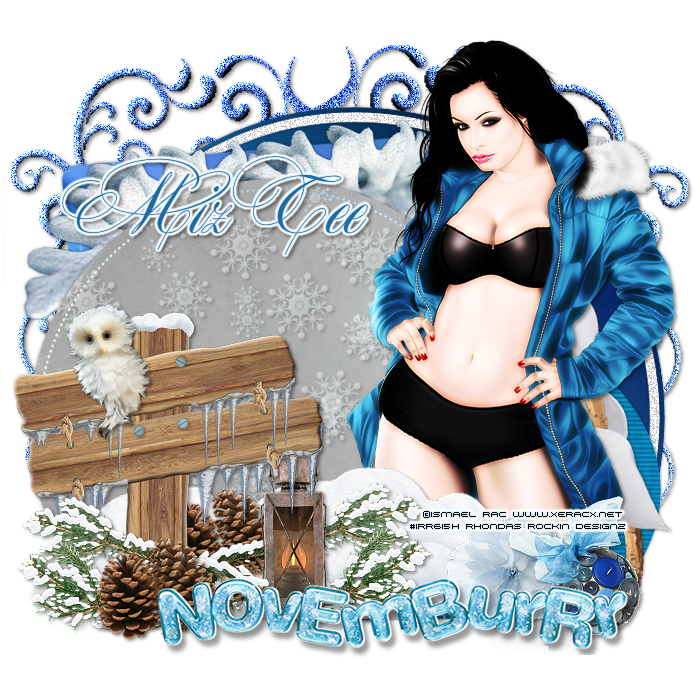
Supplies Needed:
Tube of choice: Im using the wonderful art work of Ismael Rac
You can purchase his tubes at his store HERE
PTU Scrap Kit by Mizteeque from called "Winter Whispers"
You an purchase this awesome kit HERE
CDo Exclusive Template #4 by Dee HERE
You will have to scroll down page for templates
Font Maratre HERE
Don't forget to leave a thank you when downloading
Xero Radiance
Open template - Shift D to duplicate then close out original
Canvas size 700x700
Delete copyright, white & blue squares & blurred text
paste a paper of choice from the kit - I used paper1
selection invert delete
select none delete the original
add noise with settings of choice
paste a paper of choice from the kit - I used paper2
selection invert delete
select none delete the original
paste a paper of choice from the kit - I used paper3
selection invert delete
select none delete the original
paste a paper of choice from the kit - I used paper4
selection invert delete
select none delete the original
I changed the color by using the Hue & Saturation tool
paste a paper of choice from the kit - I used paper3
selection invert delete
select none delete the original
paste a paper of choice from the kit - I used paper11
selection invert delete
select none delete the original
I deleted part of mine
apply Xero Radaince with settings of choice
I used the following:
Element 4
Element 6
Element 10
Element 21
Element 24
Element 27
Element 35
Element 38
Element 45
Element 49
Element 51
Element 55
Add the Copyright and your License Number for the tube
Resize to your liking and save as PNG
This tutorial was created on November 9,2013 by Rhonda
Any resemblance to another Tag or Tutorial is purely coincidental
Wednesday, October 30, 2013

Tube of choice: Im using the wonderful art work of Ismael Rac
You can purchase his tubes HERE
PTU Scrap Kit by Jen from Sweets Temptations called "Christmas Ribbon"
You can purchase this kit on her blog HERE
Template #19 by Wendy HERE
Mask 56 from Rosesblack HERE
Don't forget to leave a thank you when downloading
Plugins Used:
Xero Radiance
Xero Fritillary
Open template - Shift D to duplicate then close out original
Canvas size 700x7000
I deleted copyright & dotted lines
paste a paper of choice from the kit - I used paper6
selection invert delete
select none delete the original
paste a paper of choice from the kit - I used paper5
selection invert delete
select none delete the original
add new layer and flood fill with color of choice
add Xero Fritillary with settings of choice
select none delete the original
Apply Xero radiance with settings of choice
Bells
Box
Candycane
Cat Ornament
Cup
House
Ornament 1&2
Reindeer
Stocking
Apply mask
Add the Copyright and your License Number for the tube
Resize to your liking and save as PNG
This tutorial was created on December 23,2012 by Rhonda
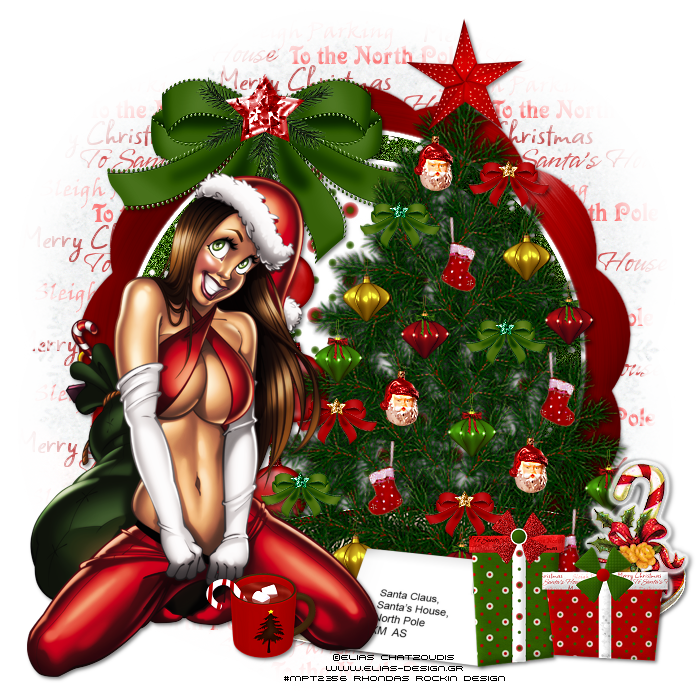
Which you must obtain a license to use at his store HERE
This tube was purchased at MPT which has closed
FTU Scrap Kit by Vaybs called "To The North Pole"
You an download this awesome kit HERE
Chrsitmas Mask #11 by Vaybs HERE
Plugins Used:
Xero Radiance
Open a white blank canvas 700x700
Open element 25 from kit and place as a new layer
Grab the magik wand and click inside frame
Selections Modify expand by 10
Open paper 10 from kit and place as a new layer
Selections - invert - delete
Move layer under frame
Open element 35 - place to right of frame
Open tube and place to left of frame
Open element 41 and resize 42% - place behind tube with address showing
Open element 23 resize 45% - move beside the letter
Open element 6 and place to far right of tree
Open element 22 and resize 42% - place beside other present
Open element 40 resize 42% and place in front of tube
Open paper 6 from kit and place under tag
Open mask and apply
Add the Copyright and your License Number for the tube
Resize to your liking and save as PNG
This tutorial was created on December 9,2012 by Rhonda
Any resemblance to another Tag or Tutorial is purely coincidental
Subscribe to:
Posts
(Atom)
Grab My Blinkie

I CT For



Blogs I Visit
























