Tuesday, September 29, 2015
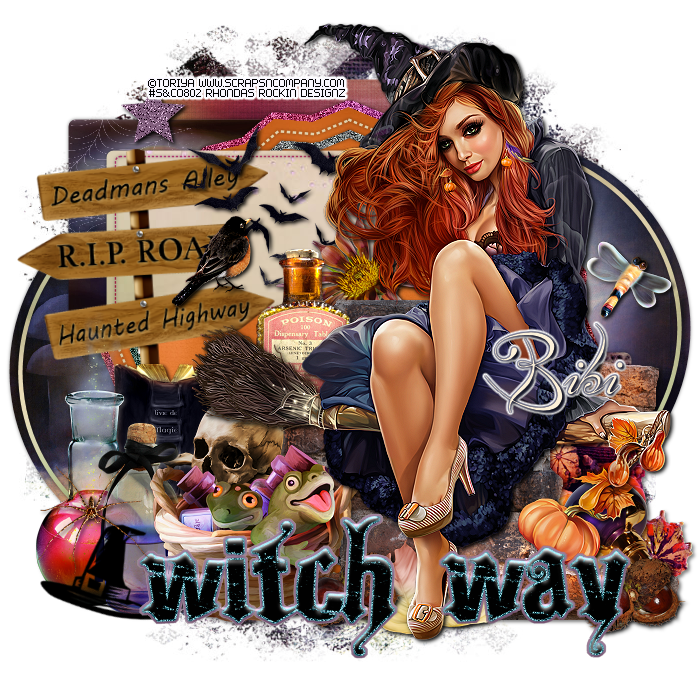
This tutorial is written for those with knowledge of PSP
Supplies Needed:
Tube of choice: I'm using the wonderful art work of Toriya
You must obtain a license to use this art at S&Co HERE
PTU Scrapkit from Bibi that matches the tube HERE
Collab Template #1 by Millie & Dee HERE
Mask of choice
Ok Lets get Started:
Open template - Shift D to duplicate then close out original
Canvas size 700x700
Delete copyright, bottom blue & orange rectangle and bottom dotted rectangle
Click on top orange rectange selections,select all, float,defloat
paste a paper of choice from the kit - I used paper6
selection invert delete
select none delete the original
Click on right & left blue circle selections,select all, float,defloat
paste a paper of choice from the kit - I used paper4
selection invert delete
select none delete the original
Click on right & left black circle selections,select all, float,defloat
paste a paper of choice from the kit - I used paper14
selection invert delete
select none delete the original
Click on top green rectangle selections,select all, float,defloat
paste a paper of choice from the kit - I used paper2
selection invert delete
select none delete the original
Click on orange middle selections,select all, float,defloat
paste a paper of choice from the kit - I used paper8
selection invert delete
select none delete the original
Click on purple middle selections,select all, float,defloat
paste a paper of choice from the kit - I used paper12
selection invert delete
select none delete the original
Click on green middle selections,select all, float,defloat
paste a paper of choice from the kit - I used paper11
selection invert delete
select none delete the original
add noise
Click on dotted middle selections,select all, float,defloat
paste a paper of choice from the kit - I used paper14
selection invert delete
select none delete the original
Click on top blue rectangle selections,select all, float,defloat
paste a paper of choice from the kit - I used paper3
selection invert delete
select none delete the original
Click on top dotted rectangle selections,select all, float,defloat
paste a paper of choice from the kit - I used paper7
selection invert delete
select none delete the original
Add noise to star
Decorate word art as you choose or leave as is
Place your tube
Now time to add our elements
I used the following:
Element 17
Element 24
Element 25
Element 40
Element 42
Element 45
Element 55
Element 56
Element 57
Element 92
Element 119
Element 128
Element 140
Element 154
Merge your layers
Open paper of choice & apply mask
Place your name where you like it
Add the Copyright and your License Number for the tube
Resize to your liking and save as PNG
This tutorial was created on September 29,2015 by Rhonda
Any resemblance to another Tag or Tutorial is purely coincidental

Monday, September 28, 2015


This tutorial is written for those with knowledge of PSP
Supplies Needed:
Tube of choice: I'm using the wonderful art work of Pinup Toons
You can purchase these tubes at CDO HERE
FTU Scrapkit by HorsePlay's Pasture Desgns HERE
Kit is called Punkin Pickin' Time
Fall Template #2 TwyztedT's Playroom HERE
Mask #36 by Chrissy Chaos HERE
Don't forget to leave a thank you when downloading
Ok Lets get Started:
Open template - Shift D to duplicate then close out original
Resize template to your desired size
Increase canvas size if needed
Delete copyright. I deleted all small squares except top one
Click on layer 7 selections,select all, float,defloat
paste a paper of choice from the kit - I used paper1
selection invert delete
select none delete the original
Click on layer 3 selections,select all, float,defloat
paste a paper of choice from the kit - I used paper10
selection invert delete
select none delete the original
Click on layer 13 selections,select all, float,defloat
paste a paper of choice from the kit - I used paper2
selection invert delete
select none delete the original
Click on layer 6 selections,select all, float,defloat
paste a paper of choice from the kit - I used paper9
selection invert delete
select none delete the original
Click on raster 5 selections,select all, float,defloat
paste a paper of choice from the kit - I used paper4
selection invert delete
select none delete the original
Click on raster 4 selections,select all, float,defloat
paste a paper of choice from the kit - I used paper14
selection invert delete
select none delete the original
Click on raster 2 selections,select all, float,defloat
paste a paper of choice from the kit - I used paper7
selection invert delete
select none delete the original
I applied to a texture to the leaf
Place your main tube
Now add any other elements of choice
I used the following:
Element 1
Element 3
Element 8
Element 14
Element 20
Element 21
Element 22
Element 33
Element 34
Element 36
Element 47
Element 48
Element 49
Element 53
Element 56
Merge your layers
Open paper 5 and apply mask
Place your name where you like it
Add the Copyright and your License Number for the tube
Resize to your liking and save as PNG
This tutorial was created on September 28,2015 by Rhonda
Any resemblance to another Tag or Tutorial is purely coincidental

This tutorial is written for those with knowledge of PSP
Supplies Needed:
Tube of choice: I'm using the wonderful art work of VeryMany
You must obtain a license to use HERE
FTU Scrapkit from Gold Dust HERE
Mask of choice
Ok Lets get Started:
Resize elements to your liking
This is a very quick and easy tutorial
Open blank canvas 700x700
Open frame 2 & paste in center
Open frame 5 & paste on top
Merge the two layers as one
Click inside with magic wand & expand by 10
Open paper 7 and paste as new layer
Selections invert delete
Move paper under frame
Place your main tube & build around it
Now time to add our elements
I used the following:
Basket 2
Basket of Apples
Bird
Gourds
Spray 2&3
Leaf 1&6
Mushroom 3&5
Pinecomb
Pumpkin 1
Squirrel 2
Sticker
Tree 3
Merge layers
Open paper of choice and apply mask
Place your name where you like it
Add the Copyright and your License Number for the tube
Resize to your liking and save as PNG
This tutorial was created on September 28,2015 by Rhonda
Any resemblance to another Tag or Tutorial is purely coincidental
Saturday, September 26, 2015

This tutorial is written for those with knowledge of PSP
Supplies Needed:
Tube of choice: I'm using the wonderful art work of Zlatam_M
You can purchase this work HERE
FTU Scrapkit by Topcat HERE
JME_Lost Template#2 HERE
Mask #6 by Allison's Addictions HERE
Don't forget to leave a thank you when downloading
Ok Lets get Started:
Open template - Shift D to duplicate then close out original
Resize template 94% all layers
Increase canvas to 700x700
Deleted copyright,word art,vine and thin line
Click on layer 4 selections,select all, float,defloat
paste a paper of choice from the kit - I used paper7
selection invert delete
select none delete the original
Click on layer 1 selections,select all, float,defloat
paste a paper of choice from the kit - I used paper3
selection invert delete
select none delete the original
Click on layer 2 selections,select all, float,defloat
paste a paper of choice from the kit - I used paper13
selection invert delete
select none delete the original
Click on layer 3 selections,select all, float,defloat
paste a paper of choice from the kit - I used paper9
selection invert delete
select none delete the original
Place your tube to center of tag
Xero Radiance with settings of choice
Now time to add our elements
I used the following:
Element 4
Element 9
Element 11
Element 29
Element 36
Element 38
Element 40
Element 41
Element 44
Merge your layers
Open paper 13 and apply mask
Place your name where you like it
Add the Copyright and your License Number for the tube
Resize to your liking and save as PNG
This tutorial was created on September 15,2015 by Rhonda
Any resemblance to another Tag or Tutorial is purely coincidental
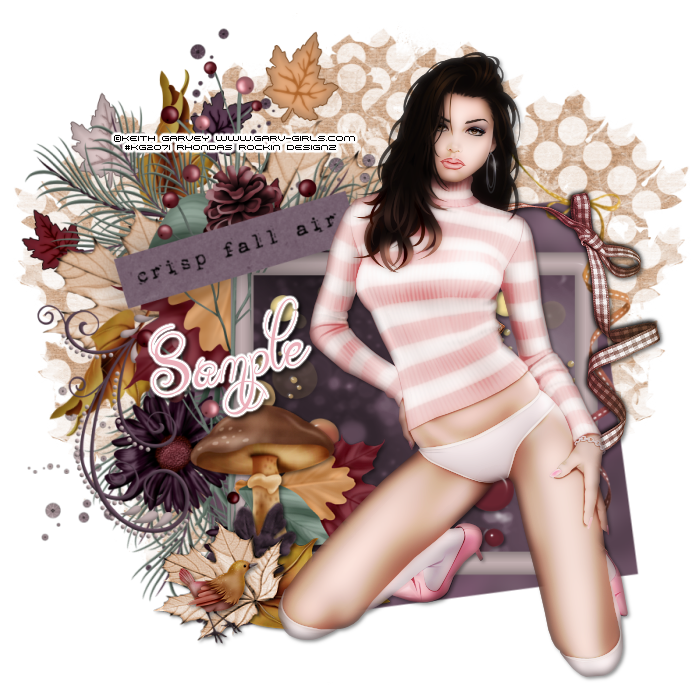
This tutorial is written for those with knowledge of PSP
Supplies Needed:
Tube of choice: I'm using the wonderful art work of Keith Garvey
You can purchase these tubes HERE
FTU kit by Melissaz Creationz HERE
Mask by Rachel Designs HERE
Ok Lets get Started:
Open blank canvas 700x700
Open cluster and place to center
Using selection tool draw around cluster
Open new layer under cluster
Open paper 1 & paste into selection
Select none
Place your tube where you want it
Add your elements around the tube
Here are the ones I used:
Elements 4
Elements 5
Elements 14
Elements 19
Elements 20
Elements 21
Elements 23
Elements 24
Merge layers
Open paper 4 and apply mask
Place your name where you like it
Add the Copyright and your License Number for the tube
Resize to your liking and save as PNG
This tutorial was created on September 26,2015 by Rhonda
Any resemblance to another Tag or Tutorial is purely coincidental
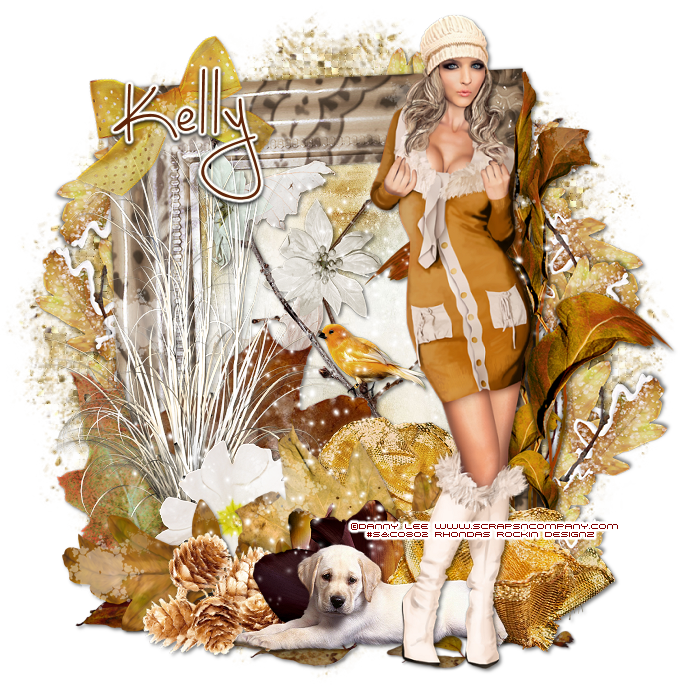
This tutorial is written for those with knowledge of PSP
Supplies Needed:
Tube of choice: I'm using the wonderful art work of Danny Lee
You must obtain a license to use his art at S&CO HERE
PTU Scrapkit by Kizzed by Kelz called "Sexy Autumn" at S&CO HERE
Mask of choice
Ok Lets get Started:
This is a very quick and easy tutorial
Open blank canvas 700x700
Open element 115 & place in center
Grab the magic wand & click inside frame
Selections modify expand by 10
Add new layer under frame
Open paper 4 & paste into selections
Select none
Place main tube to right of tag
Add any other elements you want from the kit
I used:
Element 6
Element 7
Element 17
Element 28
Element 29
Element 30
Element 31
Element 36
Element 54
Element 59
Element 62
Element 73
Element 78
Element 79
Element 80
Element 81
Element 82
Element 92
Element 101
Element 102
Merge layers
Open paper 26 & apply mask of choice
Place your name where you like it
Add the Copyright and your License Number for the tube
Resize to your liking and save as PNG
This tutorial was created on September 26,2015 by Rhonda
Any resemblance to another Tag or Tutorial is purely coincidental
Thursday, September 24, 2015

This tutorial is written for those with knowledge of PSP
Supplies Needed:
Tube of choice: I'm using the wonderful art work of Danny Lee
You can purchase his tubes at S&CO HERE
PTU Scrap Kit by Purple Dream Scraps called Autumn Blessing
You can purchase this awesome kit at one of her stores HERE
Mask of choice
Ok Lets get Started:
Open a blank image 700x700
Open element 45 and place as a new image
Grab the magik wand and click inside frame
Select modify expand by 10
Open paper 4 and place as a new layer
Selections invert - delete
Place your tube
Now add any elements of choice
I used the following:
Element 1
Element 2
Element 4
Element 10
Element 16
Element 17
Element 19
Element 20
Element 23
Element 24
Element 27
Element 28
Element 29
Element 30
Element 32
Element 33
Element 35
Element 36
Element 37
Element 41
Element 43
Element 52
Element 53
Element 54
Merge your layers
Open paper of choice and apply mask
Place your name where you like it
Add the Copyright and your License Number for the tube
Resize to your liking and save as PNG
This tutorial was created on September 23,2015 by Rhonda
Any resemblance to another Tag or Tutorial is purely coincidental

This tutorial is written for those with knowledge of PSP
Supplies Needed:
Tube of choice: I'm using the wonderful art work of Misticheskaya
You can purchase these tubes at PFD HERE
PTU Scrap Kit by Ginnibug Designz HERE
I purchased this kit from S&CO called Orange Autumn HERE
Template #695 by Millie HERE
Don't forget to leave a thank you when downloading
Ok Lets get Started:
Open template - Shift D to duplicate then close out original
Canvas size 700x700
Delete copyright,layers 8&9
Click on layer 1 selections,select all, float,defloat
paste a paper of choice from the kit - I used paper17
selection invert delete
select none delete the original
Click on layer 2 selections,select all, float,defloat
paste a paper of choice from the kit - I used paper2
selection invert delete
select none delete the original
Click on layer 3 selections,select all, float,defloat
paste a paper of choice from the kit - I used paper4
selection invert delete
select none delete the original
Click on layer 4 selections,select all, float,defloat
paste a paper of choice from the kit - I used paper21
selection invert delete
select none delete the original
Click on layer 5 selections,select all, float,defloat
paste a paper of choice from the kit - I used paper22
selection invert delete
select none delete the original
Click on layer 6 selections,select all, float,defloat
paste a paper of choice from the kit - I used paper23
selection invert delete
select none delete the original
Click on layer 7 selections,select all, float,defloat
paste a paper of choice from the kit - I used paper20
selection invert delete
select none delete the original
Decorate wordart to your liking
Place your tube
apply Xero radiance with settings of choice
Now add any other elements of choice
I used the following:
Element 20
Element 21
Element 23
Element 32
Element 47
Element 61
Element 72
Element 82
Element 94
Element 99
Merge your layers
Place your name where you like it
Add the Copyright and your License Number for the tube
Resize to your liking and save as PNG
This tutorial was created on September 23,2015 by Rhonda
Any resemblance to another Tag or Tutorial is purely coincidental

This tutorial is written for those with knowledge of PSP
Supplies Needed:
Tube of choice: I'm using the wonderful art work of VeryMany
You can purchase their work at their store HERE
FTU Scrap Kit by HorsePlay's Pasture Designs HERE
Kit called Autumn Sunset
Template #186 by Denz Designz HERE
Mask of choic3
Don't forget to leave a thank you when downloading
Ok Lets get Started:
Open template - Shift D to duplicate then close out original
Canvas size 700x700
Deleted copyright, heart line & small circles
Click on red strip selections,select all, float,defloat
paste a paper of choice from the kit - I used paper4
selection invert delete
select none delete the original
Click on pink square selections,select all, float,defloat
paste a paper of choice from the kit - I used paper3
selection invert delete
select none delete the original
Click on black circle selections,select all, float,defloat
paste a paper of choice from the kit - I used paper9
selection invert delete
select none delete the original
Click on pink circle 1&2 selections,select all, float,defloat
paste a paper of choice from the kit - I used paper15
selection invert delete
select none delete the original
Click on back 1&22 selections,select all, float,defloat
paste a paper of choice from the kit - I used paper2
selection invert delete
select none delete the original
Click on frame 1&2 selections,select all, float,defloat
paste a paper of choice from the kit - I used paper7
selection invert delete
select none delete the original
Click on black strip selections,select all, float,defloat
paste a paper of choice from the kit - I used paper5
selection invert delete
select none delete the original
Click on red strip selections,select all, float,defloat
paste a paper of choice from the kit - I used paper1
selection invert delete
select none delete the original
Place your main tube to left of tag
Xero Radiance with settings of choice
Now time to add our elements
I used the following:
Element 16
Element 17
Element 18
Element 12
Element 13
Element 14
Element 18
Element 19
Element 37
Element 40
Element 48
Element 49
Element 52
Element 53
Element 55
Element 59
Element 61
Element 74
Element 76
Element 80
Merge your layers
Open paper 12 and apply mask of choice
Place your name where you like it
Add the Copyright and your License Number for the tube
Resize to your liking and save as PNG
This tutorial was created on Sptember 22,2015 by Rhonda
Any resemblance to another Tag or Tutorial is purely coincidental
Subscribe to:
Posts
(Atom)
Grab My Blinkie

I CT For



Blogs I Visit
























