Saturday, April 23, 2016
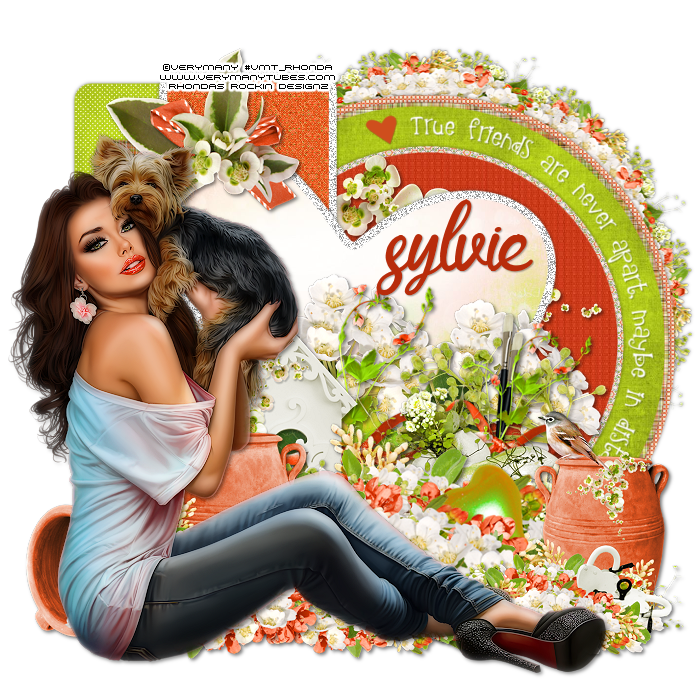
This tutorial is written for those with knowledge of PSP
Supplies Needed:
Tube of choice: I'm using the wonderful art work of VeryMany
You can purchase their art HERE
PTU Scrapkit by Dees Design called Amongst Friends
Kit can be purchased at DeesSign Depot HERE
Collab Template by Dee and Sylvie HERE
Ok Lets get Started:
Open template - Shift D to duplicate then close out original
Resize template to your liking
Deleted copyright, blue top and bottom squares & dotted outline
Click on green circle selections,select all, float,defloat
paste a paper of choice from the kit - I used paper6
selection invert delete
select none delete the original
Click on large white circle selections,select all, float,defloat
paste a paper of choice from the kit - I used paper3
selection invert delete
select none delete the original
Click on pink circle selections,select all, float,defloat
paste a paper of choice from the kit - I used paper11
selection invert delete
select none delete the original
Click on small white circle selections,select all, float,defloat
paste a paper of choice from the kit - I used paper10
selection invert delete
select none delete the original
Click on yellow circle selections,select all, float,defloat
paste a paper of choice from the kit - I used paper7
selection invert delete
select none delete the original
Click on green rectangle selections,select all, float,defloat
paste a paper of choice from the kit - I used paper12
selection invert delete
select none delete the original
Add noise to the 3 white squares
Click on pink,blue and yellow squares selections,select all, float,defloat
paste a paper of choice from the kit - I used paper1
selection invert delete
select none delete the original
Add noise to white heart
Click on pink heart selections,select all, float,defloat
paste a paper of choice from the kit - I used paper15
selection invert delete
select none delete the original
Click on small hearts selections,select all, float,defloat
Add new layer and flood fill with solid color of choice
select none delete the original
Place your tube
Xero Porcelin with settings of choice
Now time to add our elements
I used the following:
Element 2c
Element 17
Element 31
Element 45b
Element 46
Element 48c
Element 49b
Element 58b
Element 58c
Element 65
Element 90
Element 91b
Element 97
Place your name where you like it
Add the Copyright and your License Number for the tube
Resize to your liking and save as PNG
This tutorial was created on April 23,2016 by Rhonda
Any resemblance to another Tag or Tutorial is purely coincidental

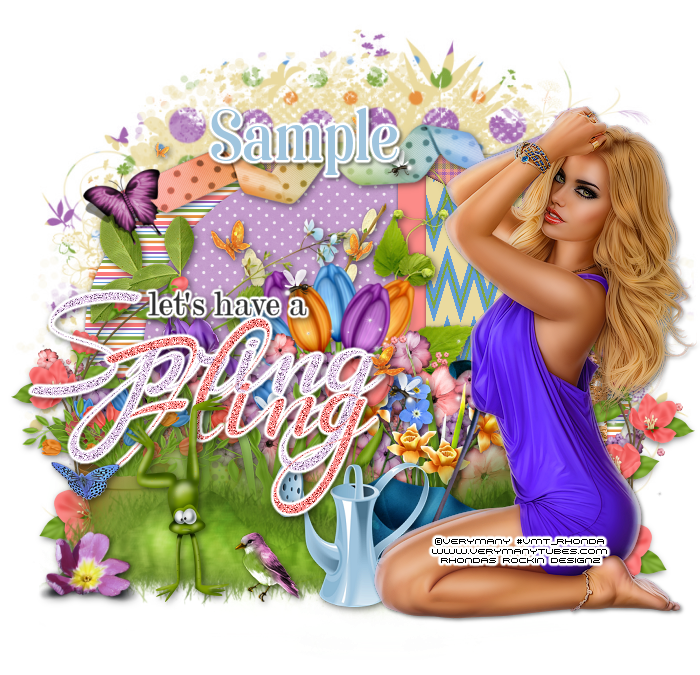
This tutorial is written for those with knowledge of PSP
Supplies Needed:
Tube of choice: I'm using the wonderful art work of VeryMany
You can purchase their art HERE
FTU Scrapkit by Melissaz Creationz HERE
Template 813 by Millie HERE
Mask by Dangerously Delicious Designz HERE
2nd mask down is the one I used
Don't forget to leave a thank you when downloading
Ok Lets get Started:
Open template - Shift D to duplicate then close out original
Canvas size 700x700
Deleted copyright
Click on layer 1 selections,select all, float,defloat
paste a paper of choice from the kit - I used paper3
selection invert delete
select none delete the original
Click on layers 2&4 selections,select all, float,defloat
paste a paper of choice from the kit - I used paper2
selection invert delete
select none delete the original
Click on layer 3 selections,select all, float,defloat
paste a paper of choice from the kit - I used paper7
selection invert delete
select none delete the original
Click on layer 5 selections,select all, float,defloat
paste a paper of choice from the kit - I used paper5
selection invert delete
select none delete the original
Click on layer 6 selections,select all, float,defloat
add new layer and flood fill a solid color of choice
select none delete the original
Click on layer 7 selections,select all, float,defloat
paste a paper of choice from the kit - I used paper9
selection invert delete
select none delete the original
Decorate word art to your liking
Place your tube
Xero Porcelin with settings of choice
Now time to add our elements
I used the following:
Element 1
Element 5
Element 9
Element 11
Element 12
Element 15
Element 16
Element 17
Element 18
Element 19
Element 20
Element 22
Element 24
Element 25
Element 26
Element 27
Element 28
Element 30
Element 31
Element 34
Element 35
Element 36
Element 38
Merge your layers
Open paper 6 and apply mask
Place your name where you like it
Add the Copyright and your License Number for the tube
Resize to your liking and save as PNG
This tutorial was created on April 23,2016 by Rhonda
Any resemblance to another Tag or Tutorial is purely coincidental

This tutorial is written for those with knowledge of PSP
Supplies Needed:
Tube of choice: I'm using the wonderful art work of Ismael Rac
Which you must obtain a license to use at his store HERE
PTU Scrap Kit by Jen from Sweet Temptations called "Big Dreams"
You can purchase this awesome kit from one of her stores HERE
Template #25 by Just Like Candy Designs HERE
Mask of choice
Ok Lets get Started:
Open template - Shift D to duplicate then close out original
Resize to your liking
Canvas size 700x700
Delete copyright
Click on center light brown selections,select all, float,defloat
paste a paper of choice from the kit - I used paper4
selection invert delete
select none delete the original
Click on left vertical rectangle selections,select all, float,defloat
paste a paper of choice from the kit - I used paper6
selection invert delete
select none delete the original
Click on middle rectangle selections,select all, float,defloat
paste a paper of choice from the kit - I used paper5
selection invert delete
select none delete the original
Click on right light brown selections,select all, float,defloat
paste a paper of choice from the kit - I used paper9
selection invert delete
select none delete the original
Click on both circles selections,select all, float,defloat
paste a paper of choice from the kit - I used paper10
selection invert delete
select none delete the original
Add close-up of tube inside circles
Change blend mode to overlay
Apply Xero Radiance with default settings
Place your tube
Now time to add our elements
I used the following:
Element 3
Element 4
Element 6
Element 17
Element 18
Element 19
Element 22
Element 24
Element 26
Element 30
Element 36
Element 37
Element 38
Element 49
Merge your layers
Open paper of choice and apply mask
Place your name where you like it
Add the Copyright and your License Number for the tube
Resize to your liking and save as PNG
This tutorial was created on April 22,2016 by Rhonda
Any resemblance to another Tag or Tutorial is purely coincidental
Monday, April 18, 2016
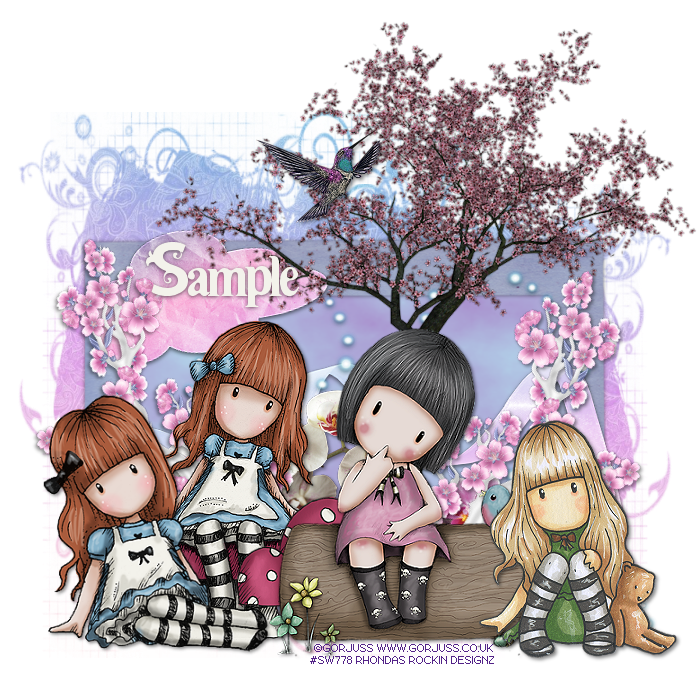
This tutorial is written for those with knowledge of PSP
Supplies Needed:
Tube of choice: I'm using the wonderful art work of Gorjuss
These tubes are no longer available for download
FTU Scrap Kit from Digicats HERE
Mask from IE Zombie Graphics HERE
Ok Lets get Started:
Resize elements to your liking
This is a very quick and easy tutorial
Open blank canvas 700x700
Open frame 2 and place in center
Click inside with magic wand & expand by 10
Add new layer under frame and flood fill with a blue color
Apply Mura Meister Clouds filter with settings of choice
Place your tubes & build around them
Now time to add our elements
I used the following:
Cherry Blossoms
Cherry Tree
Hummingbird
Orchids 1&2
paper Cloud
Ribbon 1
Sparkles
Merge layers
Open paper of choice and apply mask
Place your name where you like it
Add the Copyright and your License Number for the tube
Resize to your liking and save as PNG
This tutorial was created on April 18,2016 by Rhonda
Any resemblance to another Tag or Tutorial is purely coincidental
Sunday, April 17, 2016
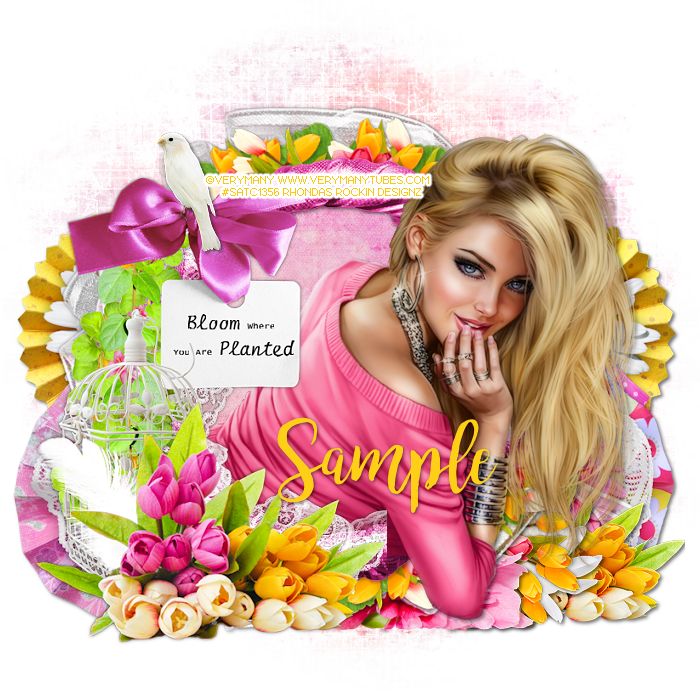
This tutorial is written for those with knowledge of PSP
Supplies Needed:
Tube of choice: I'm using the wonderful art work of VeryMany
This tube was purchased at SATC which has closed
You must obtain a license to use their work HERE
Cluster by Heather which can be purchased from Here2Help Mirella HERE
I don't know if this collab is still available for purchase
Scrapkit is called Blooming Brights by A Space Between and not available anymore for purchase
Mask of choice
Ok Lets get Started:
Resize elements to your liking
This is a very quick and easy tutorial
Open blank canvas 700x700
Open cluster1 -Shift D to duplicate and close original
Using freehand tool draw around frame
Add new layer unfer frame and flood fill with paper from kit
Select none
Place your tube & build around it
Now time to add our elements
I used the following:
Element 9
Element 10
Element 25
Element 27
Element 28
Element 30
Element 31
Element 32
Element 46
Rosettes 1,2 and 3
Merge layers
Open paper of choice and apply mask
Place your name where you like it
Add the Copyright and your License Number for the tube
Resize to your liking and save as PNG
This tutorial was created on April 17,2016 by Rhonda
Any resemblance to another Tag or Tutorial is purely coincidental
Saturday, April 16, 2016


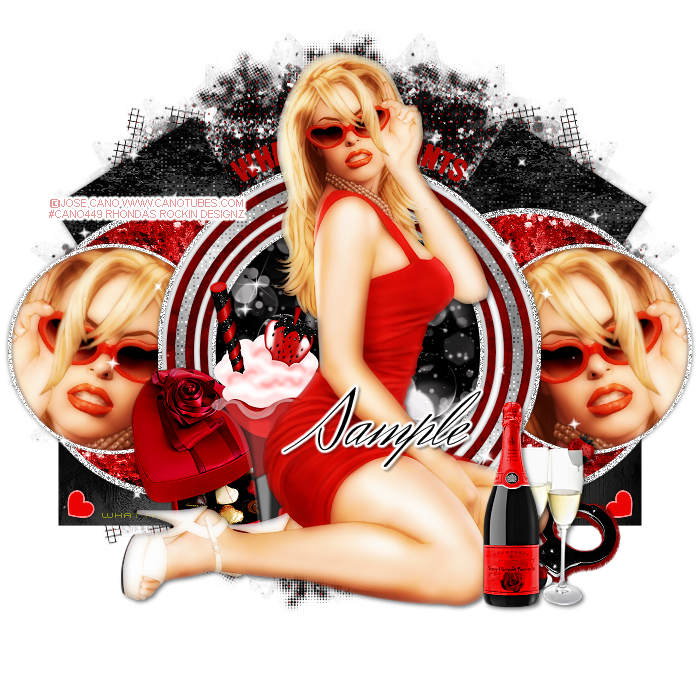
This tutorial is written for those with knowledge of PSP
Supplies Needed:
Tube of choice: I'm using the wonderful art work of Jose Cano
You must obtain a license to use his art HERE
Scrapkit by Nicky called Seduce Me.
Her kits are not available for download so use any kit you have
Template by Punky Butts HERE
Mask of choice
Don't forget to leave a thank you when downloading
Ok Lets get Started:
Open template - Shift D to duplicate then close out original
Canvas size 700x675
Deleted copyright
Click on left & right square selections,select all, float,defloat
paste a paper of choice from the kit - I used paper
selection invert delete
select none delete the original
apply Xero Fritillary with settings of choice
Click on left & right rectangle selections,select all, float,defloat
paste a paper of choice from the kit - I used paper12
selection invert delete
select none delete the original
Click on left & right large circle frame selections,select all, float,defloat
I used a gradient to fill
selection invert delete
select none delete the original
Click on left & right large circle selections,select all, float,defloat
paste a paper of choice from the kit - I used paper7
selection invert delete
select none delete the original
Click on left & right small circle selections,select all, float,defloat
paste a close-up of tube in each circle
selection invert delete
select none delete the original
apply Xero Radiance and Porcelin
Click on large white circle selections,select all, float,defloat
I used gradient again to fill
selection invert delete
select none delete the original
Click on center circle selections,select all, float,defloat
paste a paper of choice from the kit - I used paper2
selection invert delete
select none delete the original
Click on center pink frame selections,select all, float,defloat
paste a paper of choice from the kit - I used paper6
selection invert delete
select none delete the original
Click on center cyan frame selections,select all, float,defloat
I used a gradient and applied Xero Fritillary
selection invert delete
select none delete the original
Click on center cyam frame2 selections,select all, float,defloat
flood fill with white and apply noise with settings of choice
selection invert delete
select none delete the original
Colorize word art and hearts to your liking
Place your tube in center
Xero Radiance with settings of choice
Now time to add our elements
I used the following:
Merge your layers
Open paper of choice & apply mask
Place your name where you like it
Add the Copyright and your License Number for the tube
Resize to your liking and save as PNG
This tutorial was created on April 11,2016 by Rhonda
Any resemblance to another Tag or Tutorial is purely coincidental
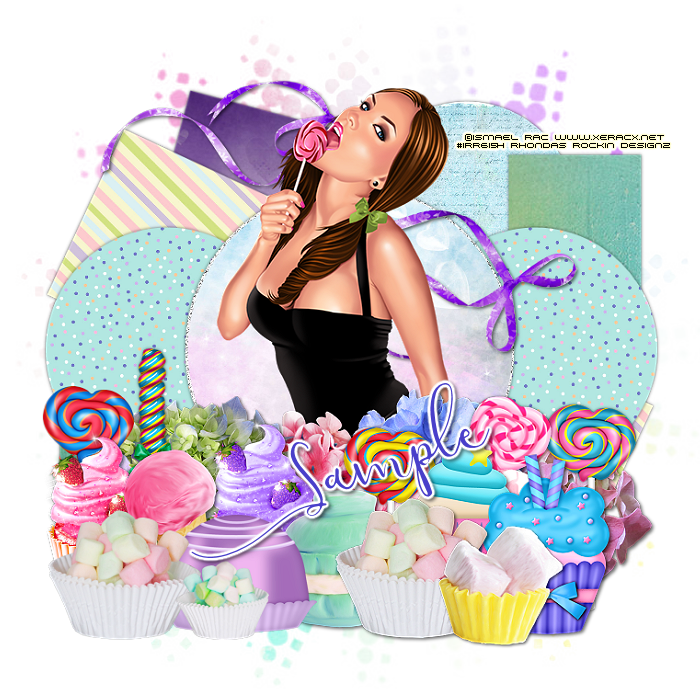
This tutorial is written for those with knowledge of PSP
Supplies Needed:
Tube of choice: I'm using the wonderful art work of Ismael Rac
You can purchase his tubes HERE
PTU Scrap Kit by Laura from Tiny Turtle Design called "Candy Pearl"
You an purchase this awesome kit at her store HERE
Template #262 by Toxic Desirez HERE
Mask of choice
Ok Lets get Started:
Open template - Shift D to duplicate then close out original
Resize to your liking
Canvas 700x700
Delete copyright & raster 3
Click on raster 10 selections,select all, float,defloat
paste a paper of choice from the kit - I used paper12
selection invert delete
select none delete the original
Click on raster 9 and copy selections,select all, float,defloat
paste a paper of choice from the kit - I used paper1
selection invert delete
select none delete the original
Click on raster 7 and copy selections,select all, float,defloat
paste a paper of choice from the kit - I used paper37
selection invert delete
select none delete the original
Click on raster 8 and copy selections,select all, float,defloat
paste a paper of choice from the kit - I used paper6
selection invert delete
select none delete the original
Click on raster 6 and copy selections,select all, float,defloat
paste a paper of choice from the kit - I used paper36
selection invert delete
select none delete the original
Click on raster 2 selections,select all, float,defloat
paste a paper of choice from the kit - I used paper24
selection invert delete
select none delete the original
Add more noise to circle
Place your main tube
Add Xero Radiance with settings of choice
Now time to add our elements
I used the following:
Element 5
Element 10
Element 24
Element 44
Element 49
Element 53
Element 55
Element 64
Element 73
Element 77
Element 93
Element 103
Element 104
Element 106
Element 130
Element 148
Element 152
Element 153
Element 154
Element 170
Merge your layers
Open paper & apply mask of choice
Place your name where you like it
Add the Copyright and your License Number for the tube
Resize to your liking and save as PNG
This tutorial was created on April 11,2016 by Rhonda
Any resemblance to another Tag or Tutorial is purely coincidental
Sunday, April 10, 2016
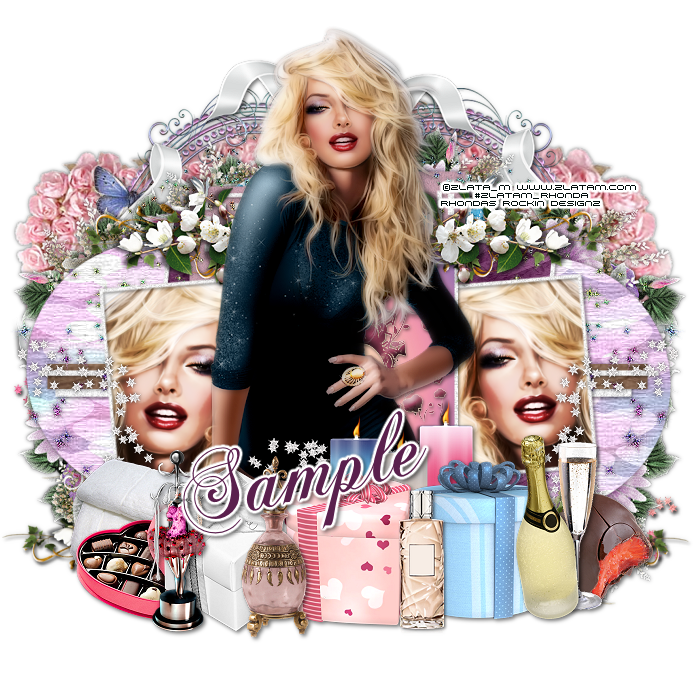
This tutorial is written for those with knowledge of PSP
Supplies Needed:
Tube of choice: Im using the wonderful art work of Zlata_M
You can purchase these tubes HERE
FTU Scrapkit by The Coffee Slut HERE
You will need to scroll down to January posts to find kit and link
Template #53 by TwyztedT's Playroom HERE
Don't forget to leave a thank you when downloading
Ok Lets get Started:
Open template - Shift D to duplicate then close out original
Resize template to your liking
Canvas size 700x700
Delete copyright
Click on raster 14 selections,select all, float,defloat
paste a paper of choice from the kit - I used paper12
selection invert delete
select none delete the original
Click on raster 9 selections,select all, float,defloat
paste a paper of choice from the kit - I used paper1
selection invert delete
select none delete the original
Click on raster 4 selections,select all, float,defloat
paste a paper of choice from the kit - I used paper6
selection invert delete
select none delete the original
Click on raster 5&6 selections,select all, float,defloat
paste a paper of choice from the kit - I used paper1
selection invert delete
select none delete the original
apply Filters Unliminted Hemp
Click on raster 10 selections,select all, float,defloat
paste a paper of choice from the kit - I used paper7
selection invert delete
select none delete the original
Click on raster 3 selections,select all, float,defloat
paste a paper of choice from the kit - I used paper2
selection invert delete
select none delete the original
Click on raster 2 selections,select all, float,defloat
paste a paper of choice from the kit - I used paper3
selection invert delete
select none delete the original
Add close-up of tubes in the squares
apply Xero Radiance with settings of choice
Place your tube
apply filters for softer effects
Now add any other elements of choice
I used the following:
Candles
Champagne
Flute
Chocolate
Chocolate 2
Flowers 6
Frame 2,3& 4
Gift 1,2&3
Jewelry 3
Perfume 1&2
Ribbon 5
Sparkles 1&2
Merge your layers
Place your name where you like it
Add the Copyright and your License Number for the tube
Resize to your liking and save as PNG
This tutorial was created on April 10,2016 by Rhonda
Any resemblance to another Tag or Tutorial is purely coincidental

This tutorial is written for those with knowledge of PSP
Supplies Needed:
Tube of choice: I'm using the wonderful art work of Souldesigner
You can purchase this work at S&CO HERE
FTU Scrapkit by Squirrely's Treehouse HERE
Template #222 by Divine Intentionz HERE
Don't forget to leave a thank you when downloading
Ok Lets get Started:
Open template - Shift D to duplicate then close out original
Deleted copyright, word art and halftones
Click on circle 1 selections,select all, float,defloat
paste a paper of choice from the kit - I used paper6
selection invert delete
select none delete the original
Click on circle 2 selections,select all, float,defloat
paste a paper of choice from the kit - I used paper7
selection invert delete
select none delete the original
Click on rectangle selections,select all, float,defloat
paste a paper of choice from the kit - I used paper4
selection invert delete
select none delete the original
Click on perspective rect selections,select all, float,defloat
paste a paper of choice from the kit - I used paper9
selection invert delete
select none delete the original
Click on perspective rect2 selections,select all, float,defloat
paste a paper of choice from the kit - I used paper8
selection invert delete
select none delete the original
Place your tube
Now time to add our elements
I used the following:
Element 1
Element 3
Element 5
Element 10
Element 14
Element 15
Element 16
Element 17
Element 18
Element 20
Element 30
Element 33
Element 35
Element 38
Element 41
Merge your layers
Open paper of choice and apply mask
Place your name where you like it
Add the Copyright and your License Number for the tube
Resize to your liking and save as PNG
This tutorial was created on April 10,2016 by Rhonda
Any resemblance to another Tag or Tutorial is purely coincidental
Subscribe to:
Posts
(Atom)
Grab My Blinkie

I CT For



Blogs I Visit
























