Saturday, June 18, 2016
This tutorial is written for those with knowledge of PSP
Supplies Needed:
Tube of choice: I'm using the wonderful art work of VeryMany
Which you must obtain a license to use HERE
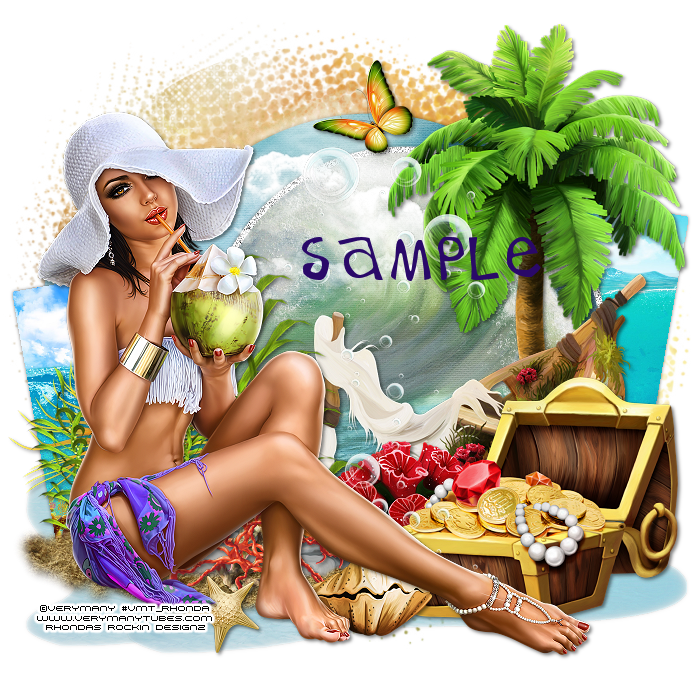
PTU Scrapkit by Pink Paradox Productions called Sunny Daydream
Kit can be purchased at her store HERE
Template by Rosey's Temps HERE
Mask of choice
Ok Lets get Started:
Open template - Shift D to duplicate then close out original
Resize template to your liking
Canvas size 700x700
Delete copyright & wordart
Click on Black oval selections,select all, float,defloat
paste a paper of choice from the kit - I used paper38
selection invert delete
select none delete the original
Click on R&L blue rectangle selections,select all, float,defloat
paste a paper of choice from the kit - I used paper26
selection invert delete
select none delete the original
Click on R&L purple selections,select all, float,defloat
paste a paper of choice from the kit - I used paper22
selection invert delete
select none delete the original
Click on R&L pink circle selections,select all, float,defloat
paste a paper of choice from the kit - I used paper16
selection invert delete
select none delete the original
Click on R&L pink rectangle selections,select all, float,defloat
paste a paper of choice from the kit - I used paper30
selection invert delete
select none delete the original
Click on R&L black selections,select all, float,defloat
paste a paper of choice from the kit - I used paper32
selection invert delete
select none delete the original
Click on R&L blue selections,select all, float,defloat
paste a paper of choice from the kit - I used paper33
selection invert delete
select none delete the original
Click on R&L frame fills selections,select all, float,defloat
paste a paper of choice from the kit - I used paper20
selection invert delete
select none delete the original
Add noise to frames
Place your tube
Xero Radiance with settings of choice
Now time to add our elements
I used the following:
Element 7
Element 9
Element 11
Element 32
Element 34
Element 35
Element 73
Element 80
Element 90
Element 91
Element 92
Element 117
Element 118
Element 129
Element 132
Element 138
Element 139
Element 141
Merge your layers
Open paper of choice and apply mask
Place your name where you like it
Add the Copyright and your License Number for the tube
Resize to your liking and save as PNG
This tutorial was created on June 18,2016 by Rhonda
Any resemblance to another Tag or Tutorial is purely coincidental

Labels:Pink Paradox,PTU | 0
comments
This tutorial is written for those with knowledge of PSP
Supplies Needed:
Tube of choice: I'm using the wonderful art work of VeryMany
Which you must obtain a license to use HERE
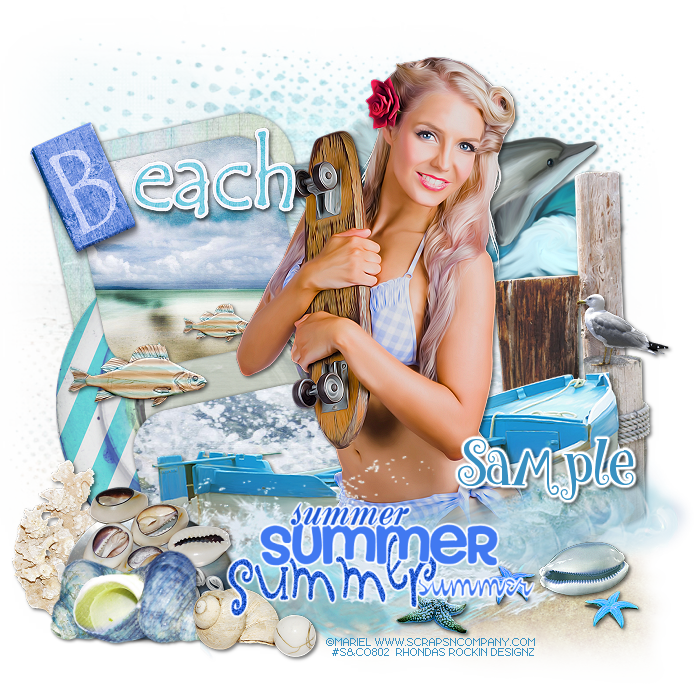
PTU Scrapkit by Pink Paradox Productions called Tropical Siren
Kit can be purchased at her store HERE
Template #387 by Missy HERE
Mask of choice
Ok Lets get Started:
Open template - Shift D to duplicate then close out original
Canvas size 700x700
Delete copyright,wordart,dotted circles & lines,thin rectangles & frames
I rearranged my frames. See tag for example
Click on small circles selections,select all, float,defloat
paste a paper of choice from the kit - I used paper4
selection invert delete
select none delete the original
Click on rectangle selections,select all, float,defloat
paste a paper of choice from the kit - I used paper21
selection invert delete
select none delete the original
Click on circle selections,select all, float,defloat
paste a paper of choice from the kit - I used paper9
selection invert delete
select none delete the original
Click on circle 2 selections,select all, float,defloat
paste a paper of choice from the kit - I used paper8
selection invert delete
select none delete the original
Click on copy of frameback selections,select all, float,defloat
paste a paper of choice from the kit - I used paper13
selection invert delete
select none delete the original
Click on frameback selections,select all, float,defloat
paste a paper of choice from the kit - I used paper12
selection invert delete
select none delete the original
Place your tube
Xero Radiance with settings of choice
Now time to add our elements
I used the following:
Element 4
Element 50
Element 71
Element 72
Element 81
Element 89
Element 97
Element 98
Element 111
Element 116
Element 120
Element 148
Merge your layers
Open paper of choice and apply mask
Place your name where you like it
Add the Copyright and your License Number for the tube
Resize to your liking and save as PNG
This tutorial was created on June 18,2016 by Rhonda
Any resemblance to another Tag or Tutorial is purely coincidental

Labels:Pink Paradox,PTU,Summer | 0
comments
This tutorial is written for those with knowledge of PSP
Supplies Needed:
Tube of choice: I'm using the wonderful art work of Marial
Which you must obtain a license to use HERE
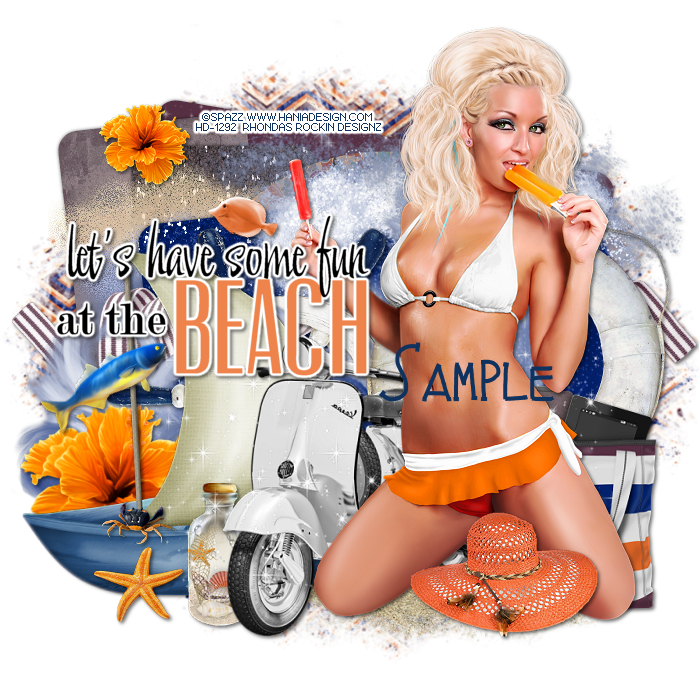
PTU Scrapkit by Kizzed by Kelz called Beach Roller
Kit can be purchased at S&CO HERE
Template #49 by Fired by Flamin HERE
Mask of choice
Ok Lets get Started:
Open template - Shift D to duplicate then close out original
Canvas size 700x700
Delete copyright,sun & wordart
Click on oval 1 selections,select all, float,defloat
paste a paper of choice from the kit - I used paper2
selection invert delete
select none delete the original
Click on red rectangle selections,select all, float,defloat
paste a paper of choice from the kit - I used paper17
selection invert delete
select none delete the original
Click on oval 2 selections,select all, float,defloat
paste a paper of choice from the kit - I used paper4
selection invert delete
select none delete the original
Click on orange square 1,2,3 selections,select all, float,defloat
paste a paper of choice from the kit - I used paper21
selection invert delete
select none delete the original
Place your tube
Xero Radiance with settings of choice
Now time to add our elements
I used the following:
Element 7
Element 28
Element 30
Element 36
Element 38
Element 60
Element 67
Element 70
Element 74
Element 90
Element 98
Element 101
Element 123
Element 124
Merge your layers
Open paper of choice and apply mask
Place your name where you like it
Add the Copyright and your License Number for the tube
Resize to your liking and save as PNG
This tutorial was created on June 18,2016 by Rhonda
Any resemblance to another Tag or Tutorial is purely coincidental

Labels:PTU,S&Co,Summer | 0
comments
This tutorial is written for those with knowledge of PSP
Supplies Needed:
Tube of choice: I'm using the wonderful art work of Stella
Which you must obtain a license to use HERE
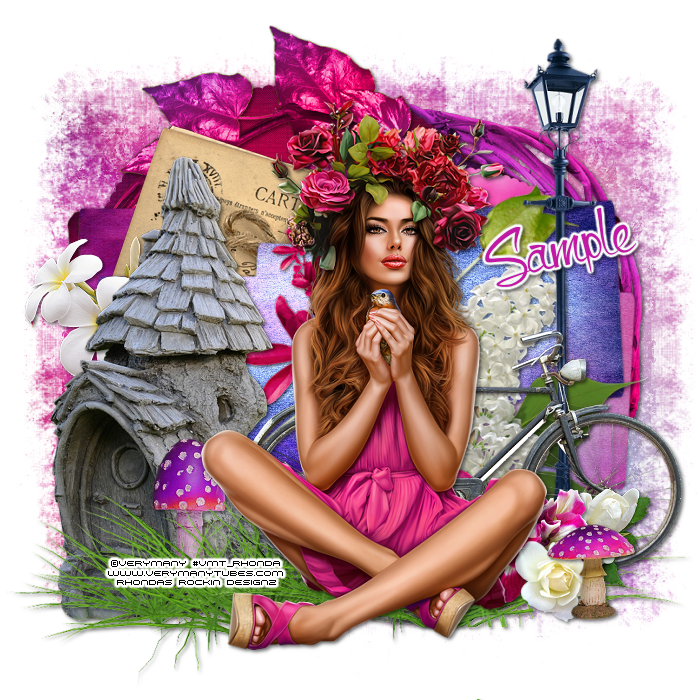
FTU Scrapkit by Melissaz Creationz HERE
Template #611 by Millie HERE
Mask of choice
Ok Lets get Started:
Open template - Shift D to duplicate then close out original
Canvas size 700x700
Delete copyright
Click on layer 1 selections,select all, float,defloat
paste a paper of choice from the kit - I used paper9
selection invert delete
select none delete the original
Click on layer 2 selections,select all, float,defloat
paste a paper of choice from the kit - I used paper7
selection invert delete
select none delete the original
Click on layer 3 selections,select all, float,defloat
paste a paper of choice from the kit - I used paper4
selection invert delete
select none delete the original
Click on layer 4 selections,select all, float,defloat
paste a paper of choice from the kit - I used paper2
selection invert delete
select none delete the original
Click on layer 5 selections,select all, float,defloat
paste a paper of choice from the kit - I used paper11
selection invert delete
select none delete the original
I left my word art as it was and added a border
Place your tube
Xero Radiance with settings of choice
Now time to add our elements
I used the following:
Element 1
Element 2
Element 4
Element 5
Element 6
Element 9
Element 10
Element 11
Element 13
Element 14
Element 15
Element 20
Element 21
Element 27
Merge your layers
Open paper of choice and apply mask
Place your name where you like it
Add the Copyright and your License Number for the tube
Resize to your liking and save as PNG
This tutorial was created on June 18,2016 by Rhonda
Any resemblance to another Tag or Tutorial is purely coincidental

Labels:FTU,Hania Design,Summer | 0
comments
This tutorial is written for those with knowledge of PSP
Supplies Needed:
Tube of choice: I'm using the wonderful art work of Stella
Which you must obtain a license to use HERE
PTU Scrapkit by Hania's Design called Wicked
You can purchase this awesome kit HERE
Template #1 by Brutal Designs HERE
Mask #6 by Allison's Addiction HERE
Ok Lets get Started:
Open template - Shift D to duplicate then close out original
Canvas size 700x700
Delete copyright,wordart & white rectangle
Click on green circle R&L selections,select all, float,defloat
paste a paper of choice from the kit - I used paper2
selection invert delete
select none delete the original
Click on green rounded rect selections,select all, float,defloat
paste a paper of choice from the kit - I used paper5
selection invert delete
select none delete the original
Click on blk rounded rect selections,select all, float,defloat
paste a paper of choice from the kit - I used paper7
selection invert delete
select none delete the original
Click on grey rounded rect selections,select all, float,defloat
paste a paper of choice from the kit - I used paper6
selection invert delete
select none delete the original
Place your tube
Xero Radiance with settings of choice
Now time to add our elements
I used the following:
Element 11
Element 13
Element 17
Element 18
Element 19
Element 27
Element 28
Element 42
Element 54
Element 61
Element 62
Element 64
Element 65
Element 68
Element 77
Element 86
Merge your layers
Open paper of choice and apply mask
Place your name where you like it
Add the Copyright and your License Number for the tube
Resize to your liking and save as PNG
This tutorial was created on June 18,2016 by Rhonda
Any resemblance to another Tag or Tutorial is purely coincidental

Labels:Hania Design,PTU,Summer | 0
comments
Friday, June 17, 2016
This tutorial is written for those with knowledge of PSP
Supplies Needed:
Tube of choice: I'm using the wonderful art work of VeryMany
Which you must obtain a license to use HERE
FTU Scrapkit by MizTeeques HERE
Template #195 by HorsePlay's Pasture HERE
Mask #14 by Crispied HERE
Ok Lets get Started:
Open template - Shift D to duplicate then close out original
Canvas size 700x700
Delete copyright
Click on raster 1&2 selections,select all, float,defloat
paste a paper of choice from the kit - I used paper6
selection invert delete
select none delete the original
Click on raster 3 selections,select all, float,defloat
paste a paper of choice from the kit - I used paper4
selection invert delete
select none delete the original
Click on raster 4 selections,select all, float,defloat
paste a paper of choice from the kit - I used paper13
selection invert delete
select none delete the original
Click on raster 5,9&10 selections,select all, float,defloat
paste a paper of choice from the kit - I used paper2
selection invert delete
select none delete the original
Click on raster 6,7&8 selections,select all, float,defloat
paste a paper of choice from the kit - I used paper12
selection invert delete
select none delete the original
Place your tube
Xero Radiance with settings of choice
Now time to add our elements
I used the following:
Element 6
Element 8
Element 11
Element 12
Element 17
Element 22
Element 23
Element 33
Element 34
Element 36
Element 38
Element 42
Element 43
Element 47
Merge your layers
Open paper of choice and apply mask
Place your name where you like it
Add the Copyright and your License Number for the tube
Resize to your liking and save as PNG
This tutorial was created on June 17,2016 by Rhonda
Any resemblance to another Tag or Tutorial is purely coincidental

Labels:FTU,Mizteeque | 2
comments
This tutorial is written for those with knowledge of PSP
Supplies Needed:
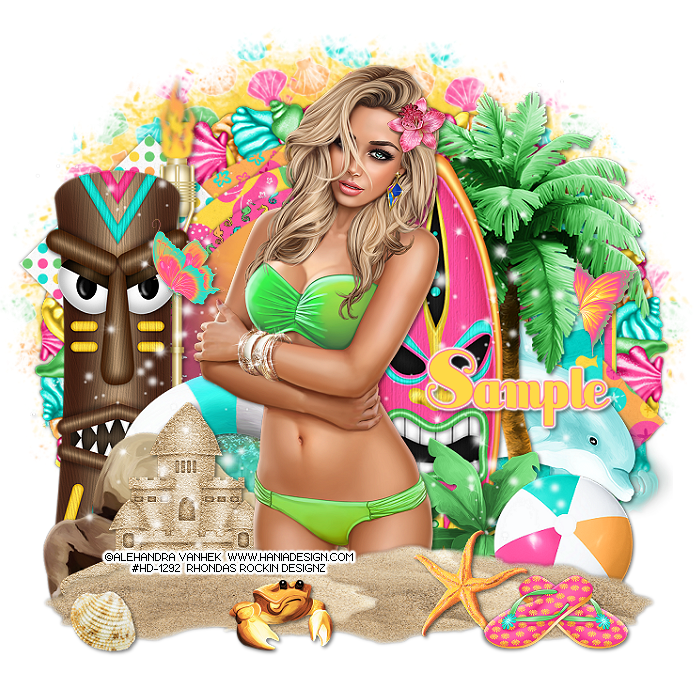
Tube of choice: I'm using the wonderful art work of Alehandra Vanhek
Which you must obtain a license to use HERE
PTU Scrapkit by Toxic Desirez called Tiki Party
You can purchase this awesome kit HERE
Template #184 by Gimptastic Tuts HERE
Mask #5 by Allison's Addiction HERE
Ok Lets get Started:
Open template - Shift D to duplicate then close out original
Resize all layers 124%
Canvas size 700x700
Delete copyright and wordart
Click on raster 9 selections,select all, float,defloat
paste a paper of choice from the kit - I used paper10
selection invert delete
select none delete the original
Click on raster 7&8 selections,select all, float,defloat
paste a paper of choice from the kit - I used paper13
selection invert delete
select none delete the original
Click on raster 6 selections,select all, float,defloat
paste a paper of choice from the kit - I used paper5
selection invert delete
select none delete the original
Click on raster 5 selections,select all, float,defloat
paste a paper of choice from the kit - I used paper12
selection invert delete
select none delete the original
Click on raster 4 selections,select all, float,defloat
paste a paper of choice from the kit - I used paper11
selection invert delete
select none delete the original
Click on raster 3 selections,select all, float,defloat
paste a paper of choice from the kit - I used paper3
selection invert delete
select none delete the original
Click on raster 2 selections,select all, float,defloat
paste a paper of choice from the kit - I used paper7
selection invert delete
select none delete the original
Click on raster 1 selections,select all, float,defloat
paste a paper of choice from the kit - I used paper frame background
selection invert delete
select none delete the original
Place your tube
Xero Radiance with settings of choice
Now time to add our elements
I used the following:
Beach Ball
Butterfly 1&2
Crab
Dolphin
Flip Flop
Frame 2
Life Ring
Plant
Rock
Sandcastle
Sand
Shell 1
Sparkles
StarFish
Surf Board
Tiki Totem
Torch
Tree 2
Waves
Merge your layers
Open paper of choice and apply mask
Place your name where you like it
Add the Copyright and your License Number for the tube
Resize to your liking and save as PNG
This tutorial was created on June 17,2016 by Rhonda
Any resemblance to another Tag or Tutorial is purely coincidental

Labels:Hania Design,PTU,Summer | 0
comments
This tutorial is written for those with knowledge of PSP
Supplies Needed:
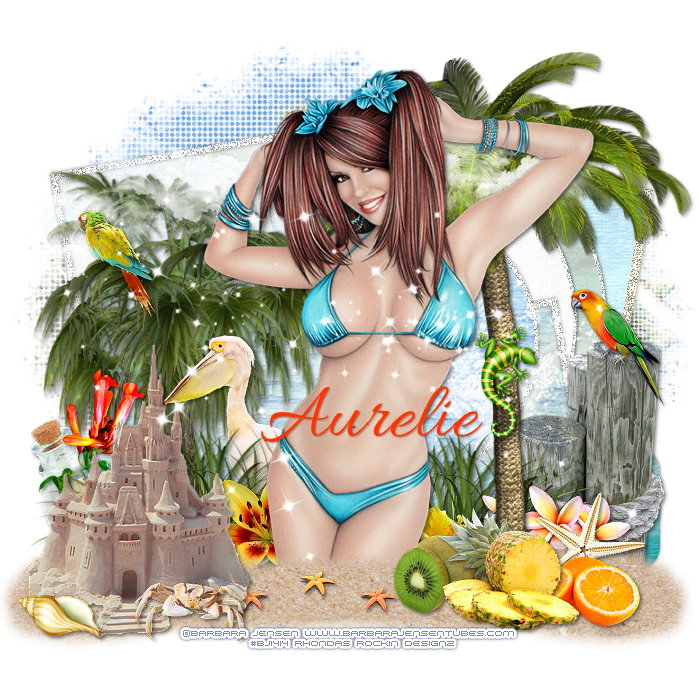
Tube of choice: I'm using the wonderful art work of Barbara Jensen
Which you must obtain a license to use HERE
PTU Scrapkit by Purple Dreams Scraps called Tropical Summer
You can purchase this awesome kit at one of her stores HERE
Template #446 by Missy HERE
Mask of choice
Ok Lets get Started:
Open template - Shift D to duplicate then close out original
Canvas size 700x700
Delete copyright,wordart,thin rectangles,rounded edge rectangle & rectangle 1
Add noise to all circles
Click on square 1 selections,select all, float,defloat
add new layer and flood fill with color of choice
select none delete the original
add noise with settings of choice
Click on square 2 selections,select all, float,defloat
paste a paper of choice from the kit - I used paper5
selection invert delete
select none delete the original
Click on small square selections,select all, float,defloat
paste a paper of choice from the kit - I used paper14
selection invert delete
select none delete the original
Click on rounded edge squares 1&2 selections,select all, float,defloat
paste a paper of choice from the kit - I used paper3
selection invert delete
select none delete the original
Click on circle 2 selections,select all, float,defloat
paste a paper of choice from the kit - I used paper8
selection invert delete
select none delete the original
Click on circle 4 selections,select all, float,defloat
paste a paper of choice from the kit - I used paper15
selection invert delete
select none delete the original
Click on frame back 1&2 selections,select all, float,defloat
paste a paper of choice from the kit - I used paper10
selection invert delete
select none delete the original
Click on circle 8 selections,select all, float,defloat
paste a paper of choice from the kit - I used paper2
selection invert delete
select none delete the original
Click on circle 6 selections,select all, float,defloat
paste a paper of choice from the kit - I used paper1
selection invert delete
select none delete the original
Place your tube
Xero Radiance with settings of choice
Now time to add our elements
I used the following:
Element 4
Element 5
Element 6
Element 16
Element 24
Element 25
Element 26
Element 27
Element 32
Element 33
Element 35
Element 40
Element 41
Element 43
Element 44
Element 45
Element 47
Element 50
Element 52
Element 59
Element 61
Element 63
Element 64
Element 74
Merge your layers
Open paper of choice and apply mask
Place your name where you like it
Add the Copyright and your License Number for the tube
Resize to your liking and save as PNG
This tutorial was created on June 17,2016 by Rhonda
Any resemblance to another Tag or Tutorial is purely coincidental

Labels:PTU,Purple Dreams,Summer | 0
comments
Sunday, June 12, 2016
This tutorial is written for those with knowledge of PSP
Supplies Needed:
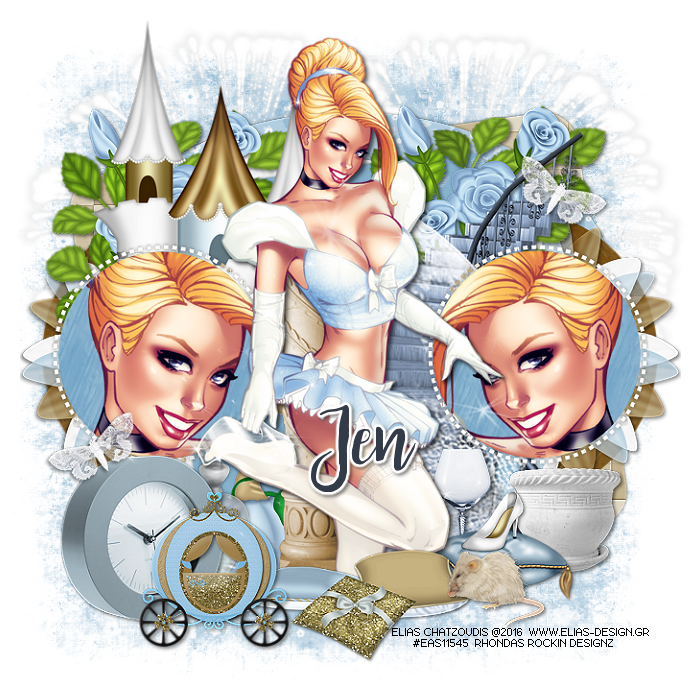
Tube of choice: I'm using the wonderful art work of Elias Chatzoudis
Which you must obtain a license to use HERE
You can purchase this awesome kit from one of her stores HERE
Template #54 by Fired by Flamin HERE
Mask by Crispified HERE
Ok Lets get Started:
Open template - Shift D to duplicate then close out original
Delete copyright & word art
Click on blue rect selections,select all, float,defloat
paste a paper of choice from the kit - I used paper10
selection invert delete
select none delete the original
Click on large oval selections,select all, float,defloat
paste a paper of choice from the kit - I used paper1
selection invert delete
select none delete the original
Click on pink circle 1&2 selections,select all, float,defloat
paste a paper of choice from the kit - I used paper6
selection invert delete
select none delete the original
Click on pink rect selections,select all, float,defloat
paste a paper of choice from the kit - I used paper3
selection invert delete
select none delete the original
Click on grey rect selections,select all, float,defloat
paste a paper of choice from the kit - I used paper7
selection invert delete
select none delete the original
Click on grey circle 1&2 selections,select all, float,defloat
paste a paper of choice from the kit - I used paper9
selection invert delete
select none delete the original
Add close-up of tube inside circles
apply Xero Radiance with settings of choice
Click on dashed circles 1&2 selections,select all, float,defloat
paste a paper of choice from the kit - I used paper8
selection invert delete
select none delete the original
Place your tube
Xero Radiance with settings of choice
Now time to add our elements
I used the following:
Element 3
Element 7
Element 8
Element 9
Element 11
Element 12
Element 14
Element 16
Element 23
Element 26
Element 52
Element 55
Element 57
Element 58
Element 59
Element 62
Element 63
Merge your layers
Open paper of choice and apply mask
Place your name where you like it
Add the Copyright and your License Number for the tube
Resize to your liking and save as PNG
This tutorial was created on June 12,2016 by Rhonda
Any resemblance to another Tag or Tutorial is purely coincidental

Labels:Jens Sweet Temptations,PTU | 0
comments
This tutorial is written for those with knowledge of PSP
Supplies Needed:
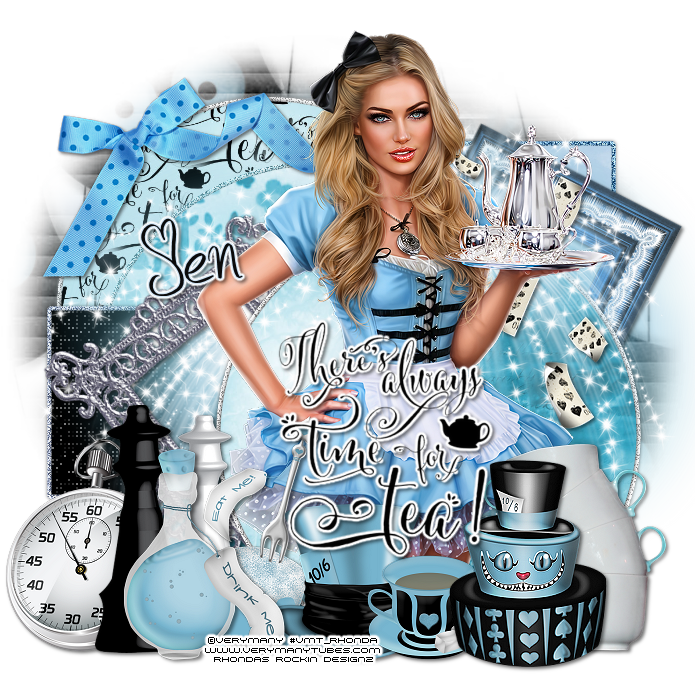
Tube of choice: I'm using the wonderful art work of VeryMany
Which you must obtain a license to use HERE
PTU Scrapkit by Jen from Sweet Temptations called "Tea Time"
You can purchase this awesome kit at one of her stores HERE
Template #745 by Millie HERE
Mask of choice
Don't forget to leave a thank you when downloading
Ok Lets get Started:
Open template - Shift D to duplicate then close out original
Canvas size 700x700
delete copyright & wordart
Click on layer 1 selections,select all, float,defloat
paste a paper of choice from the kit - I used paper6
selection invert delete
select none delete the original
add border with noise
Click on layer 2&3 selections,select all, float,defloat
paste a paper of choice from the kit - I used paper8
selection invert delete
select none delete the original
add border with noise
Click on layer 4 selections,select all, float,defloat
paste a paper of choice from the kit - I used paper4
selection invert delete
select none delete the original
add border with noise
Click on layer 5 selections,select all, float,defloat
add layer and apply a solid color
apply Xero Fritillary with setting of choice
select none
add border with noise
Click on layer 6 selections,select all, float,defloat
paste a paper of choice from the kit - I used paper1
selection invert delete
select none delete the original
add border with noise
Place your tube
Xero Radiance with settings of choice
Now time to add our elements
I used the following:
Always Time for Tea
Bottle
Bow
Cake
Cards
Chess Piece
Chess Piece 1
Color
Cupcake
Cups
Firework
Frame 1
Frame 3
Hatter Hat
Tea Pot 1
Tea
Watch
Merge your layers
Open paper of choice and apply mask
Place your name where you like it
Add the Copyright and your License Number for the tube

Labels:Jens Sweet Temptations,PTU | 0
comments
Sunday, June 5, 2016
This tutorial is written for those with knowledge of PSP
Supplies Needed:
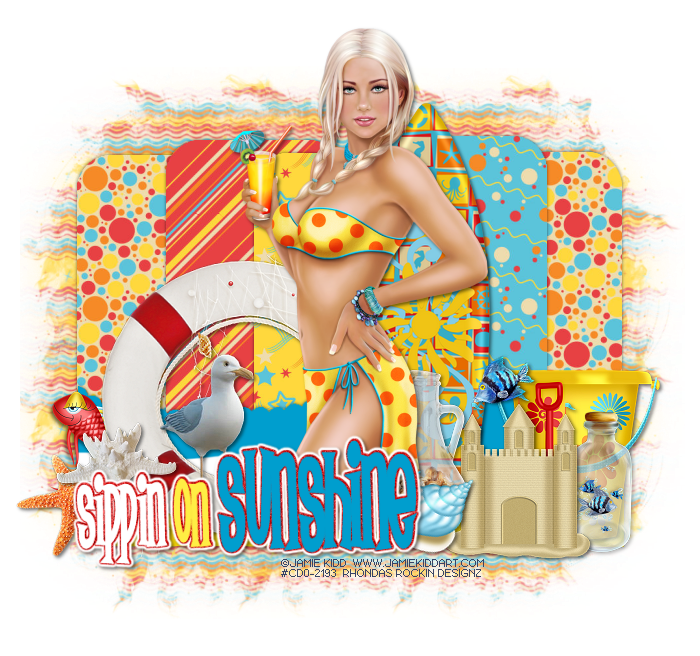
Tube of choice: I'm using the wonderful art work of Jamie Kidd
Which you must obtain a license to use at CDO HERE
PTU Scrapkit by Jen from Sweet Temptations called "Sink or Swim"
You can purchase this awesome kit at one of her stores HERE
Template by Rachey HERE
Mask #1 by Angie Tagged Me HERE
Don't forget to leave a thank you when downloading
Ok Lets get Started:
Open template - Shift D to duplicate then close out original
Canvas size 700x700
delete copyright
Click on green left & right selections,select all, float,defloat
paste a paper of choice from the kit - I used paper16
selection invert delete
select none delete the original
Click on gold selections,select all, float,defloat
paste a paper of choice from the kit - I used paper17
selection invert delete
select none delete the original
Click on yellow selections,select all, float,defloat
paste a paper of choice from the kit - I used paper18
selection invert delete
select none delete the original
Click on red selections,select all, float,defloat
paste a paper of choice from the kit - I used paper9
selection invert delete
select none delete the original
Place your main tube
Xero Radiance with settings of choice
Now time to add our elements
I used the following:
Fish 1&5
Fish Bottle
Jar
Pelican
Ring
Sandcastle
Shell Bottle
Shell
Shell 1
Shovel N Pail
Starfish
Surfboard
Merge your layers
Open paper of choice and apply mask
Place your name where you like it
Add the Copyright and your License Number for the tube
Resize to your liking and save as PNG
This tutorial was created on May 30,2016 by Rhonda
Any resemblance to another Tag or Tutorial is purely coincidental

Labels:CDO,Jens Sweet Temptations,PTU,Summer | 0
comments
This tutorial is written for those with knowledge of PSP
Supplies Needed:
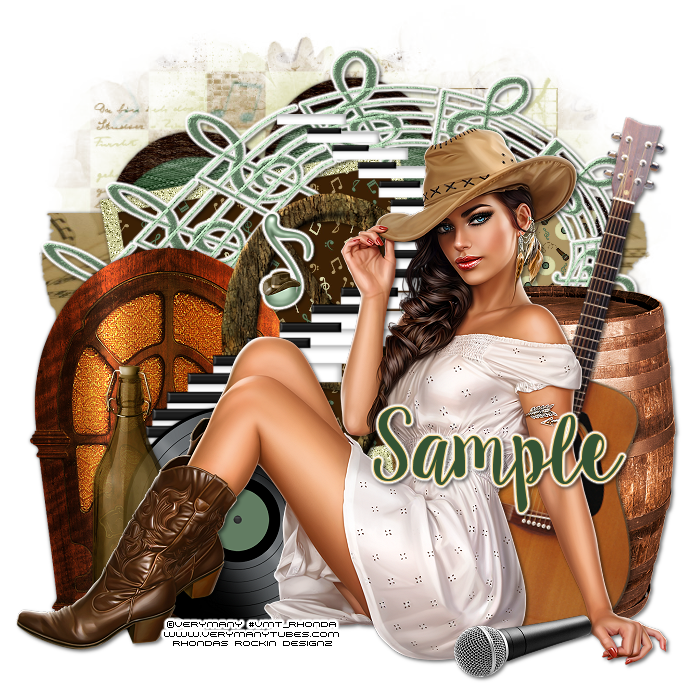
Tube of choice: I'm using the wonderful art work of VeryMany
You must obtain a license to use their art HERE
Template #4 by Scrap It Studio HERE
Mask of choice
Don't forget to leave a thank you when downloading
Ok Lets get Started:
Open template - Shift D to duplicate then close out original
Canvas size 700x700
Deleted copyright, bottom round back and chrome
Click on top round back selections,select all, float,defloat
paste a paper of choice from the kit - I used paper3
selection invert delete
select none delete the original
Click on top round chrome selections,select all, float,defloat
paste a paper of choice from the kit - I used paper8
selection invert delete
select none delete the original
Click on middle black selections,select all, float,defloat
paste a paper of choice from the kit - I used paper6
selection invert delete
select none delete the original
Click on top & bottom small photo selections,select all, float,defloat
paste a paper of choice from the kit - I used paper2
selection invert delete
select none delete the original
Click on top & bottom photo frame selections,select all, float,defloat
paste a paper of choice from the kit - I used paper9
selection invert delete
select none delete the original
add noise
Click on large photo mat selections,select all, float,defloat
paste a paper of choice from the kit - I used paper4
selection invert delete
select none delete the original
Click on large photo frame selections,select all, float,defloat
paste a paper of choice from the kit - I used paper9
selection invert delete
select none delete the original
add noise
Place your main tube
Xero Radiance with settings of choice
Now time to add our elements
I used the following:
Barrel
Bottle
Guitar
Keys
Mic
Note
Notes
Radio
Record
Wheel
Merge your layers
Open paper of choice & apply mask
Place your name where you like it
Add the Copyright and your License Number for the tube
Resize to your liking and save as PNG
This tutorial was created on May 28,2016 by Rhonda
Any resemblance to another Tag or Tutorial is purely coincidental

Labels:FTU,Scrap it Studio | 2
comments
This tutorial is written for those with knowledge of PSP
Supplies Needed:
Tube of choice: I'm using the wonderful art work of Maryline Cazenave
You can purchase her work at CDO HERE
PTU Scrapkit by Ladyhawk Designs purchased at CDO HERE
Template #152 by Gimptastic Tuts HERE
Mask of choice
Ok Lets get Started:
Open template - Shift D to duplicate then close out original
Resize template to your desired size
Canvas size 700x700
Deleted copyright, word art & layers 1&3
Click on layers 7&8 selections,select all, float,defloat
paste a paper of choice from the kit - I used paper2
selection invert delete
select none delete the original
Click on layer 5&6 selections,select all, float,defloat
paste a paper of choice from the kit - I used paper4
selection invert delete
select none delete the original
Click on layer 4 selections,select all, float,defloat
paste a paper of choice from the kit - I used paper3
selection invert delete
select none delete the original
Click on layer 2 selections,select all, float,defloat
paste a paper of choice from the kit - I used paper1
selection invert delete
select none delete the original
Place your tube to center
Xero Radiance with settings of choice
Now time to add our elements
I used the following:
Element 1
Element 2
Element 4
Element 7
Element 14
Element 18
Element 20
Element 27
Wordart
Merge your layers
Open paper of choice and apply mask
Place your name where you like it
Add the Copyright and your License Number for the tube
Resize to your liking and save as PNG
This tutorial was created on May 28,2016 by Rhonda
Any resemblance to another Tag or Tutorial is purely coincidental

Labels:CDO,PTU | 0
comments
This tutorial is written for those with knowledge of PSP
Supplies Needed:
Tube of choice: I'm using the wonderful art work of Ellie Milk
Which you must obtain a license to use at PFD HERE
PTU Scrap Kit by Jen from Sweet Temptations called "Spring Sorbet"
You can purchase this awesome kit from one of her stores HERE
Template by Dolly's Tag World HERE
Mask #1 by Rocked by Rachel HERE
Ok Lets get Started:
Open template - Shift D to duplicate then close out original
Resize all layers 112%
Canvas size 700x700
delete copyright,pink rectangles and white rectangle back
Click on white glitter oval selections,select all, float,defloat
paste a paper of choice from the kit - I used paper1
selection invert delete
select none delete the original
apply Xero Fritillary with settings of choice
Click on black oval selections,select all, float,defloat
paste a paper of choice from the kit - I used paper9
selection invert delete
select none delete the original
Click on white glitter circle selections,select all, float,defloat
paste a paper of choice from the kit - I used paper4
selection invert delete
select none delete the original
apply noise with settings of your choice
Click on pink circle selections,select all, float,defloat
paste a paper of choice from the kit - I used paper5
selection invert delete
select none delete the original
Click on left & right square border 3 selections,select all, float,defloat
paste a paper of choice from the kit - I used paper7
selection invert delete
select none delete the original
apply noise with settings of choice
Click on left & right black squares selections,select all, float,defloat
paste a paper of choice from the kit - I used paper10
selection invert delete
select none delete the original
Add close-up of tube inside squares
apply Xero Porcelin to tubes
Place your tube
Now time to add our elements
I used the following:
BFly 3
Bling 1
Bow N Flower
Boxes
Bucket
Clock
Curtain
Decor
Doodle
Flower 1
Jar
Jars
Lantern
Leaf
Leaves
Pitcher
Tea Cup
Vase
Vine
Windmill
Merge your layers
Open paper of choice and apply mask
Place your name where you like it
Add the Copyright and your License Number for the tube
Resize to your liking and save as PNG
This tutorial was created on June 4,2016 by Rhonda
Any resemblance to another Tag or Tutorial is purely coincidental

Labels:Jens Sweet Temptations,PTU,Spring | 0
comments
Saturday, June 4, 2016
Labels:Show Off | 0
comments
This tutorial is written for those with knowledge of PSP
Supplies Needed:
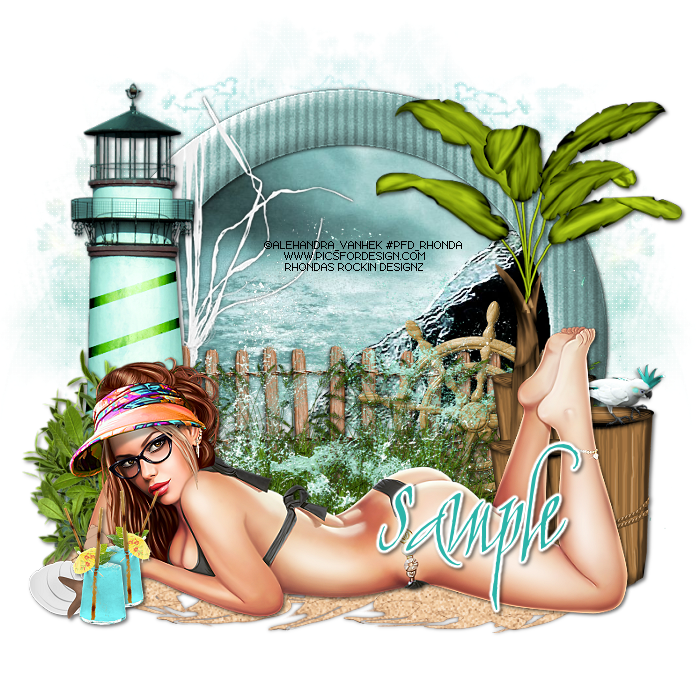
Tube of choice: I'm using the wonderful art work of Alehandra_Vanhek
You must obtain a license to use from PFD HERE
FTU Scrapkit from Scrapin Designs HERE
Mask #3 by Rocked by Rachel HERE
Ok Lets get Started:
Resize elements to your liking
This is a very quick and easy tutorial
Open blank canvas 700x700
Open frame and place in center
With freehand tool draw a circle around frame
Add new layer under frame and select all
Open paper 3 and paste into selections
Select none
Place your tube & build around it
Now time to add our elements
I used the following:
Banana Tree
Beach Fence
Beach Grass
Bird
Drinks
Grass
Lighthouse
Plant
Post
Sand
Shells
Shipwheel
Water 1
Water
Merge layers
Open paper of choice and apply mask
Place your name where you like it
Add the Copyright and your License Number for the tube
Resize to your liking and save as PNG
This tutorial was created on June 3,2016 by Rhonda
Any resemblance to another Tag or Tutorial is purely coincidental

Labels:FTU,Summer | 1 comments
This tutorial is written for those with knowledge of PSP
Supplies Needed:
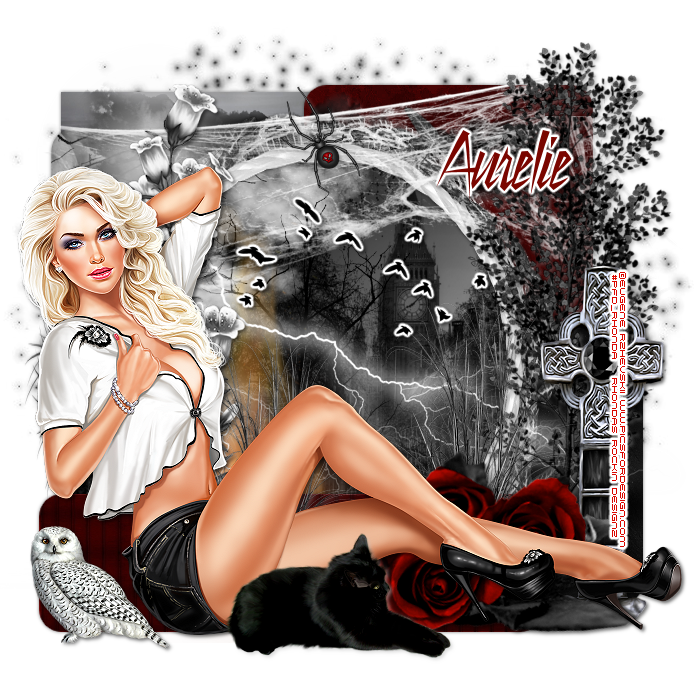
Tube of choice: I'm using the wonderful art work of Eugene Rzhevskii
Which you must obtain a license to use HERE
PTU Scrapkit by Purple Dream Scraps called Dark Lady
You can purchase this awesome kit at one of her stores HERE
Template #796 by Millie HERE
Mask of choice
Ok Lets get Started:
Open template - Shift D to duplicate then close out original
Resize template to your desired size
Canvas size 700x700
Delete copyright, wordart & dotted rectangles
I rearranged some of my layers in the template
Click on layer 5 selections,select all, float,defloat
paste a paper of choice from the kit - I used paper6
selection invert delete
select none delete the original
Click on layer 2 selections,select all, float,defloat
paste a paper of choice from the kit - I used paper9
selection invert delete
select none delete the original
Click on layer 3 selections,select all, float,defloat
paste a paper of choice from the kit - I used paper1
selection invert delete
select none delete the original
Click on layer 6 selections,select all, float,defloat
paste a paper of choice from the kit - I used paper3
selection invert delete
select none delete the original
Click on layer 4 selections,select all, float,defloat
paste a paper of choice from the kit - I used paper1
selection invert delete
select none delete the original
Click on layer 7 selections,select all, float,defloat
paste a paper of choice from the kit - I used paper2
selection invert delete
select none delete the original
Place your main tube
Now time to add our elements
I used the following:
Element 2
Element 4
Element 7
Element 9
Element 11
Element 21
Element 24
Element 26
Element 31
Element 45
Element 46
Element 49
Element 52
Element 57
Merge your layers
Open paper of choice and apply mask of choice
Place your name where you like it
Add the Copyright and your License Number for the tube
Resize to your liking and save as PNG
This tutorial was created on May 30,2016 by Rhonda

Labels:PTU,Purple Dreams | 0
comments
This tutorial is written for those with knowledge of PSP
Supplies Needed:
Tube of choice: I'm using the wonderful art work of Maryline Cazenave
You can purchase her work at CDO HERE
PTU Scrapkit by Monti's Scraps also at CDO HERE
Template #49 by Fired by Flamin HERE
Mask of choice
Ok Lets get Started:
Open template - Shift D to duplicate then close out original
Deleted copyright,word art & sun
Click on oval 1 selections,select all, float,defloat
paste a paper of choice from the kit - I used paper3
selection invert delete
select none delete the original
Click on red rectangle selections,select all, float,defloat
paste a paper of choice from the kit - I used paper1
selection invert delete
select none delete the original
Click on oval 2 selections,select all, float,defloat
paste a paper of choice from the kit - I used paper4
selection invert delete
select none delete the original
Click on orange square 1 selections,select all, float,defloat
paste a paper of choice from the kit - I used paper6
selection invert delete
select none delete the original
Click on orange square 2 selections,select all, float,defloat
paste a paper of choice from the kit - I used paper5
selection invert delete
select none delete the original
Click on orange square 3 selections,select all, float,defloat
paste a paper of choice from the kit - I used paper3
selection invert delete
select none delete the original
Place your tube to left of tag
Now time to add our elements
I used the following:
Element 3
Element 4
Element 5
Element 6
Element 7
Element 8
Element 11
Element 12
Element 15
Element 25
Element 26
Element 27
Element 28
Element 31
Frame 2
Merge your layers
Open paper of choice and apply mask
Place your name where you like it
Add the Copyright and your License Number for the tube
Resize to your liking and save as PNG
This tutorial was created on May 26,2016 by Rhonda
Any resemblance to another Tag or Tutorial is purely coincidental

Labels:CDO,PTU | 0
comments
This tutorial is written for those with knowledge of PSP
Supplies Needed:
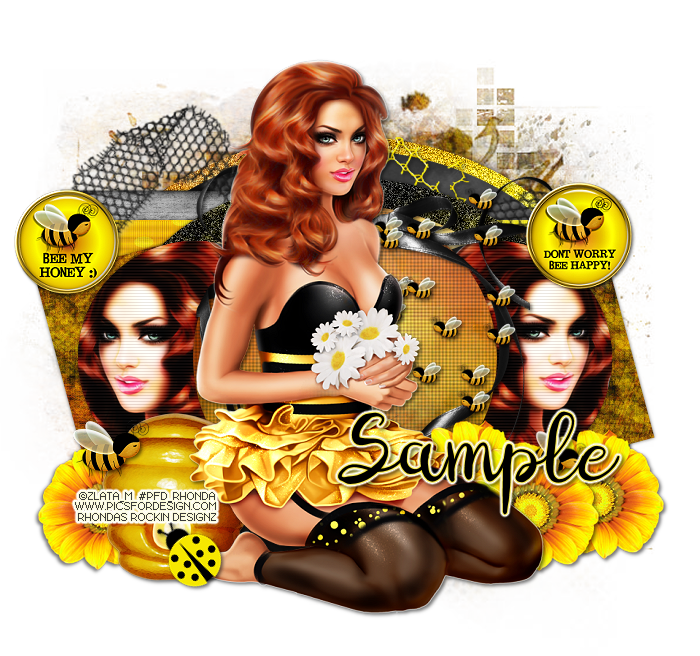
Tube of choice: I'm using the wonderful art work of Zlata_M
You must obtain a license to use this art at PFD HERE
FTU Scrapkit by Carita Creationz HERE
Template #188 by Gimptastic Tuts HERE
Mask of choice
Ok Lets get Started:
Open template - Shift D to duplicate then close out original
Resize templates to your desired size
Canvas size 700x700
Deleted copyright & wordart
Click on layer 12 selections,select all, float,defloat
paste a paper of choice from the kit - I used paper5
selection invert delete
select none delete the original
add noise
Click on layer 11 selections,select all, float,defloat
paste a paper of choice from the kit - I used paper4
selection invert delete
select none delete the original
Click on 9&10 selections,select all, float,defloat
paste a paper of choice from the kit - I used paper2
selection invert delete
select none delete the original
Click on layer 8 selections,select all, float,defloat
paste a paper of choice from the kit - I used paper6
selection invert delete
select none delete the original
Click on layer 6&7 selections,select all, float,defloat
paste a paper of choice from the kit - I used paper7
selection invert delete
select none delete the original
Click on layer 5 selections,select all, float,defloat
paste a paper of choice from the kit - I used paper8
selection invert delete
select none delete the original
Click on layer 4 selections,select all, float,defloat
paste a paper of choice from the kit - I used paper2b
selection invert delete
select none delete the original
Click on layer 2&3 selections,select all, float,defloat
paste a paper of choice from the kit - I used paper4
selection invert delete
select none delete the original
Add close-up of tube into circles
Add Xero Radiance with settings of choice
Place your main tube in center
Xero Radiance with settings of choice
Click on layer 1 selections,select all, float,defloat
paste a paper of choice from the kit - I used paper3
selection invert delete
select none delete the original
Now time to add our elements
I used the following:
Element 2
Element 6
Element 9
Element 11
Element 12
Element 15
Element 18
Element 26
Element 29
Merge your layers
Open paper of choice & apply mask
Place your name where you like it
Add the Copyright and your License Number for the tube
Resize to your liking and save as PNG
This tutorial was created on May 30,2016 by Rhonda
Any resemblance to another Tag or Tutorial is purely coincidental

Labels:FTU | 0
comments
Subscribe to:
Comments
(Atom)
Grab My Blinkie

About Me
Hello friends and welcome to my blog!!! My name is Rhonda and I live in South East Ga., little town called Lumber City. I have 2 sons, 2 DIL's and 3 grandchildren. I work in healthcare as an RN.
When not working, I enjoy playing in PSP. It has been my passion over 20 years. PSP is relaxing and takes my mind away from troubles of life. I enjoy writing tutorials on my downtime.
I am expanding my creations to frames, clusters, templates and hopefully masks. I have NEVER made a mask but I have the time to learn now and I am excited. These will be FTU, all I ask is please download from the blog and if you are in a group or forum please send others to my blog and DO NOT HOTLINK. I would love to see your creations and show them off.
If you need to contact me with any questions concerning my tutorials or creations, send me an email. I am aware some of my older tutorials have links that are no longer working due to designers closing their blog. This is beyond my control. I am unable to share anything which was not shareable before. I honor all designers TOU.
I CT For
T.O.U.
All tutorials that are on my blog have been written by me. Any resemblance to another tag or tutorial is purely coincidental. Please do not copy and claim as your own. You are welcome to use these tutorials in any groups or forums but please link back to my blog. I would love to see any tag that is made using my tutorial. If you have any questions or concerns you can contact me at rsheath31549@yahoo.com.
Cluster Frames are Personal Use ONLY!!!! Please do not claim them as your own or rip them apart. You are welcome to use in forums or groups but please link back to blog. My TOU are included in the downloads. I would love to see any creations you make with my tuts or other creations. Send them to me and I will display them.
My goal for this blog is to make creations others can use and enjoy. I want to focus on being positive through difficult times. Show importance of accepting others, no judging, just respect. Showing kindness to others can change another's life, even for a brief time
Powered by Blogger.
Search
Categories
- Addictive Pleasures
- Adrienne Designs
- AI by Caz
- AI TK Dezigns
- Alicia Mujica
- April Shareables
- Art-Content
- Awards
- Awareness
- Barbara Jensen
- Beth Show-Off
- Birthday
- Black Widow Creations
- Blaque Heart Designz
- Blog Train
- BLT Dezingz
- Breast Cancer Awareness
- Brutal Designs.Grunge and Glitter
- CC Excluisve
- CDO
- Chachaz Creations
- Chelloenix
- Chichi Designz
- Chick News
- Chris Pastel
- Christmas
- Cluster Frame Tuts
- Cluster.
- Cluster. FTU Cluster Frames
- Coffee Arts Design's
- Country
- Crisipified
- Daelmans Designs
- Dangerously Delicious Designz
- Deedles and Doodles
- DeesSign Depot
- Designer Scraps
- Designz By Anorie
- Designz by Shelly
- Diamond Creations
- Digital Art Heaven
- Doodle By Design
- Dreaming With Bella
- Easter
- Elegance Fly
- Elfairy Tubes
- Elli's
- Facebook Freebie
- Fall
- FTU
- FTU Cluster Frames
- FTU Tube
- General
- Gothic
- GraphFreaks
- Gypsy
- Halloween
- Hania Design
- Here2Help Mirella
- Icy Blue Mystic Designs
- Inzpired Creationz
- Inzpired Creationz Store
- Jens Sweet Temptations
- July 4th
- Kathy's PSP Designs
- Kelly's AI Artroom
- Kizzed by Kelz
- Laura Re Art
- Limited FTU
- Lori's PSP Graphics
- MardiGras
- Midnight Shadow Dezinez
- Military
- Misticheskaya
- Mizteeque
- Moonshine Dezignz
- Mother's Day
- motivational
- My Tagging Addiction
- New Years
- News
- News about kits
- No Scraps
- Pammers Passion
- Patriotic
- Personal
- PFD
- Pimp My Tags With Scraps
- Pink Paradox
- PTU
- PTU Clusters
- PTU now FTU
- Purple Dreams
- Queen Uriel
- Retired Kits
- s
- S&Co
- Savage Dezigns
- School
- Scrap it Studio
- Scrappy Bit of Fun
- Show Off
- Simply Vicki
- Snags
- Spring
- St Patricks Day
- Steampunk
- Summer
- Tagcatz Design
- Tags with no Tuts
- Tattys Thingies
- Template
- Thanksgiving
- The Taggers Lounge
- The Taggers Lounge Exclusive
- Tiny Turtles
- Tiny Turtles Store
- Updates
- Valentine
- VeryMany
- Vintage
- VM Artists
- VMArtists
- Western
- Wicked Princess Scraps
- Winter
- Wonderland
- WordArt
- Zindy Zone
- Zlatam Store
Blog Archive
-
▼
2016
(139)
-
▼
June
(19)
- Mans Bestfriend - PTU
- Tropical Siren - PTU
- Summer Beach Roller - PTU
- Fun At The Beach - FTU
- Mermaid Cove - PTU
- Floral Beauty - FTU
- Tiki Party Time - PTU
- Tropical Paradise - PTU
- Cinderella - PTU
- Tea Time - PTU
- Sipping on Sunshine - PTU
- Music Cowgirl - FTU
- Movie Star - PTU
- Spring Sorbet - PTU
- Show Offs
- Down By The Lighthouse - FTU
- Dark Lady - PTU
- Cupcake Lover - PTU
- Bee My Honey - FTU
-
▼
June
(19)

