Tuesday, September 30, 2014
Choo Choo!!!!!!!!!!!!! The Taggers Lounge Haunted Express Blog train has now boarded
Halloween Town is headed your way for download
This is our very first blog train and we appreciate all the work from our members
Downloads will be available October 1
We have scrapkits, templates, masks, clusters and wordart
Make sure you visit all the stops and collect the goodies
Don't forget to leave a thank you for all the designers
Other places to collet your goodies:
Labels:Blog Train,FTU,Halloween | 8
comments
This tutorial is written for those with knowledge of PSP
Supplies Needed:
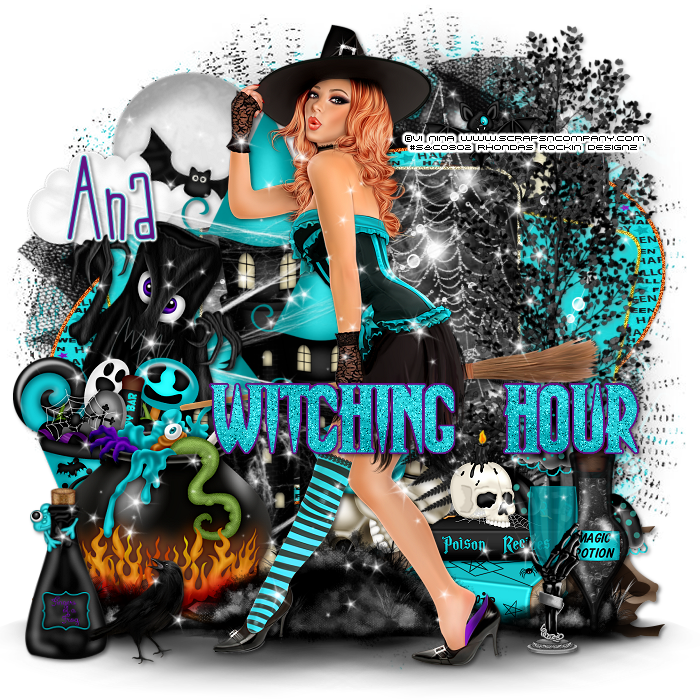
Tube of choice: I'm using the wonderful art work of Vi Nina
You must obtain a license to use this art at S&Co HERE
PTU Scrap Kit from Lizquis Scraps called "Hallow Witch"
You can purchase this awesome kit at S&Co HERE
Template by StyleLicious HERE
Mask of choice
Open template - Shift D to duplicate then close out original
Increase canvas size to 700x700
delete copyright, layers 2&3
paste a paper of choice from the kit - I used paper1
selection invert delete
select none delete the original
I added a border with noise
paste a paper of choice from the kit - I used paper2
selection invert delete
select none delete the original
paste a paper of choice from the kit - I used paper8
selection invert delete
select none delete the original
paste a paper of choice from the kit - I used paper7
selection invert delete
select none delete the original
I added a border with noise
paste a paper of choice from the kit - I used paper8
selection invert delete
select none delete the original
I used the following:
Bat
Books
Branch 1
Branch 2
Cauldron
Cone
Crow
Glass
Grass
Moon
Mushrooms
Netting
Potion 1
Potion 2
Skulls
Sparkles 1
Sparkles 2
Stem
Towers
Tree 1
Web 2
Web 3
Open paper & apply mask of choice
Add the Copyright and your License Number for the tube
Resize to your liking and save as PNG
This tutorial was created on September 30,2014 by Rhonda
Any resemblance to another Tag or Tutorial is purely coincidental

Labels:Halloween,PTU,S&Co | 0
comments
Monday, September 29, 2014
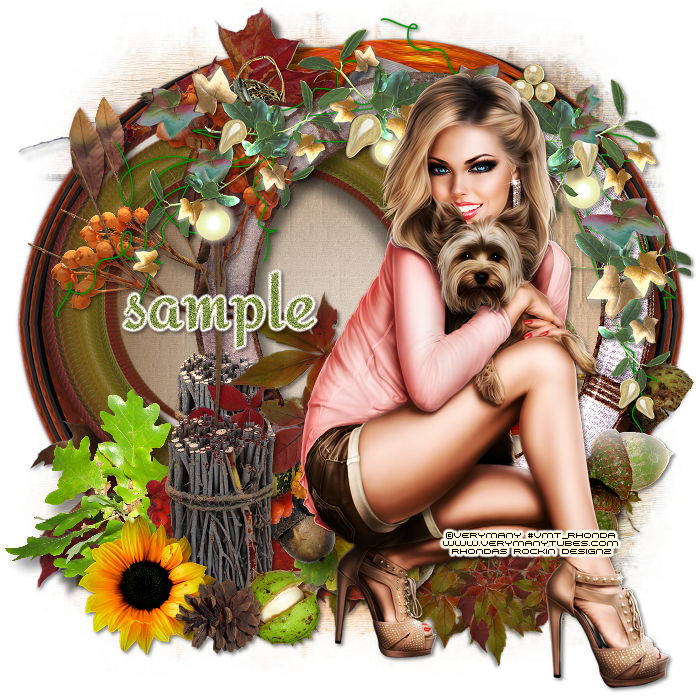
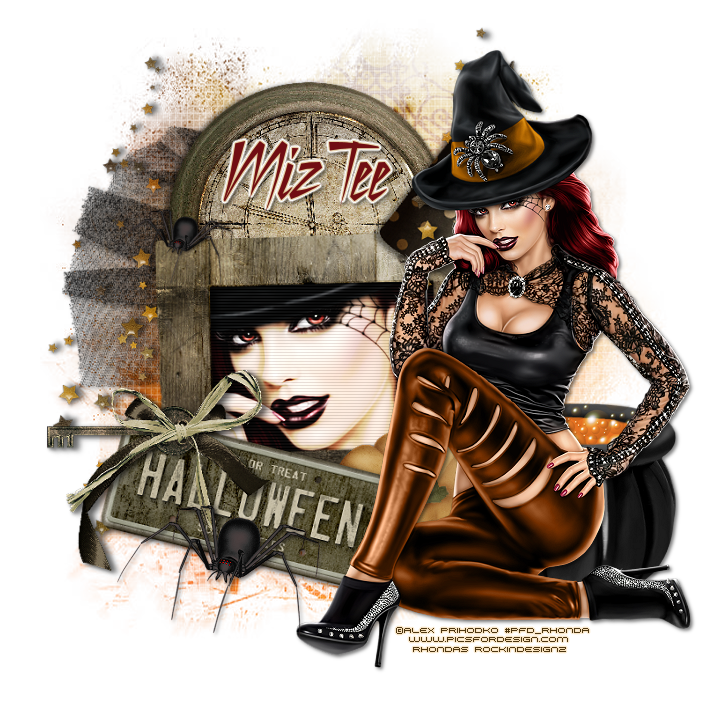
Playing around with some challanges over at The Taggers Lounge
Made these tags but didn't feel like writing the tutorials

Labels:Tags with no Tuts | 0
comments
Sunday, September 28, 2014

This tutorial is written for those with knowledge of PSP
Supplies Needed:
Tube of choice: I'm using the wonderful art work of Pinup Toons
You must obtain a license to use this art at CDO HERE
FTU Scrap Kit by HorsePlay Pastures called Autumn Sunset HERE
Template #26 by Scraps Dimensions HERE
Mask of choice
Don't forget to leave a thank you when downloading
Open template - Shift D to duplicate then close out original
Resize all layers 54%
Canvas size 700x700
Deleted copyright & wordart
paste a paper of choice from the kit - I used paper5
selection invert delete
select none delete the original
paste a paper of choice from the kit - I used paper6
selection invert delete
select none delete the original
paste a paper of choice from the kit - I used paper7
selection invert delete
select none delete the original
paste a paper of choice from the kit - I used paper2
selection invert delete
select none delete the original
paste a paper of choice from the kit - I used paper10
selection invert delete
select none delete the original
paste a paper of choice from the kit - I used paper4
selection invert delete
select none delete the original
Xero Radiance with settings of choice
I used the following:
Element 6
Element 12
Element 13
Element 23
Element 26
Element 37
Element 38
Element 40
Element 45
Element 52
Element 53
Element 74
Element 75
Element 76
Open paper of choice & apply mask
Add the Copyright and your License Number for the tube
Resize to your liking and save as PNG
This tutorial was created on September 27,2014 by Rhonda
Any resemblance to another Tag or Tutorial is purely coincidental

Labels:Fall,FTU | 0
comments
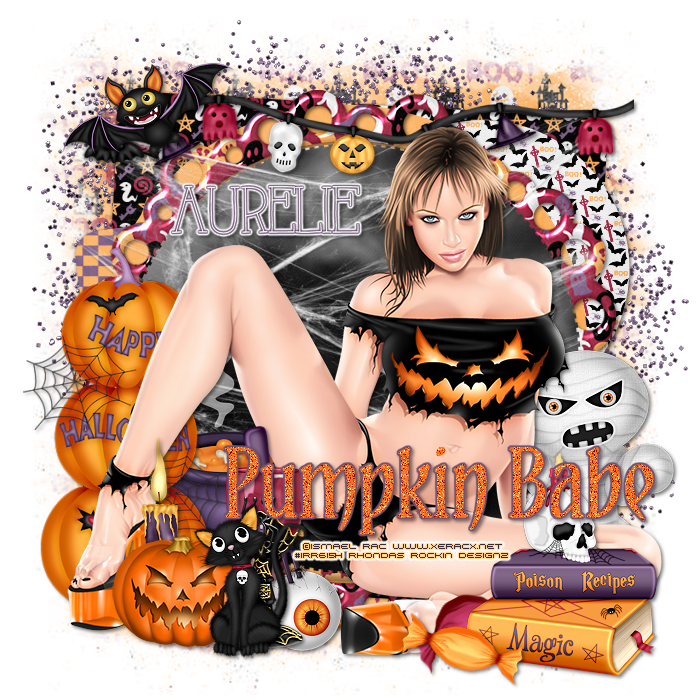
This tutorial is written for those with knowledge of PSP
Supplies Needed:
Tube of choice: I'm using the wonderful art work of Ismael Rac
You must obtain a license to use this art at PFD HERE
PTU kit by Purple Dream Scraps called Halloweencholic HERE
Template #675 by Millie HERE
Mask of choice
Don't forget to leave a thank you when downloading
Xero Radiance
Open template - Shift D to duplicate then close out original
Canvas size 700x700
Delete copyright
paste a paper of choice from the kit - I used paper16
selection invert delete
select none delete the original
paste a paper of choice from the kit - I used paper14
selection invert delete
select none delete the original
paste a paper of choice from the kit - I used paper10
selection invert delete
select none delete the original
paste a paper of choice from the kit - I used paper4
selection invert delete
select none delete the original
paste a paper of choice from the kit - I used paper1
selection invert delete
select none delete the original
Add Xero Radiance with settings of choice
I used the following:
Bat
Books
Candle 2
Candy 2&3
Cauldron
Eyeball
Fog
Frame 2
Glitter
Goblet
Kitty
Lights
Mummy
Pumpkins
Spider
Web 2
Open paper of choice and apply mask
Add the Copyright and your License Number for the tube
Resize to your liking and save as PNG
This tutorial was created on September 27,2014 by Rhonda
Any resemblance to another Tag or Tutorial is purely coincidental

Labels:Halloween,PTU,Purple Dreams | 0
comments

This tutorial is written for those with knowledge of PSP
Supplies Needed:
Tube of choice: I'm using the wonderful art work of Eugene Rzhevskii
You must obtain a license to use this art at PFD HERE
PTU kit by Farrah called Autumn Blues HERE
Template #679 by Millie HERE
Mask by Anita Designs HERE
Don't forget to leave a thank you when downloading
Xero Radiance
Open template - Shift D to duplicate then close out original
Canvas size 700x700
Delete copyright, layers 1&8
paste a paper of choice from the kit - I used paper5
selection invert delete
select none delete the original
paste a paper of choice from the kit - I used paper2
selection invert delete
select none delete the original
paste a paper of choice from the kit - I used paper6
selection invert delete
select none delete the original
paste a paper of choice from the kit - I used paper1
selection invert delete
select none delete the original
paste a paper of choice from the kit - I used paper3
selection invert delete
select none delete the original
Add Xero Radiance with settings of choice
I used the following:
Apple
Basket
Flower 4
Frame
Leaves 2&3
Light
Mushroom 2&3
Scatter 2
Vine 4
Wagon
Wagon Wheel
Open paper of choice and apply mask
Add the Copyright and your License Number for the tube
Resize to your liking and save as PNG
This tutorial was created on September 27,2014 by Rhonda
Any resemblance to another Tag or Tutorial is purely coincidental

Labels:Fall,PTU | 0
comments
Saturday, September 20, 2014

This tutorial is written for those with knowledge of PSP
Supplies Needed:
Tube of choice: I'm using the wonderful art work of Verymany
You can purchase their work at PFD HERE
FTU Scrap Kit Scrap Dimensions HERE
Mask #12 by Scrap Dimensions HERE
Don't forget to leave a thank you when downloading
Open blank canvas 700x700
Open element 19 & place in center of canvas
Click inside each frame with magic wand and expand by 10
Open paper 2 and paste as new layer
Selections invert delete
Move paper under frame
Change blend mode to overlay
I used the following:
Element 1
Element 13
Element 14
Element 15
Element 20
Element 22
Element 23
Element 26
Element 27
Element 28
Open paper 5 & apply mask
Add the Copyright and your License Number for the tube
Resize to your liking and save as PNG
This tutorial was created on September 20,2014 by Rhonda
Any resemblance to another Tag or Tutorial is purely coincidental

Labels:Fall,FTU | 0
comments
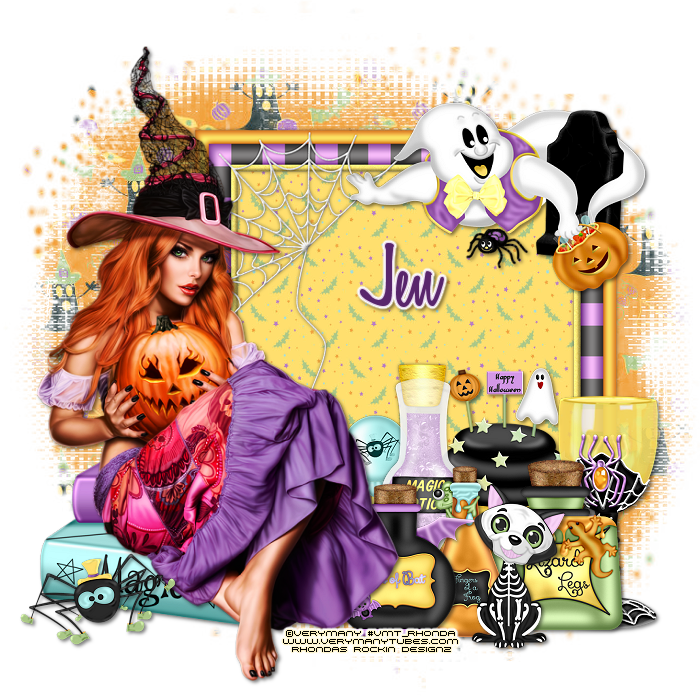
This tutorial is written for those with knowledge of PSP
Supplies Needed:
Tube of choice: I'm using the wonderful art work of VeryMany
You can purchase these tubes at their store HERE
PTU kit by Jen from Sweet Temptations called "Something Wicked" HERE
This kit is packed with templates,wordart and glitters
Mask of choice
Open blank canvas 700x700
Grab selection tool and draw square around frame
Open paper 5 and paste as new layer under frame
Selections none
I used the following:
Books
Cupcake
Eyes of Bat
Fingers of a Frog
Ghost 1
Goblet
Lizard Legs
Lolli
Magic Potion
Skelton Kitty
Spider
Open paper 7 and apply mask of choice
Resize to your liking and save as PNG
This tutorial was created on September 21,2014 by Rhonda
Any resemblance to another Tag or Tutorial is purely coincidental

Labels:Halloween,Jens Sweet Temptations,PTU | 0
comments
Tuesday, September 16, 2014

This tutorial is written for those with knowledge of PSP
Supplies Needed:
Tube of choice: I'm using the wonderful art work of Danny Lee
You must obtain a license to use his art at S&Co HERE
Matching PTU Scrapkit by Ginnibug Designz at S&Co HERE
Template #671 by Millie HERE
Open template - Shift D to duplicate then close out original
delete copyright,layers 3&7
paste a paper of choice from the kit - I used paper16
selection invert delete
select none delete the original
paste a paper of choice from the kit - I used paper17
selection invert delete
select none delete the original
paste a paper of choice from the kit - I used paper14
selection invert delete
select none delete the original
paste a paper of choice from the kit - I used paper21
selection invert delete
select none delete the original
paste a paper of choice from the kit - I used paper20
selection invert delete
select none delete the original
paste a paper of choice from the kit - I used paper3
selection invert delete
select none delete the original
I used the following:
Element 5
Element 17
Element 19
Element 20
Element 32
Element 61
Element 77
Element 79
Element 82
Element 94
Element 99
Place your name where you like it
Add the Copyright and your License Number for the tube
Resize to your liking and save as PNG
This tutorial was created on September 15,2014 by Rhonda
Any resemblance to another Tag or Tutorial is purely coincidental

Labels:Fall,PTU,S&Co | 0
comments
Saturday, September 13, 2014
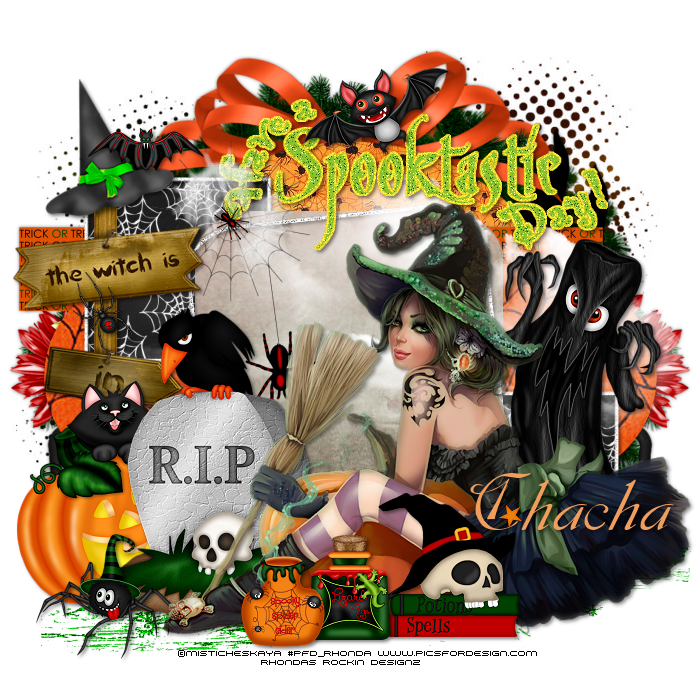
This tutorial is written for those with knowledge of PSP
Supplies Needed:
Tube of choice: I'm using the wonderful art work of Misticheskaya
Which you must obtain a license to use at PFD HERE
PTU Scrap Kit by Chachaz Creations called Trick or Treat
You an purchase this awesome kit at S&CO HERE
Template #3 by TwyztedT's Playroom HERE
Mask of choice
Don't forget to leave a thank you when downloading
Open template - Shift D to duplicate then close out original
Resize template 90% all layers
Canvas size 700x700
delete copyright,raster copy of raster6&7
paste a paper of choice from the kit - I used paper2
selection invert delete
select none delete the original
paste a paper of choice from the kit - I used paper5
selection invert delete
select none delete the original
paste a paper of choice from the kit - I used paper1
selection invert delete
select none delete the original
paste a paper of choice from the kit - I used paper6
selection invert delete
select none delete the original
paste a paper of choice from the kit - I used paper7
selection invert delete
select none delete the original
I used the following:
Element 1
Element 8
Element 24
Element 35
Element 47
Element 50
Element 55
Element 59
Element 62
Element 67
Element 68
Element 69
Element 70
Element 77
Element 79
apply mask of choice
Add the Copyright and your License Number for the tube
Resize to your liking and save as PNG
This tutorial was created on Septmeber 13,2014 by Rhonda
Any resemblance to another Tag or Tutorial is purely coincidental

Labels:Chachaz Creations,Halloween,PTU | 0
comments
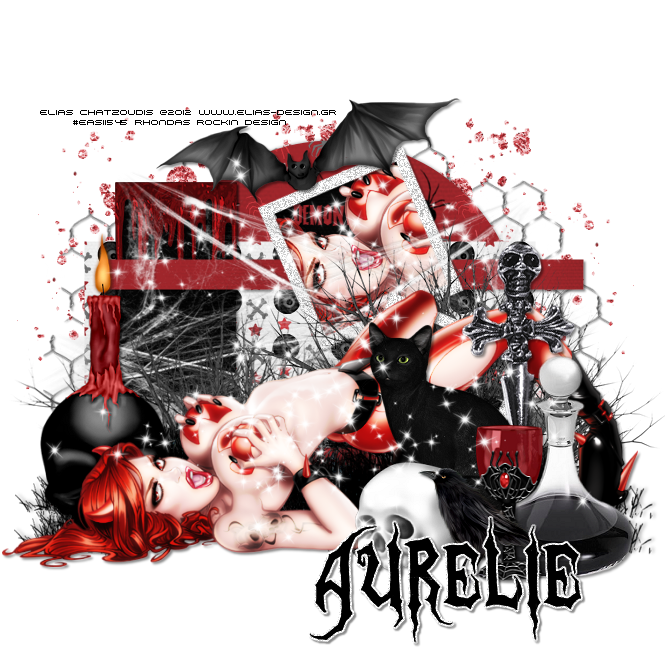
This tutorial is written for those with knowledge of PSP
Supplies Needed:
Tube of choice: I'm using the wonderful art work of Elias Chatzoudis
Which you must obtain a license to use at his store HERE
PTU Scrap Kit by Purple Dreams Scraps called "Demoniac"
You can purchase this kit HERE
Template #73 by Melissa from Melissaz Creationz
You can download this HERE
Don't forget to leave a thank you when downloading
Plugins Used:
Xero Radiance
Open template - Shift D to duplicate then close out original
Canvas size 670x670
delete copyright
paste a paper of choice from the kit - I used paper8
selection invert delete
select none delete the original
paste a paper of choice from the kit - I used paper10
selection invert delete
select none delete the original
paste a paper of choice from the kit - I used paper1
selection invert delete
select none delete the original
paste a paper of choice from the kit - I used paper3
selection invert delete
select none delete the original
paste a paper of choice from the kit - I used paper2
selection invert delete
select none delete the original
paste a paper of choice from the kit - I used paper6
selection invert delete
select none delete the original
apply Xero Radiance with settings of choice
paste a paper of choice from the kit - I used paper5
selection invert delete
select none delete the original
add noise with settings of choice
Xero Radiance with settings of choice
Bat 2
Blood
Bottle
Bush
Candle
Cat
Crow
Dagger
Glass
Grass
Skull 2
Sparkles
Splat 2
Web
Wire
Add the Copyright and your License Number for the tube
Resize to your liking and save as PNG
This tutorial was created on October 27,2012 by Rhonda
Any resemblance to another Tag or Tutorial is purely coincidental

Labels:Halloween,Purple Dreams | 0
comments
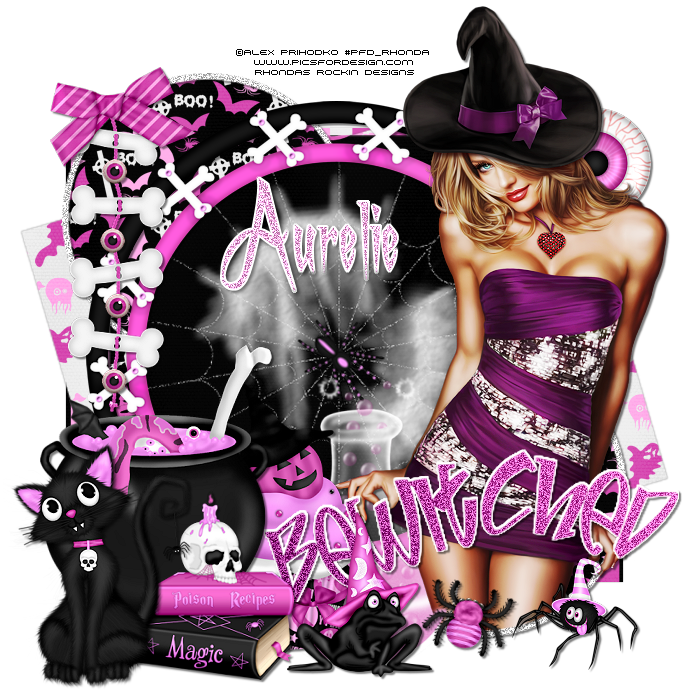
This tutorial is written for those with knowledge of PSP
Supplies Needed:
Tube of choice: I'm using the wonderful art work of Alex Prihodko
Which you must obtain a license to use at Pics for Design HERE
PTU Scrap Kit by Purple Dreams Scraps called "Pink Witch"
You can purchase this kit HERE
Template #158 by Leah which you can download HERE
Don't forget to leave a thank you when downloading
Plugins Used:
Xero Radiance
Open template - Shift D to duplicate then close out original
Resize template 135% all layers
Canvas size 700x700
delete copyright
paste a paper of choice from the kit - I used paper14
selection invert delete
select none delete the original
paste a paper of choice from the kit - I used paper12
selection invert delete
select none delete the original
paste a paper of choice from the kit - I used paper5
selection invert delete
select none delete the original
paste a paper of choice from the kit - I used paper10
selection invert delete
select none delete the original
paste a paper of choice from the kit - I used paper9
selection invert delete
select none delete the original
paste a paper of choice from the kit - I used paper4
selection invert delete
select none delete the original
paste a paper of choice from the kit - I used paper1
selection invert delete
select none delete the original
add new layer and flood fill with color of choice
add noise with settings of choice
Xero Radiance with settings of choice
Books
Cat
Cauldron
Cupcake 2
Dangler
Eye
Frame
Frog
Spiders
Spiderweb
Add the Copyright and your License Number for the tube
Resize to your liking and save as PNG
This tutorial was created on October 16,2012 by Rhonda
Any resemblance to another Tag or Tutorial is purely coincidental

Labels:Halloween,Purple Dreams | 0
comments
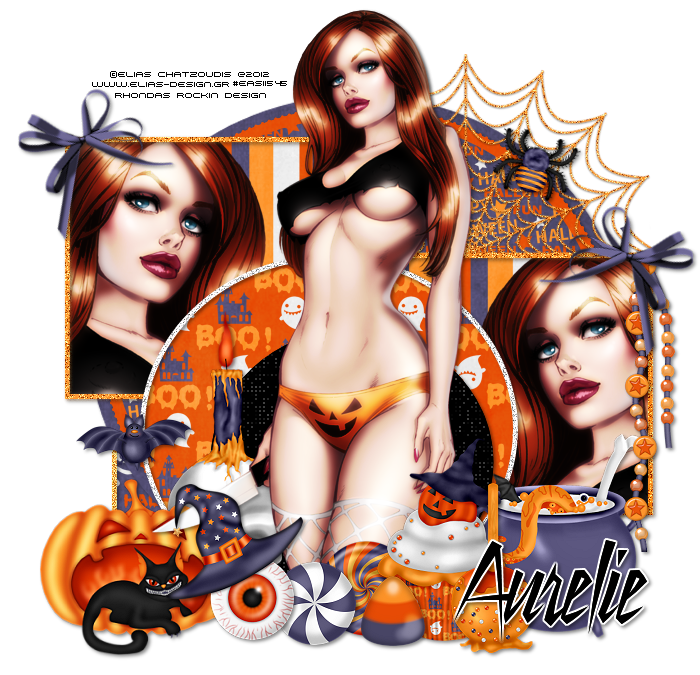
This tutorial is written for those with knowledge of PSP
Supplies Needed:
Tube of choice: I'm using the wonderful art work of Elias Chatzoudis
You can purchase Elias tubes at his own store HERE
PTU Scrap Kit by Purple Dream Scraps called Sexy Witch
You can purchase this awesome kit HERE
Template #48 from Demented Hallucinationz..sorry but I couldn't find a her site
And I can't supply without permission
Don't forget to leave a thank you when downloading
Xero Radiance
Xero Fritillary
Open template - Shift D to duplicate then close out original
Canvas size 700x675
I deleted copyright,cat,bat,mask and wordart
paste a paper of choice from the kit - I used paper5
selection invert delete
select none delete the original
paste a paper of choice from the kit - I used paper1
selection invert delete
select none delete the original
paste a paper of choice from the kit - I used paper9
selection invert delete
select none delete the original
paste a paper of choice from the kit - I used paper14
selection invert delete
select none delete the original
Apply Xero Radiance with settings of choice
paste a paper of choice from the kit - I used paper3
selection invert delete
add noise of choice settings
select none delete the original
paste a paper of choice from the kit - I used paper6
selection invert delete
select none delete the original
Xero radiance with settings of choice
I used the following:
Bat
Beads
Bow 5
candle
Candy
Candy 2&5
Candyapple
Catinpumkin
Cauldron
Cupcake 2
Eye
Spider
Web
Add the Copyright and your License Number for the tube
Resize to your liking and save as PNG
This tutorial was created on September 20,2012 by Rhonda
Any resemblance to another Tag or Tutorial is purely coincidental

Labels:Halloween,Purple Dreams | 0
comments
Wednesday, September 10, 2014
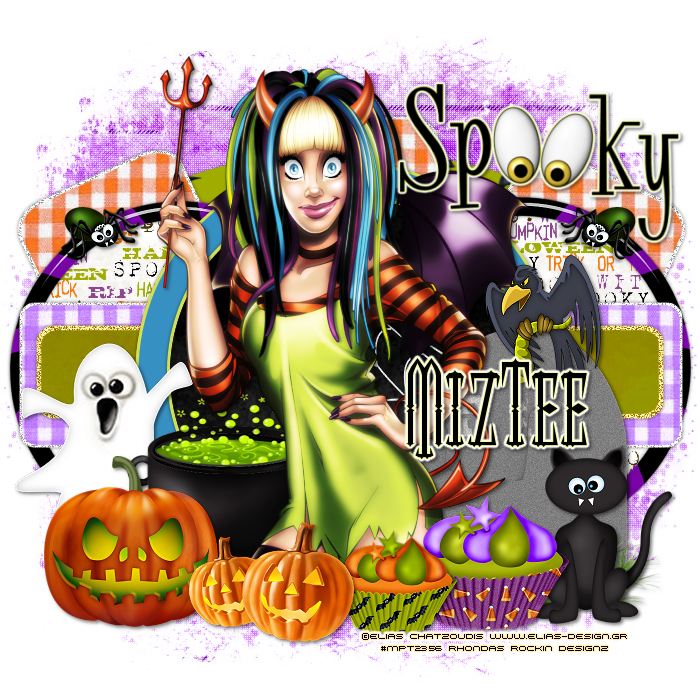
This tutorial is written for those with knowledge of PSP
Supplies Needed:
Tube of choice: I'm using the wonderful art work of Elias Chatzoudis
This tube was purchased at MPT which has closed
You can purchase his tubes at his store HERE
PTU Scrap Kit by Mizteeque from called "Jeepers Creepers"
You an purchase this awesome kit HERE
Template #5 by Chrissy HERE
Mask & Word art is included in kit
Don't forget to leave a thank you when downloading
Xero Radiance
Open template - Shift D to duplicate then close out original
Canvas size 700x700
Delete copyright
We will work from bottom up
paste a paper of choice from the kit - I used paper13
selection invert delete
select none delete the original
paste a paper of choice from the kit - I used paper15
selection invert delete
select none delete the original
paste a paper of choice from the kit - I used paper10
selection invert delete
select none delete the original
paste a paper of choice from the kit - I used paper16
selection invert delete
select none delete the original
add new layer & flood fill with solid color
select none delete the original
add noise
paste a paper of choice from the kit - I used paper1
selection invert delete
select none delete the original
add new layer & flood fill with solid color
select none delete the original
Apply Xero Radiance with settings of choice
I used the following:
Element 13
Element 16
Element 17
Element 33
Element 39
Element 41
Element 47
Element 52
Element 53
Element 61
Element 64
Element 71
Open paper of choice and apply mask
Add the Copyright and your License Number for the tube
Resize to your liking and save as PNG
This tutorial was created on September 10,2014 by Rhonda
Any resemblance to another Tag or Tutorial is purely coincidental

Labels:Halloween,Mizteeque,PTU | 0
comments
Tuesday, September 9, 2014
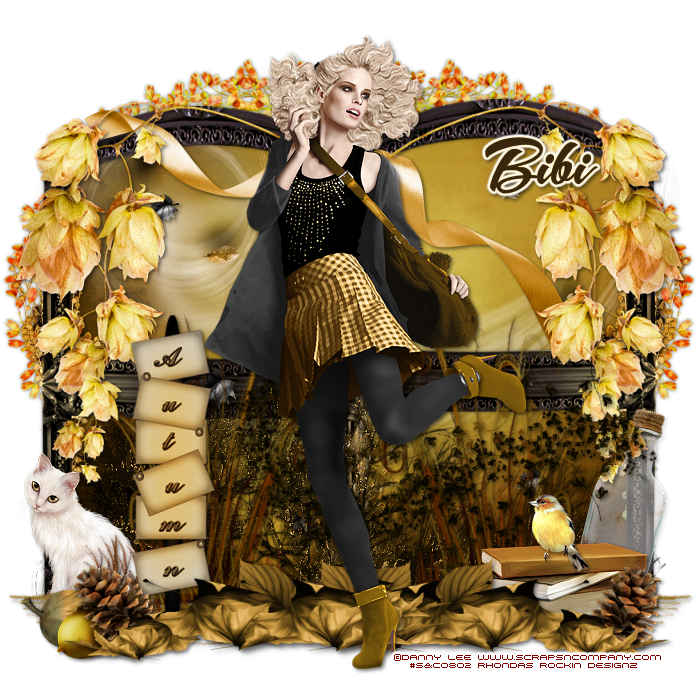
This tutorial is written for those with knowledge of PSP
Supplies Needed:
Tube of choice: I'm using the wonderful art work of Danny Lee
You must obtain a license to use his art at S&Co HERE
PTU Scrap Kit from Bibi called "Autumn Winds" purchased at S&CO HERE
Resize elements to your liking
This is a very quick and easy tutorial
Open blank canvas 700x700
Open element 86 & place in center of tag
Duplicate and mirror
Merge the 2 elements
Grab the magic wand & click inside frame
Selections modify expand by 10
Open paper 4 and paste as new layer
Move paper under frame
I used the following:
Element 15
Element 18
Element 21
Element 23
Element 24
Element 30
Element 36
Element 47
Element 52
Element 78
Element 85
Element 89
Element 92
Element 94
Element 98
Element 99
Element 100
Element 101
Add the Copyright and your License Number for the tube
Resize to your liking and save as PNG
This tutorial was created on September 9,2014 by Rhonda
Any resemblance to another Tag or Tutorial is purely coincidental

Labels:Fall,PTU,S&Co | 0
comments
Monday, September 8, 2014
Supplies Needed:
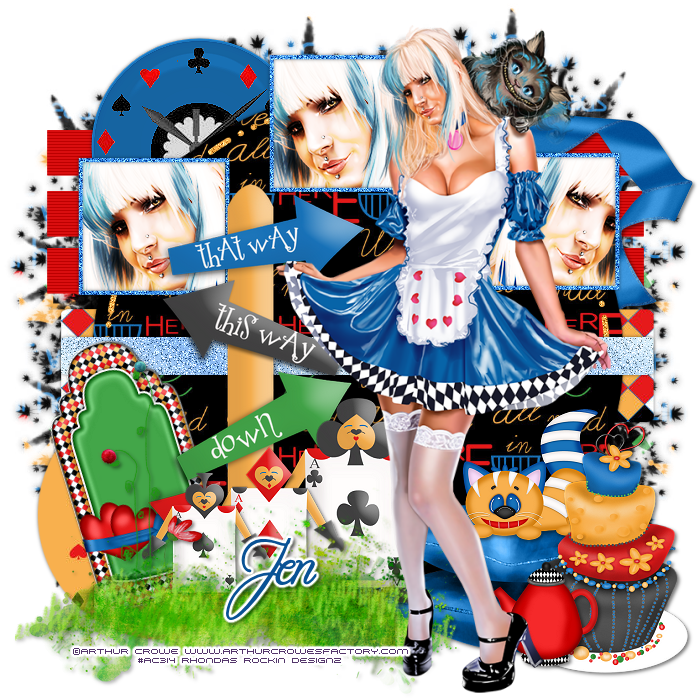
Tube of choice: I'm using the wonderful art work of Arthur Crowe
Which you must obtain a license to use at his store HERE
PTU Scrap Kit by Jen from Sweet Temptations called "Wonderland"
You an purchase this awesome kit HERE
Template by Jen which is included in kit
Mask #85 by Millie HERE
Don't forget to leave a thank you when downloading
Xero Radiance
PhotoEffex Scanlines
Open template - Shift D to duplicate then close out original
Resize template 79%
Increase canvas size 700x700
delete copyright,shapes 1&5,raster 4
add new layer and flood fill with solid color of choice
selection invert delete
select none delete the original
apply PhotoEffex Scanlines
paste a paper of choice from the kit - I used paper4
selection invert delete
select none delete the original
paste a paper of choice from the kit - I used paper5
select none delete the original
add noise with settings of choice
paste a paper of choice from the kit - I used paper2
selection invert delete
select none delete the original
add new layer & apply solid color of choice
select none delete the original
apply noise with settings of choice
add new layer & apply gradient of choice
apply noise with settings of choice
select none delete the original
apply Xero Radiance
Xero Radiance with settings of choice
I used the following:
Cat
Cake
Clock
Club Card
Diamond Card
Grass
Pillow
Ribbon 1
Sign Post
Spade Card
Tag 1
Tea Pot
Open paper 5 & apply mask
Add the Copyright and your License Number for the tube
Resize to your liking and save as PNG
This tutorial was created on September 8,2014 by Rhonda

Labels:Jens Sweet Temptations,PTU | 0
comments
Sunday, September 7, 2014

This tutorial is written for those with knowledge of PSP
Supplies Needed:
Tube of choice: I'm using the wonderful art work of Pinup Toons
You can purchase these tubes at CDO HERE
FTU Scrap Kit by Kittz Kreationz HERE
Template #244 by Becky HERE
Don't forget to leave a thank you when downloading
Xero Radiance
Open template - Shift D to duplicate then close out original
Canvas size 700x700
Delete copyright,wordart and all leaves
paste a paper of choice from the kit - I used paper2
selection invert delete
select none delete the original
paste a paper of choice from the kit - I used paper6
selection invert delete
select none delete the original
paste a paper of choice from the kit - I used paper1
selection invert delete
select none delete the original
paste a paper of choice from the kit - I used paper4
selection invert delete
select none delete the original
paste a paper of choice from the kit - I used paper7
selection invert delete
select none delete the original
paste a paper of choice from the kit - I used paper2
selection invert delete
select none delete the original
apply filters for softer effects
I used the following:
Element 12
Element 24
Element 26
Element 37
Element 38
Element 40
Element 42
Element 43
Element 45
Element 48
Element 56
Element 67
Element 79
Element 80
Add the Copyright and your License Number for the tube
Resize to your liking and save as PNG
This tutorial was created on September 7,2014 by Rhonda
Any resemblance to another Tag or Tutorial is purely coincidental

Labels:Fall,FTU | 0
comments
Saturday, September 6, 2014

Lori from Templates Tags N Ads sent me this award!!!!!!

Labels:Awards | 0
comments

This tutorial is written for those with knowledge of PSP
Supplies Needed:
Tube of choice: I'm using the wonderful art work of Ellie_Milk
Which you must obtain a license to use at PFD HERE
PTU Scrap Kit by Chachaz Creations called Halloween Pumpkin
You an purchase this awesome kit at S&CO HERE
Template #3 by Brutal Designs HERE
Halloween Gradients HERE
Mask #103 by Rosesblack HERE
Don't forget to leave a thank you when downloading
Open template - Shift D to duplicate then close out original
Resize template 90% all layers
Canvas size 700x700
delete copyright,layers 5&13, wordart and hearts
paste a paper of choice from the kit - I used paper6
selection invert delete
select none delete the original
paste a paper of choice from the kit - I used paper5
selection invert delete
select none delete the original
paste a paper of choice from the kit - I used paper1
selection invert delete
select none delete the original
paste a paper of choice from the kit - I used paper3
selection invert delete
select none delete the original
add new layer and fllod fill with one of the halloween gradients
select none delete the original
add noise
paste a paper of choice from the kit - I used paper4
selection invert delete
select none delete the original
add new layer and fllod fill with one of the halloween gradients
select none delete the original
add noise
paste a paper of choice from the kit - I used paper2
selection invert delete
select none delete the original
paste a paper of choice from the kit - I used paper4
selection invert delete
select none delete the original
I used the following:
Element 2
Element 22
Element 27
Element 29
Element 38
Element 43
Element 49
Element 52
Element 56
Element 57
Element 58
Open paper of choice & apply mask
Add the Copyright and your License Number for the tube
Resize to your liking and save as PNG
This tutorial was created on September 6,2014 by Rhonda
Any resemblance to another Tag or Tutorial is purely coincidental

Labels:Chachaz Creations,Halloween,PTU,S&Co | 0
comments
Wednesday, September 3, 2014

This tutorial is written for those with knowledge of PSP
Supplies Needed:
Tube of choice: I'm using the wonderful art work of Di-Halim
You must obtain a license to use this art at S&Co HERE
PTU Scrap Kit from Kissing Kate called "Smugglers Cove"
You an purchase this awesome kit at S&Co HERE
Template #632 by Millie HERE
Mask of choice
Open template - Shift D to duplicate then close out original
Increase canvas to 700x700
delete copyright
paste a paper of choice from the kit - I used paper8
selection invert delete
select none delete the original
paste a paper of choice from the kit - I used paper7
selection invert delete
select none delete the original
paste a paper of choice from the kit - I used paper9
selection invert delete
select none delete the original
paste a paper of choice from the kit - I used paper5
selection invert delete
select none delete the original
paste a paper of choice from the kit - I used paper3
selection invert delete
select none delete the original
paste a paper of choice from the kit - I used paper4
selection invert delete
select none delete the original
add noise with settings of choice
I used the following:
Element 1
Element 6
Element 9
Element 10
Element 14
Element 16
Element 17
Element 18
Element 20
Element 39
Element 40
Element 44
Element 49
Element 52
Element 66
Open paper 2 & apply mask of choice
Add the Copyright and your License Number for the tube
Resize to your liking and save as PNG
This tutorial was created on September 3,2014 by Rhonda
Any resemblance to another Tag or Tutorial is purely coincidental

Labels:PTU,S&Co | 0
comments
Subscribe to:
Comments
(Atom)
Grab My Blinkie

About Me
Hello friends and welcome to my blog!!! My name is Rhonda and I live in South East Ga., little town called Lumber City. I have 2 sons, 2 DIL's and 3 grandchildren. I work in healthcare as an RN.
When not working, I enjoy playing in PSP. It has been my passion over 20 years. PSP is relaxing and takes my mind away from troubles of life. I enjoy writing tutorials on my downtime.
I am expanding my creations to frames, clusters, templates and hopefully masks. I have NEVER made a mask but I have the time to learn now and I am excited. These will be FTU, all I ask is please download from the blog and if you are in a group or forum please send others to my blog and DO NOT HOTLINK. I would love to see your creations and show them off.
If you need to contact me with any questions concerning my tutorials or creations, send me an email. I am aware some of my older tutorials have links that are no longer working due to designers closing their blog. This is beyond my control. I am unable to share anything which was not shareable before. I honor all designers TOU.
I CT For
T.O.U.
All tutorials that are on my blog have been written by me. Any resemblance to another tag or tutorial is purely coincidental. Please do not copy and claim as your own. You are welcome to use these tutorials in any groups or forums but please link back to my blog. I would love to see any tag that is made using my tutorial. If you have any questions or concerns you can contact me at rsheath31549@yahoo.com.
Cluster Frames are Personal Use ONLY!!!! Please do not claim them as your own or rip them apart. You are welcome to use in forums or groups but please link back to blog. My TOU are included in the downloads. I would love to see any creations you make with my tuts or other creations. Send them to me and I will display them.
My goal for this blog is to make creations others can use and enjoy. I want to focus on being positive through difficult times. Show importance of accepting others, no judging, just respect. Showing kindness to others can change another's life, even for a brief time
Powered by Blogger.
Search
Categories
- Addictive Pleasures
- Adrienne Designs
- AI by Caz
- AI Edie's Way
- AI TK Dezigns
- Alicia Mujica
- April Shareables
- Art-Content
- Awards
- Awareness
- Barbara Jensen
- Beth Show-Off
- Birthday
- Black Widow Creations
- Blaque Heart Designz
- Blog Train
- BLT Dezingz
- Breast Cancer Awareness
- Brutal Designs.Grunge and Glitter
- CC Excluisve
- CDO
- Chachaz Creations
- Chelloenix
- Chichi Designz
- Chick News
- Chris Pastel
- Christmas
- Cluster Frame Tuts
- Cluster.
- Cluster. FTU Cluster Frames
- Coffee Arts Design's
- Country
- Crisipified
- Daelmans Designs
- Dangerously Delicious Designz
- Deedles and Doodles
- DeesSign Depot
- Designer Scraps
- Designz By Anorie
- Designz by Shelly
- Diamond Creations
- Digital Art Heaven
- Doodle By Design
- Dreaming With Bella
- Easter
- Elegance Fly
- Elfairy Tubes
- Elli's
- Facebook Freebie
- Fall
- FTU
- FTU Cluster Frames
- FTU Tube
- FTU Tutorial
- General
- Gothic
- GraphFreaks
- Gypsy
- Halloween
- Hania Design
- Here2Help Mirella
- Icy Blue Mystic Designs
- Inzpired Creationz
- Inzpired Creationz Store
- Jens Sweet Temptations
- July 4th
- Kathy's PSP Designs
- Kelly's AI Artroom
- Kizzed by Kelz
- Laura Re Art
- Limited FTU
- Lori's PSP Graphics
- MardiGras
- Midnight Shadow Dezinez
- Military
- Misticheskaya
- Mizteeque
- Moonshine Dezignz
- Mother's Day
- motivational
- My Tagging Addiction
- New Years
- News
- News about kits
- No Scraps
- Pammers Passion
- Patriotic
- Personal
- PFD
- PFD PTU Tube
- Pimp My Tags With Scraps
- Pink Paradox
- PTU
- PTU Clusters
- PTU now FTU
- Purple Dreams
- Queen Uriel
- Retired Kits
- s
- S&Co
- Savage Dezigns
- School
- Scrap it Studio
- Scrappy Bit of Fun
- Show Off
- Simply Vicki
- Snags
- Spring
- St Patricks Day
- Steampunk
- Summer
- t
- Tagcatz Design
- Tags with no Tuts
- Tattys Thingies
- Template
- Thanksgiving
- The Taggers Lounge
- The Taggers Lounge Exclusive
- Tiny Turtles
- Tiny Turtles Store
- Updates
- Valentine
- VeryMany
- Vintage
- VM Artists
- VMArtists
- Western
- Wicked Princess Scraps
- Winter
- Wonderland
- WordArt
- Zindy Zone
- Zlatam Store
Blog Archive
-
▼
2014
(217)
-
▼
September
(20)
- Choo Choo - The Taggers Lounge Haunted Express Blo...
- Witching Hour - PTU
- Just playing around
- Autumn Sunset - FTU
- Pumpkin Babe - PTU
- Splendid Autumn - PTU
- Signs of Autumn - FTU
- Magic Potion - PTU
- Orange Autumn - PTU
- Spooktastic - PTU
- Demoniac - PTU
- Bewitched - PTU
- Sexy Halloween - PTU
- Spooky - PTU
- Autumn Blows In - PTU
- This Way That Way - PTU
- Autumn Fun - FTU
- Another Award!!!!!!!!!!!!!!!!!!!!!
- Halloween Scene - PTU
- Walk the Plank - PTU
-
▼
September
(20)


