Saturday, November 29, 2014
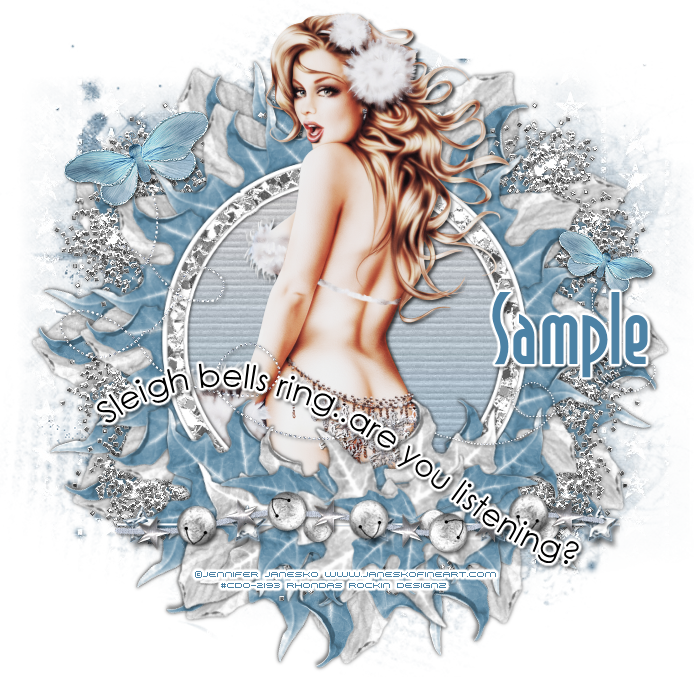
This tutorial is written for those with knowledge of PSP
Supplies Needed:
Tube of choice: I'm using the wonderful art work of Jennifer Janesko
You can purchase these tubes at CDO HERE
FTU kit by Candy's Treats HERE
Mask of choice
Ok Lets get Started:
Open blank canvas 700x700
Open leaf frame 2 and paste as new layer
Grab the magic wand and click inside frame
Selections modify expand by 15
Drop down and add a new layer
Open paper 1 from freebie folder and paste into selection
Add tube of choice inside frame
Merge these layers as one
Open ct1Frame1 and place behind other frame
Apply glitter spill of choice between the 2 frames on both sides
Open butterfly flight, resize and place to top left of clusters
Duplicate this and mirror
Resize second butterfly again and place to right hand side
Open bells on string and place on top of stars in cluster
Open wordart 4 & place where you like
Add eyecandy gradient or some type of border
Add the Copyright and your License Number for the tube
Resize to your liking and save as PNG
This tutorial was created on November 21,2014 by Rhonda
Any resemblance to another Tag or Tutorial is purely coincidental

Labels:Christmas,FTU | 0
comments
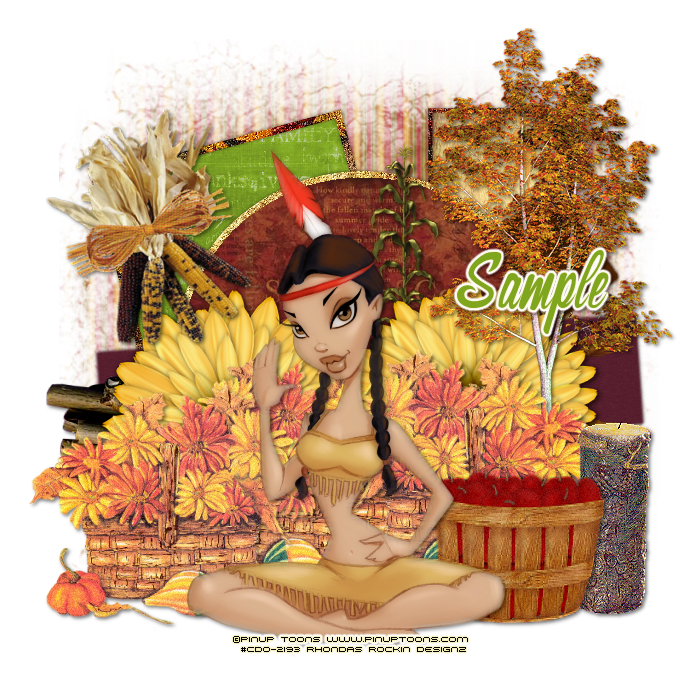
Tube of choice: I'm using the wonderful art work of Pinup Toons
You can purchase these tubes at CDO HERE
FTU Scrap Kit by Dreamland Designs HERE
Template by StyleLicious HERE
Mask of choice
Don't forget to leave a thank you when downloading
Xero Porcelin
Open template - Shift D to duplicate then close out original
Canvas size 700x700
Delete copyright and wordart
paste a paper of choice from the kit - I used paper13
selection invert delete
select none delete the original
paste a paper of choice from the kit - I used paper17
selection invert delete
select none delete the original
add noise
paste a paper of choice from the kit - I used paper16
selection invert delete
select none delete the original
paste a paper of choice from the kit - I used paper1
selection invert delete
select none delete the original
paste a paper of choice from the kit - I used paper3
selection invert delete
select none delete the original
paste a paper of choice from the kit - I used paper9
selection invert delete
select none delete the original
add noise
paste a paper of choice from the kit - I used paper6
selection invert delete
select none delete the original
Place your main tube
apply Xero Porcelin with settings of choice
I used the following:
Apple Barrel
Corn Stalk
Fall Flower Basket
Indian Corn
Pine Candle
Tree
Twined up Wood
Yellow Flower
Open paper of choice and apply mask
Add the Copyright and your License Number for the tube
Resize to your liking and save as PNG
This tutorial was created on November 29,2014 by Rhonda
Any resemblance to another Tag or Tutorial is purely coincidental

Labels:FTU,Thanksgiving | 0
comments
Monday, November 24, 2014


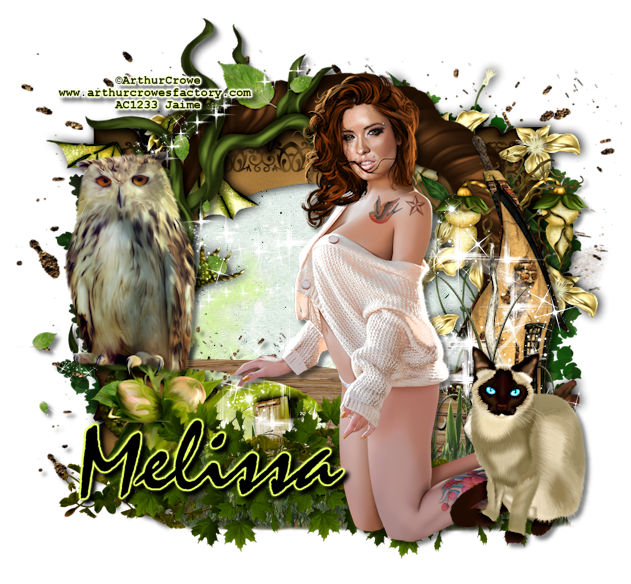


Over at The Taggers Lounge we have a weekly Mystery Tutorial Masterpiece Challange
My tutorial Blessed by Autumn was used this week
The members done a great job as always
Come on over and join us. You can find the link at the top of the blog

Labels:Show Off | 0
comments
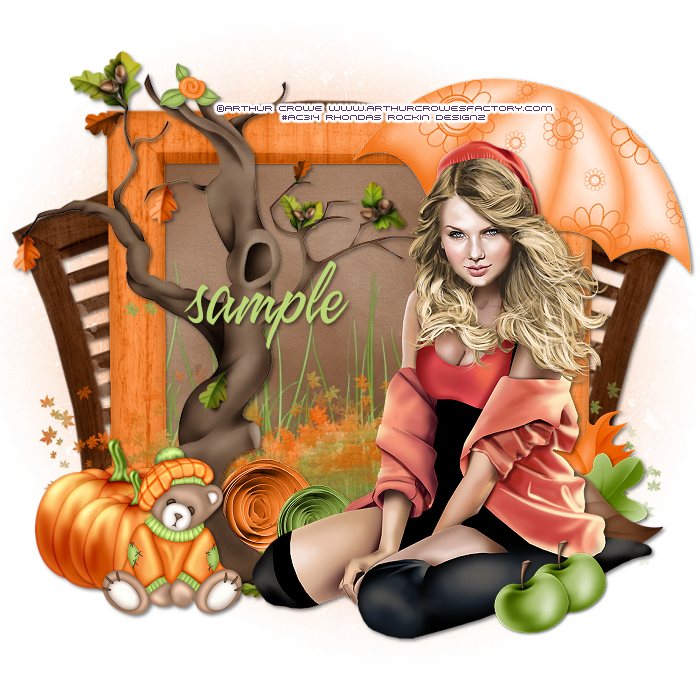
This tutorial is written for those with knowledge of PSP
Supplies Needed:
Tube of choice: I'm using the wonderful art work of Arthur Crowe
You must obtain a license to use HERE
FTU Scrap Kit from Sinfully Creative Scraps HERE
Mask of choice
Resize elements to your liking
This is a very quick and easy tutorial
Open frame 2
Click inside with magic wand & expand by 8
Open paper 6 and paste as new layer
Selections invert delete
Move paper under frame
I used the following:
Element 4
Element 5
Element 6
Element 7
Element 8
Element 9
Element 15
Element 17
Element 19
Element 23
Element 24
Element 26
Frame 1
Open paper of choice and apply mask
Add the Copyright and your License Number for the tube
Resize to your liking and save as PNG
This tutorial was created on November 24,2014 by Rhonda
Any resemblance to another Tag or Tutorial is purely coincidental

Labels:Fall,FTU | 0
comments
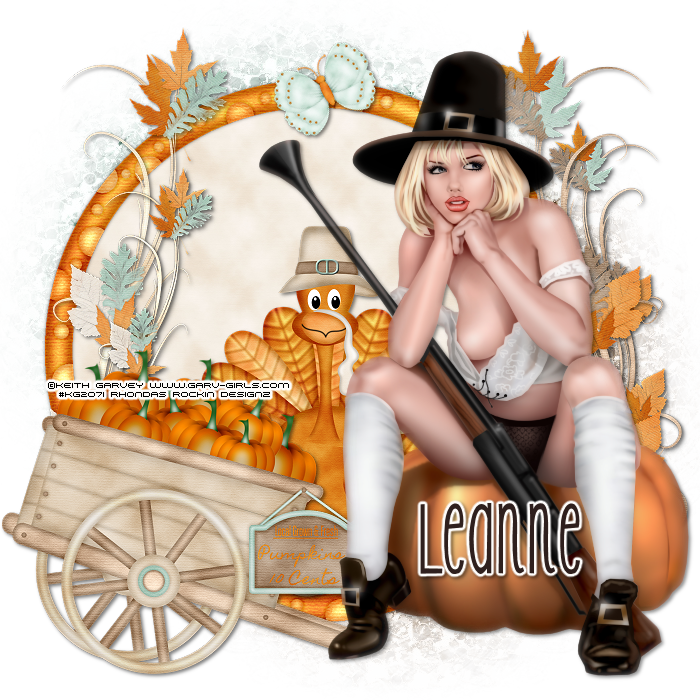
This tutorial is written for those with knowledge of PSP
Supplies Needed:
Tube of choice: I'm using the wonderful art work of Keith Garvey
You must obtain a license to use HERE
FTU Scrap Kit from Icy Blue Mystic Designs HERE
Mask of choice
Resize elements to your liking
Open blank canvas 700x700
Open Frame 3, resize and place in center
Click inside frame with magic wand
Expand by 8
Open paper 1 and paste as new layer
Selections invert
Move paper under frame
I used the following:
Butterfly 1
Leaf Cluster 1
Leaf Cluster 2
PickAPumpkin
Turkey
Open paper of choice and apply mask
Add the Copyright and your License Number for the tube
Resize to your liking and save as PNG
This tutorial was created on November 24,2014 by Rhonda
Any resemblance to another Tag or Tutorial is purely coincidental

Labels:FTU,Icy Blue Mystic Designs,Thanksgiving | 0
comments
Thursday, November 20, 2014
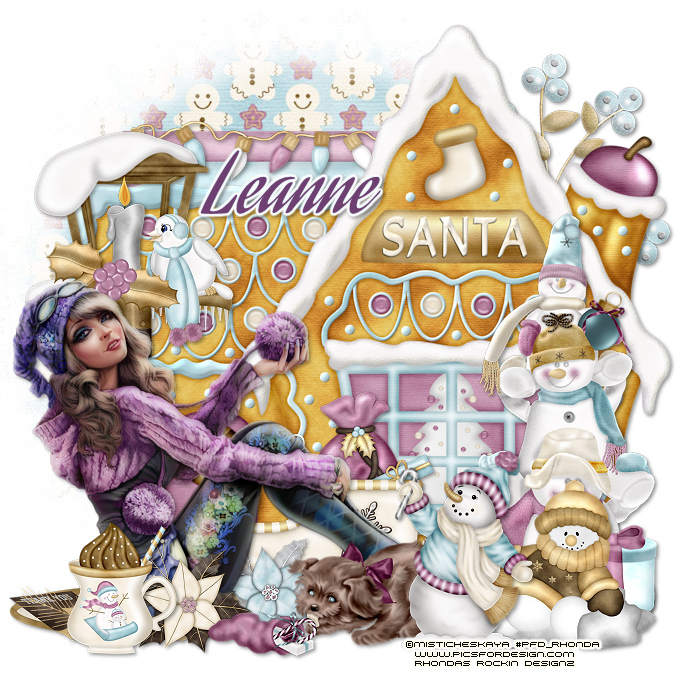
This tutorial is written for those with knowledge of PSP
Supplies Needed:
Tube of choice: I'm using the wonderful art work of Misticheskaya
You must obtain a license to use at PFD HERE
PTU Scrap Kit from Icy Blue Mystic Designs called CocoaWhite
You can purchase this kit at one of her stores HERE
Mask #15 from Leah HERE
Resize elements to your liking
Open blank canvas 700x700
Open Gingerbread House and place in center
We will use this to build our tag
I used the following:
Berry Bush 4
CoCoa Mug
Flower 1&3
Frame 6
Lamp Light
Lights 2
Puppy with CandyCane
Santas Gift
Santas Sleigh
Snowman 1
Snowman on Ice
Three Happy Snowmen
Open paper of choice and apply mask
Add the Copyright and your License Number for the tube
Resize to your liking and save as PNG
This tutorial was created on November 20,2014 by Rhonda
Any resemblance to another Tag or Tutorial is purely coincidental

Labels:Christmas,Icy Blue Mystic Designs,PTU | 0
comments
Wednesday, November 19, 2014

Labels:Show Off | 0
comments
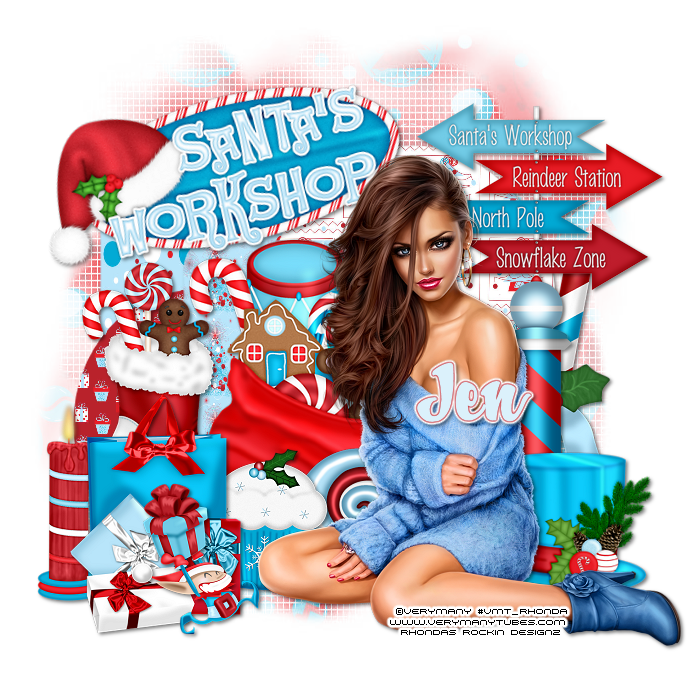
This tutorial is written for those with knowledge of PSP
Supplies Needed:
Tube of choice: I'm using the wonderful art work of Very Many
You can purchase this work at their store HERE
PTU Scrap Kit by Jen from Sweets Temptations called "Rock this Christmas"
You can purchase this kit from her blog HERE
Template #220 by Denz Designz HERE
Mask of choice
Don't forget to leave a thank you when downloading
Open template - Shift D to duplicate then close out original
Resize all layers 115%
Canvas size 703x700
delete copyright,wordart,shape1,circle1 & rectangle
paste a paper of choice from the kit - I used paper9
selection invert delete
select none delete the original
paste a paper of choice from the kit - I used paper5
selection invert delete
select none delete the original
paste a paper of choice from the kit - I used paper10
selection invert delete
select none delete the original
paste a paper of choice from the kit - I used paper2
selection invert delete
select none delete the original
I used the following:
Bag
Candle 2
Candy 2
Cupcake 1
Elf
Hat
Peppermint Stick
Sack
Santa's Workshop Sign
Sign
Stocking
Add paper of choice and apply mask
Add the Copyright and your License Number for the tube
Resize to your liking and save as PNG
This tutorial was created on November 19,2014 by Rhonda
Any resemblance to another Tag or Tutorial is purely coincidental

Labels:Christmas,Jens Sweet Temptations,PTU | 0
comments
Tuesday, November 18, 2014

This tutorial is written for those with knowledge of PSP
Supplies Needed:
Tube of choice: I'm using the wonderful art work of Zlata_M
This tube was a prepaid which was gifted to me at SATC which has closed
PTU Scrap Kit by Chachaz Creations called First Christmas
You an purchase this awesome kit at S&CO HERE
Mask of choice
Just place your elements where you want them
Open element 41 and place in center
I used this element to build my tag
I used the following:
Element 1
Element 2
Element 3
Element 4
Element 19
Element 27
Element 28
Element 38
Element 45
Element 47
Element 48
Element 49
Open paper 3 and apply mask
Add the Copyright and your License Number for the tube
Resize to your liking and save as PNG
This tutorial was created on November 18,2014 by Rhonda
Any resemblance to another Tag or Tutorial is purely coincidental

Labels:Chachaz Creations,Christmas,PTU | 0
comments
Sunday, November 16, 2014

This tutorial is written for those with knowledge of PSP
Supplies Needed:
Tube of choice: I'm using the wonderful art work of Vi Nina
You must obtain a license to use this art at S&Co HERE
PTU Scrap Kit from Designs by Joan called "Merry Xmas"
You can purchase this awesome kit at S&Co HERE
Mask of choice
This is a very quick and easy tutorial
Resize elements to your liking
Open element 11 & place in center of tag
Grab the magic wand & click inside frame
Selections modify expand by 10
Add new layer under frame
Open paper 7 & paste as new layer
Selections invert delete
I used the following:
Element 3
Element 5
Element 7
Element 23
Element 30
Element 33
Element 38
Element 39
Element 46
Element 50
Element 59
Element 60
Element 64
Element 65
Element 69
Element 74
Element 77
Element 79
Element 82
Open paper of choice & apply mask
Add the Copyright and your License Number for the tube
Resize to your liking and save as PNG
This tutorial was created on November 16,2014 by Rhonda
Any resemblance to another Tag or Tutorial is purely coincidental

Labels:Christmas,PTU,S&Co | 0
comments

This tutorial is written for those with knowledge of PSP
Supplies Needed:
Tube of choice: I'm using the wonderful art work of Pandora Creation
You must obtain a license to use this art at S&Co HERE
PTU Scrap Kit from Mysterfeerie Creations called "Happy Thanksgiving"
You an purchase this awesome kit at S&Co HERE
Template #204 from Kristin HERE
Mask of choice
Open template - Shift D to duplicate then close out original
Resize template to your liking
delete copyright & layer 12
paste a paper of choice from the kit - I used paper13
selection invert delete
select none delete the original
paste a paper of choice from the kit - I used paper8
selection invert delete
select none delete the original
paste a paper of choice from the kit - I used paper4
selection invert delete
select none delete the original
paste a paper of choice from the kit - I used paper15
selection invert delete
select none delete the original
paste a paper of choice from the kit - I used paper2
selection invert delete
select none delete the original
paste a paper of choice from the kit - I used paper5
selection invert delete
select none delete the original
paste a paper of choice from the kit - I used paper12
selection invert delete
select none delete the original
paste a paper of choice from the kit - I used paper13
selection invert delete
select none delete the original
paste a paper of choice from the kit - I used paper14
selection invert delete
select none delete the original
I used the following:
Element 4
Element 5
Element 7
Element 9
Element 10
Element 20
Element 28
Element 29
Element 38
Element 41
Element 49
Element 51
Element 77
Element 78
Element 92
Element 99
Open paper of choice & apply mask
Add the Copyright and your License Number for the tube
Resize to your liking and save as PNG
This tutorial was created on November 14,2014 by Rhonda
Any resemblance to another Tag or Tutorial is purely coincidental

Labels:Fall,PTU,S&Co,Thanksgiving | 0
comments
Wednesday, November 12, 2014
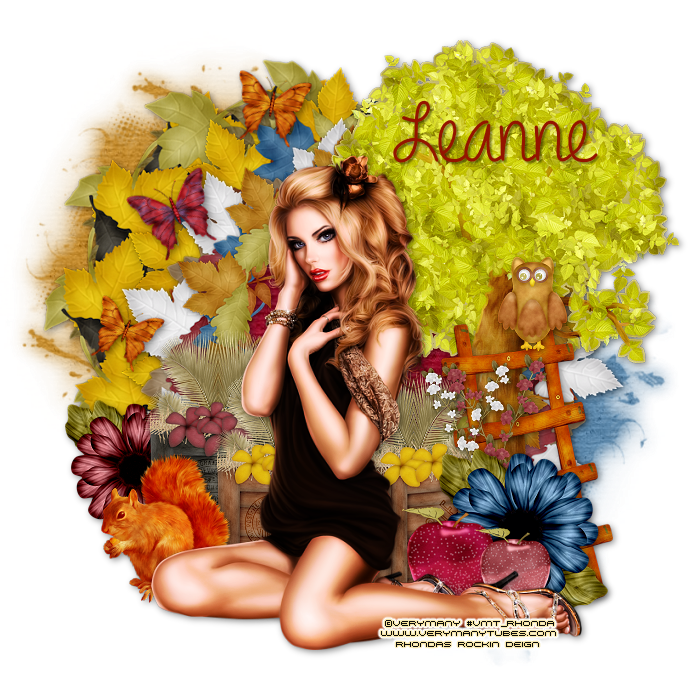
This tutorial is written for those with knowledge of PSP
Supplies Needed:
Tube of choice: I'm using the wonderful art work of VeryMany
You must obtain a license to use HERE
PTU Scrap Kit from Icy Blue Mystic Designs called Changing Seasons
You can purchase this kit at one of her stores HERE
Mask #92 by Millie HERE
Resize elements to your liking
Place your main tube & build around it
I used the following:
Apple 1&2
Butterfly 1,2&3
Create 1&2
Ladder 2
Leaves Frame 1,2,3&4
Owl
Squirrel
Sunflower2&3
Tree
Open paper of choice and apply mask
I used 2 different papers
Add the Copyright and your License Number for the tube
Resize to your liking and save as PNG
This tutorial was created on November 11,2014 by Rhonda
Any resemblance to another Tag or Tutorial is purely coincidental

Labels:Fall,Icy Blue Mystic Designs,PTU | 0
comments
Tuesday, November 11, 2014

This tutorial is written for those with knowledge of PSP
Supplies Needed:
Tube of choice: I'm using the wonderful art work of Alex Prihodko
You can purchase his work at PFD HERE
FTU Scrap Kit by Melissa HERE
Template by Dee HERE
Don't forget to leave a thank you when downloading
Xero Radiance
Open template - Shift D to duplicate then close out original
Canvas size 700x700
delete copyright, circles and hearts
paste a paper of choice from the kit - I used paper3
selection invert delete
select none delete the original
paste a paper of choice from the kit - I used paper7
selection invert delete
select none delete the original
paste a paper of choice from the kit - I used paper5
selection invert delete
select none delete the original
paste a paper of choice from the kit - I used paper2
selection invert delete
select none delete the original
paste a paper of choice from the kit - I used paper6
selection invert delete
select none delete the original
Apply Xero Radiance with settings of choice
paste a paper of choice from the kit - I used paper1
selection invert delete
select none delete the original
addnew layer and flood fill with color of choice
selections invert delete
select none delete the original
Xero Radiance with settings of choice
I used the following:
Element 10
Element 11
Element 14
Element 19
Element 20
Add the Copyright and your License Number for the tube
Resize to your liking and save as PNG
This tutorial was created on November 11,2014 by Rhonda
Any resemblance to another Tag or Tutorial is purely coincidental

Labels:Fall,FTU,Thanksgiving | 0
comments
Friday, November 7, 2014

This tutorial is written for those with knowledge of PSP
Supplies Needed:
Tube of choice: I'm using the wonderful art work of Zlata_M
You must obtain a license to use HERE
PTU Scrap Kit from Icy Blue Mystic Designs called Thanksgiving Friends
You can purchase this kit at one of her stores HERE
Mask of choice
Resize elements to your liking
Open blank canvas 700x700
Open frame 7 & place in center of tag
Grab the magic wand & click inside frame
Selections modify expand by 10
Open paper 2 and paste as new layer
Move paper under frame
I used the following:
Autumn Bear
Blossom 3&4
Butterfly 1&2
Chick 1&2
Crate 2
Daisy 2&3
Flower 1
Geckos
Grass 2
HummingBird 2
Pumpkin 1&2
Pumpkin Barrel
Sign 2
Add the Copyright and your License Number for the tube
Resize to your liking and save as PNG
This tutorial was created on November 8,2014 by Rhonda
Any resemblance to another Tag or Tutorial is purely coincidental

Labels:Icy Blue Mystic Designs,PTU,Thanksgiving | 0
comments
Wednesday, November 5, 2014

This tutorial is written for those with knowledge of PSP
Supplies Needed:
Tube of choice: I'm using the wonderful art work of Danny Lee
You must obtain a license to use this art at S&Co HERE
PTU Scrap Kit from Whisper in the Wind called "Fall Fashion"
You an purchase this awesome kit at S&Co HERE
Template #695 from Millie HERE
Mask of choice
Open template - Shift D to duplicate then close out original
Increase canvas to 700x700
Delete copyright,wordart & small blocks
paste a paper of choice from the kit - I used paper1
selection invert delete
select none delete the original
paste a paper of choice from the kit - I used paper6
selection invert delete
select none delete the original
paste a paper of choice from the kit - I used paper3
selection invert delete
select none delete the original
paste a paper of choice from the kit - I used paper9
selection invert delete
select none delete the original
paste a paper of choice from the kit - I used paper10
selection invert delete
select none delete the original
paste a paper of choice from the kit - I used paper2
selection invert delete
select none delete the original
I used the following:
Element 2
Element 30
Element 35
Element 37
Element 49
Element 50
Element 51
Element 53
Element 58
Element 59
Element 62
Element 64
Element 65
Element 66
Element 71
Element 78
Element 79
Element 80
Element 82
Element 84
Element 89
Element 90
Element 92
Element 95
Element 106
Open paper of choice and apply mask
Add the Copyright and your License Number for the tube
Resize to your liking and save as PNG
This tutorial was created on November 4,2014 by Rhonda
Any resemblance to another Tag or Tutorial is purely coincidental

Labels:Fall,PTU,S&Co | 0
comments
This tutorial is written for those with knowledge of PSP
Supplies Needed:
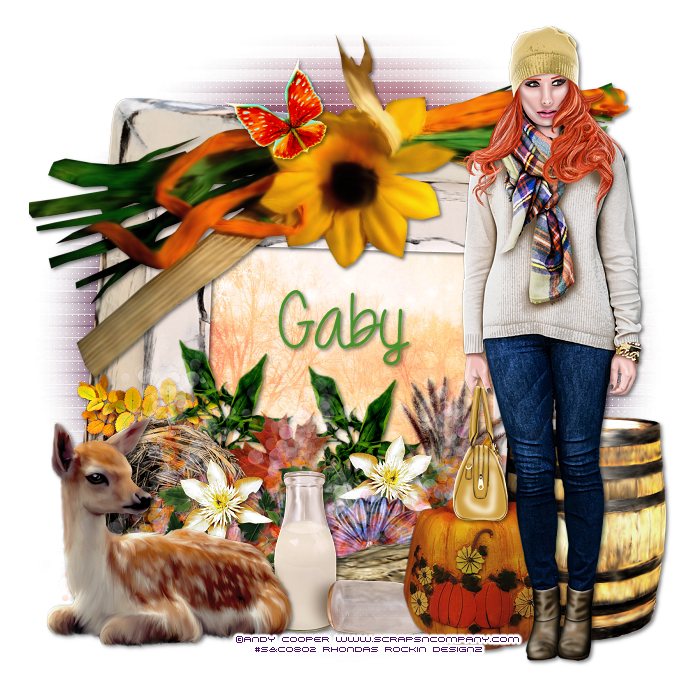
Tube of choice: Im using the wonderful art work of Andy Cooper
You must obtain a license to use his art at S&Co HERE
Matching PTU Scrapkit by Disturbed Scraps called Watching the leaves Turn
You can purchase this kit from S&CO HERE
Mask of choice
This is a very quick and easy tutorial
Open blank canvas 700x700
Open element 71 and place in center
Grab the magic wand & click inside frame
Selections modify expand by 10
Add new layer under frame
Open paper 14 & paste into selections
I used:
Element 4
Element 7
Element 8
Element 16
Element 19
Element 21
Element 27
Element 30
Element 48
Element 59
Element 60
Element 62
Element 63
Element 79
Element 83
Open paper 3 & apply mask of choice
Add the Copyright and your License Number for the tube
Resize to your liking and save as PNG
This tutorial was created on November 4,2014 by Rhonda
Any resemblance to another Tag or Tutorial is purely coincidental

Labels:Fall,PTU,S&Co | 0
comments
Monday, November 3, 2014

This tutorial is written for those with knowledge of PSP
Supplies Needed:
Tube of choice: I'm using the wonderful art work of Keith Garvey
You can purchase his work at his store HERE
FTU Scrap Kit by Wicked Princess HERE
Autumn Template by Dee HERE
Mask of choice
Don't forget to leave a thank you when downloading
Xero Porcelin
Open template - Shift D to duplicate then close out original
Resize template 90% all layers
Canvas size 700x700
Deleted copyright,leaves & small dotted rectangles
paste a paper of choice from the kit - I used paper1
selection invert delete
select none delete the original
add new layer and flood fill with color of choice
select none delete the original
add new layer and paste a gradient of choice
select none delete the original
add noise with settings of choice
paste a paper of choice from the kit - I used paper2
selection invert delete
select none delete the original
paste a paper of choice from the kit - I used paper4
selection invert delete
select none delete the original
paste a paper of choice from the kit - I used paper6
selection invert delete
select none delete the original
paste a paper of choice from the kit - I used paper8
selection invert delete
select none delete the original
paste close-up of tube inside each
selection invert delete
select none delete the original
apply Xero Porcelin to tubes
Xero Porcelin with settings of choice
I used the following:
Acorns
Bags
Branch Fruit
Carnation
Green Branch Leaf
Hat
Leave Duo
Mushrooms
Orange Bud
Orange Daisy
Squirrel
Stumps
Open paper 3 and apply mask
Add the Copyright and your License Number for the tube
Resize to your liking and save as PNG
This tutorial was created on November 3,2014 by Rhonda
Any resemblance to another Tag or Tutorial is purely coincidental

Labels:Fall,FTU | 0
comments
Sunday, November 2, 2014

This tutorial is written for those with knowledge of PSP
Supplies Needed:
Tube of choice: I'm using the wonderful art work of Jennifer Janesko
This tube was purchased at CILM which has closed
Which you must obtain a license to use at CDO HERE
FTU Scrap Kit by Dreamland Design HERE
Mask of choice
Don't forget to leave a thank you when downloading
Open blank canvas 700x700
Open frame 1 & resize
Place in center of canvas
Click inside frame with magic wand and expand by 10
Add new layer under frame
Open paper 17 and paste into selections
Select none
I used the following:
Barrel of Apples
Fall Flowers
Indian Corn
Leaf Vine
Pumpkin
Tree
Open paper of choice and apply mask
Add the Copyright and your License Number for the tube
Resize to your liking and save as PNG
This tutorial was created on November 2,2014 by Rhonda
Any resemblance to another Tag or Tutorial is purely coincidental

Labels:FTU,Thanksgiving | 0
comments
Saturday, November 1, 2014

This tutorial is written for those with knowledge of PSP
Supplies Needed:
Tube of choice: I'm using the wonderful art work of Maryline Cazenave
You must obtain a license to use this art at CDO HERE
FTU Scrapkit from Jens Sweet Temptations HERE
Mask of choice
Open blank canvas 700x650
Open frame 1 and place as new layer
Resize frame 80%
Image rotate 12 degrees to left
Move frame to right hand side
Duplicate fame and mirror
Merge the 2 frames as 1 layer
Click inside each frame with magic wand
Selections modify expand by 10
Add new layer under frame and flood fill with light purple color
Selections none
Add noise random 26%
Open spider bow - resize 48% and place to top left & right of frame
Open bling and place on each side of frame
Open cupcake - resize 65% and place to far right of frame
Open bat in box - resize 57% and place to far left of frame
Open books - resize 65% and place in front of bat in box
Open mice - resize 32% and place in front of books
Open paper 3 and apply mask of choice
Add the Copyright and your License Number for the tube
Resize to your liking and save as PNG
This tutorial was created on October 22,2014 by Rhonda
Any resemblance to another Tag or Tutorial is purely coincidental

Labels:FTU,Halloween,Jens Sweet Temptations | 0
comments

This tutorial is written for those with knowledge of PSP
Supplies Needed:
Tube of choice: I'm using the wonderful art work of Danny Lee
Which you must obtain a license to use HERE
PTU Scrap Kit by Chachaz Creations called Cold Days
You an purchase this awesome kit at S&CO HERE
Mask #3 by Savage HERE
Don't forget to leave a thank you when downloading
Just place your elements where you want them
Open element 14 and place in center
Click inside frame with wand
Selections Modify by 20
Add new layer under frame
Open paper 4 and paste into selections
I used the following:
Element 3
Element 5
Element 6
Element 10
Element 20
Element 22
Element 29
Element 39
Open paper 2 and apply mask
Add the Copyright and your License Number for the tube
Resize to your liking and save as PNG
This tutorial was created on November 1,2014 by Rhonda
Any resemblance to another Tag or Tutorial is purely coincidental

Labels:Chachaz Creations,Christmas,PTU,S&Co | 0
comments

This tutorial is written for those with knowledge of PSP
Supplies Needed:
Tube of choice: I'm using the wonderful art work of Danny Lee
You must obtain a license to use this art at S&CO HERE
PTU kit by Purple Dream Scraps called Halloween Party HERE
Mask of choice
Open blank canvas 700x700
Open element 18, resize and place in center
Click inside frame with wand
Selections expand by 10
Add new layer under frame
Open paper 6 and paste into selections
I used the following:
Element 1
Element 6
Element 8
Element 13
Element 24
Element 25
Element 27
Element 31
Element 36
Element 37
Element 40
Element 47
Element 52
Open paper of choice and apply mask
Add the Copyright and your License Number for the tube
Resize to your liking and save as PNG
This tutorial was created on November 1,2014 by Rhonda
Any resemblance to another Tag or Tutorial is purely coincidental

Labels:Halloween,PTU,Purple Dreams | 0
comments
This tutorial is written for those with knowledge of PSP
Supplies Needed:
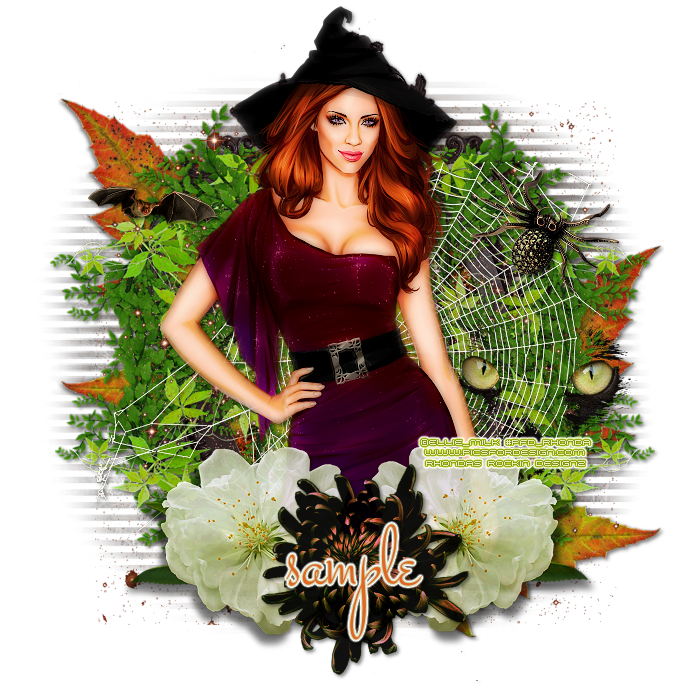
Tube of choice: I'm using the wonderful art work of Ellie_Milk
You can purchase this work at HERE
Scrapkit by De Pages en Pages HERE
Mask of choice
Open new canvas size to 700x700
Open frame from kit - resize 44%
Place in center of canvas
Click inside frame with magic wand and expand by 10
Open paper 6 resize 20% and apply
Selections invert delete
Move paper under frame
Open leaf - resize 44%
Place behind frame to right side
Duplicate mirror and move this one up toward top at left side
open verdure 2 resize 55%
Place to right side of frame
Duplicate mirror to left side
Merge these 2 layers then duplicate again
Flip the duplicated one and move towards the bottom
The vines will cover your frame
Open splatter - resize 39% & place on top of vines
Open spider web resize 39% and place on top of splatter
Open yeux2 resize 20% and place on top of spider web to right hand side
Open fleurs 2 resize 27% and place at bottom right
Duplicate this to make it brighter & merge together
Duplicate again and mirror to the left
Open chrysnatheme resize 27 and place between the 2 white flowers
Open spider resize 15% and place to top right of web near the edge
Open bat resize 11% and place to top left of tag
Merge layers
Open paper of choice and apply mask
Add the Copyright and your License Number for the tube
Resize to your liking and save as PNG
This tutorial was created on October 15,2014 by Rhonda
Any resemblance to another Tag or Tutorial is purely coincidental

Labels:FTU,Halloween | 0
comments
Subscribe to:
Comments
(Atom)
Grab My Blinkie

About Me
Hello friends and welcome to my blog!!! My name is Rhonda and I live in South East Ga., little town called Lumber City. I have 2 sons, 2 DIL's and 3 grandchildren. I work in healthcare as an RN.
When not working, I enjoy playing in PSP. It has been my passion over 20 years. PSP is relaxing and takes my mind away from troubles of life. I enjoy writing tutorials on my downtime.
I am expanding my creations to frames, clusters, templates and hopefully masks. I have NEVER made a mask but I have the time to learn now and I am excited. These will be FTU, all I ask is please download from the blog and if you are in a group or forum please send others to my blog and DO NOT HOTLINK. I would love to see your creations and show them off.
If you need to contact me with any questions concerning my tutorials or creations, send me an email. I am aware some of my older tutorials have links that are no longer working due to designers closing their blog. This is beyond my control. I am unable to share anything which was not shareable before. I honor all designers TOU.
I CT For
T.O.U.
All tutorials that are on my blog have been written by me. Any resemblance to another tag or tutorial is purely coincidental. Please do not copy and claim as your own. You are welcome to use these tutorials in any groups or forums but please link back to my blog. I would love to see any tag that is made using my tutorial. If you have any questions or concerns you can contact me at rsheath31549@yahoo.com.
Cluster Frames are Personal Use ONLY!!!! Please do not claim them as your own or rip them apart. You are welcome to use in forums or groups but please link back to blog. My TOU are included in the downloads. I would love to see any creations you make with my tuts or other creations. Send them to me and I will display them.
My goal for this blog is to make creations others can use and enjoy. I want to focus on being positive through difficult times. Show importance of accepting others, no judging, just respect. Showing kindness to others can change another's life, even for a brief time
Powered by Blogger.
Search
Categories
- Addictive Pleasures
- Adrienne Designs
- AI by Caz
- AI TK Dezigns
- Alicia Mujica
- April Shareables
- Art-Content
- Awards
- Awareness
- Barbara Jensen
- Beth Show-Off
- Birthday
- Black Widow Creations
- Blaque Heart Designz
- Blog Train
- BLT Dezingz
- Breast Cancer Awareness
- Brutal Designs.Grunge and Glitter
- CC Excluisve
- CDO
- Chachaz Creations
- Chelloenix
- Chichi Designz
- Chick News
- Chris Pastel
- Christmas
- Cluster Frame Tuts
- Cluster.
- Cluster. FTU Cluster Frames
- Coffee Arts Design's
- Country
- Crisipified
- Daelmans Designs
- Dangerously Delicious Designz
- Deedles and Doodles
- DeesSign Depot
- Designer Scraps
- Designz By Anorie
- Designz by Shelly
- Diamond Creations
- Digital Art Heaven
- Doodle By Design
- Dreaming With Bella
- Easter
- Elegance Fly
- Elfairy Tubes
- Elli's
- Facebook Freebie
- Fall
- FTU
- FTU Cluster Frames
- FTU Tube
- General
- Gothic
- GraphFreaks
- Gypsy
- Halloween
- Hania Design
- Here2Help Mirella
- Icy Blue Mystic Designs
- Inzpired Creationz
- Inzpired Creationz Store
- Jens Sweet Temptations
- July 4th
- Kathy's PSP Designs
- Kelly's AI Artroom
- Kizzed by Kelz
- Laura Re Art
- Limited FTU
- Lori's PSP Graphics
- MardiGras
- Midnight Shadow Dezinez
- Military
- Misticheskaya
- Mizteeque
- Moonshine Dezignz
- Mother's Day
- motivational
- My Tagging Addiction
- New Years
- News
- News about kits
- No Scraps
- Pammers Passion
- Patriotic
- Personal
- PFD
- Pimp My Tags With Scraps
- Pink Paradox
- PTU
- PTU Clusters
- PTU now FTU
- Purple Dreams
- Queen Uriel
- Retired Kits
- s
- S&Co
- Savage Dezigns
- School
- Scrap it Studio
- Scrappy Bit of Fun
- Show Off
- Simply Vicki
- Snags
- Spring
- St Patricks Day
- Steampunk
- Summer
- t
- Tagcatz Design
- Tags with no Tuts
- Tattys Thingies
- Template
- Thanksgiving
- The Taggers Lounge
- The Taggers Lounge Exclusive
- Tiny Turtles
- Tiny Turtles Store
- Updates
- Valentine
- VeryMany
- Vintage
- VM Artists
- VMArtists
- Western
- Wicked Princess Scraps
- Winter
- Wonderland
- WordArt
- Zindy Zone
- Zlatam Store
Blog Archive
-
▼
2014
(217)
-
▼
November
(23)
- Sleigh Bells Ring - FTU
- Thankful Harvest - FTU
- Show off from my tutorial
- Apple Delight - FTU
- Turkey Pumpkin - FTU
- Fun at Santa's - PTU
- Showing off tags from tutorials
- Santa's Workshop - PTU
- Christmas Surprise - PTU
- Merry Pink Christmas - PTU
- Thanksgiving Gathering - PTU
- Crisp Autumn Day - PTU
- Live Each Day - FTU
- Thanksgiving Friends - PTU
- Dog Park - PTU
- Change is Coming - PTU
- Autumn Love - FTU
- Harvest Tradition - FTU
- Witch Hound - FTU
- Cold Days - PTU
- Halloween Party - PTU
- Spider Witch - FTU
- Witch in Training - PTU
-
▼
November
(23)
