Wednesday, April 29, 2015

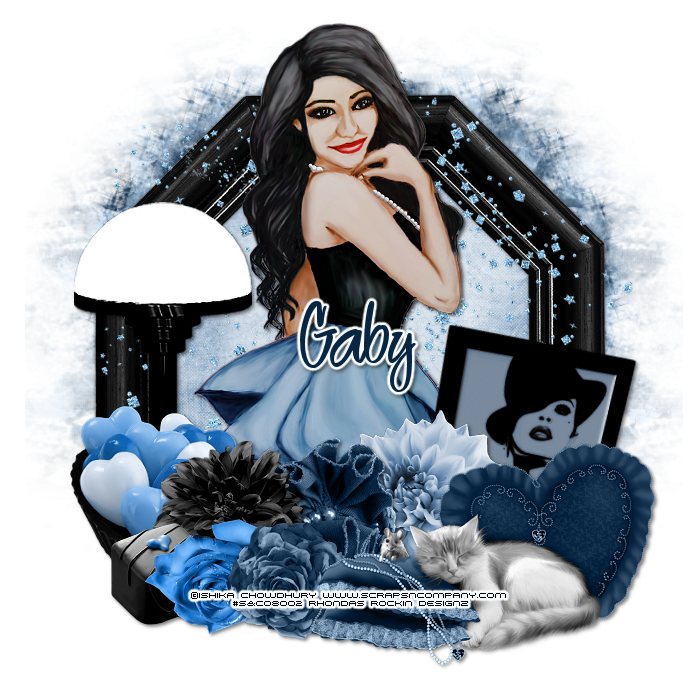
This tutorial is written for those with knowledge of PSP
Supplies Needed:
Tube of choice: I'm using the wonderful art work of Celinart Pinup
You must obtain a license to use this art at S&Co HERE
PTU Scrap Kit from Ginnibug Designz called "Emo Chick"
You an purchase this awesome kit at S&Co HERE
Template by Cakes Creations HERE
Mask by Rocked by Rachel HERE
Ok lets get started:
Open template - Shift D to duplicate then close out original
Increase canvas to 700x700
Delete copyright
Click on layer 1 selections,select all, float,defloat
paste a paper of choice from the kit - I used paper8
selection invert delete
select none delete the original
add border with noise
Click on layer 2 selections,select all, float,defloat
paste a paper of choice from the kit - I used paper1
selection invert delete
select none delete the original
add border with noise
Click on layer 3 selections,select all, float,defloat
paste a paper of choice from the kit - I used paper16
selection invert delete
select none delete the original
Click on layer 4 selections,select all, float,defloat
paste a paper of choice from the kit - I used paper14
selection invert delete
select none delete the original
Place your main tube
Now time to add our elements
I used the following:
Element 3
Element 7
Element 9
Element 12
Element 17
Element 20
Element 39
Element 43
Element 44
Element 71
Element 79
Element 89
Element 94
Element 98
Element 99
Element 102
Element 110
Element 111
Merge your layers
Open paper 7 & apply mask of choice
Place your name where you like it
Add the Copyright and your License Number for the tube
Resize to your liking and save as PNG
This tutorial was created on April 29,2015 by Rhonda
Labels:PTU,S&Co | 0
comments
Sunday, April 26, 2015
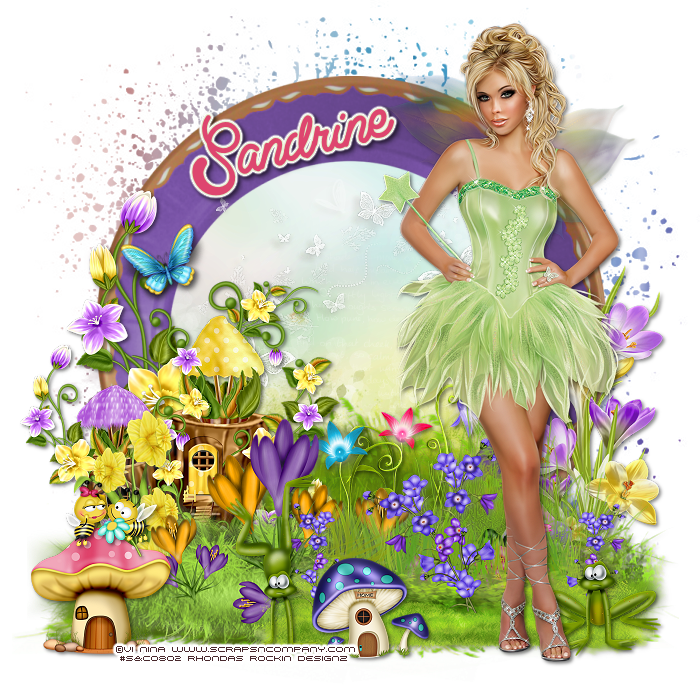
This tutorial is written for those with knowledge of PSP
Supplies Needed:
Tube of choice: I'm using the wonderful art work of Vi Nina
You must obtain a license to use this art at S&Co HERE
PTU Scrap Kit from Rebellious Scraps called "Fairy Forest"
You can purchase this awesome kit at S&Co HERE
Mask of choice
Ok lets get started:
This is a very quick and easy tutorial
Open frame 2 & place in center of tag
Grab the magic wand & click inside frame
Selections modify expand by 10
Add new layer under frame
Selections select all
Open paper 6 & paste into selections
Place your main tube
Now time to add our elements
I used the following:
Bees
Butterflies 3
Butterfly 1&2
Fairy House 3
Flowers 2,4.5&8
Frog 1&2
Grass
Grass Elements 1,2,3&4
Mushroom House 1&3
Snail
Merge your layers
Open paper of choice & apply mask
Place your name where you like it
Add the Copyright and your License Number for the tube
Resize to your liking and save as PNG
This tutorial was created on April 26,2015 by Rhonda
Any resemblance to another Tag or Tutorial is purely coincidental

Labels:PTU,S&Co,Spring,Summer | 0
comments
Saturday, April 25, 2015
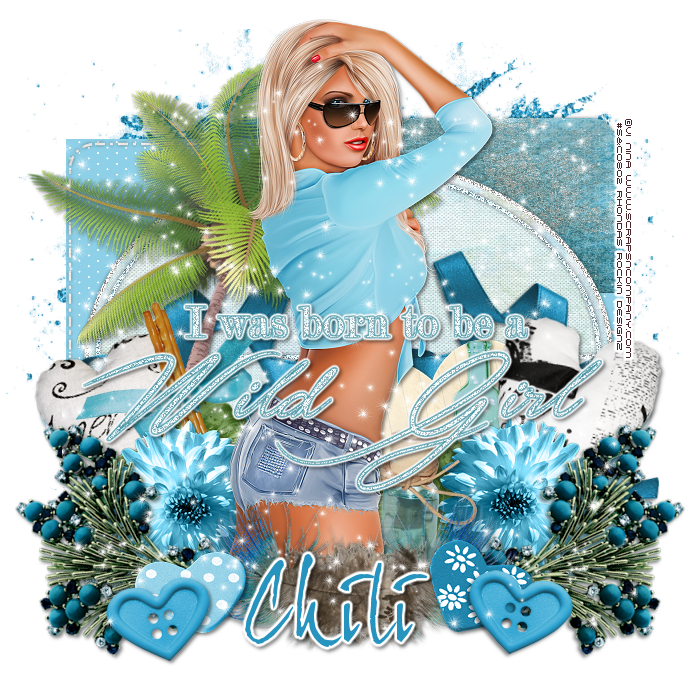
This tutorial is written for those with knowledge of PSP
Supplies Needed:
Tube of choice: Im using the wonderful art work of Vi Nina
You must obtain a license to use this art at S&Co HERE
PTU Scrap Kit from Chili Designz called "Blue Temptation"
You can purchase this awesome kit at S&Co HERE
Template #746 by Millie HERE
Ok Lets get Started:
Open template - Shift D to duplicate then close out original
Canvas size 700x700
Delete copyright
Click on raster 1&2 selections,select all, float,defloat
paste a paper of choice from the kit - I used paper3
selection invert delete
select none delete the original
Click on raster 3&5 selections,select all, float,defloat
paste a paper of choice from the kit - I used paper12
selection invert delete
select none delete the original
Click on raster 4&6 selections,select all, float,defloat
paste a paper of choice from the kit - I used paper7
selection invert delete
select none delete the original
Click on raster 7 selections,select all, float,defloat
paste a paper of choice from the kit - I used paper8
selection invert delete
select none delete the original
Click on raster 8 selections,select all, float,defloat
paste a paper of choice from the kit - I used paper11
selection invert delete
select none delete the original
Click on raster 9 selections,select all, float,defloat
paste a paper of choice from the kit - I used paper2
selection invert delete
select none delete the original
Click on raster 10&11 selections,select all, float,defloat
paste a paper of choice from the kit - I used paper1
selection invert delete
select none delete the original
Click on raster 12 selections,select all, float,defloat
paste a paper of choice from the kit - I used paper2
selection invert delete
select none delete the original
Color wordart of your choice and add noise
Place your main tube
Now time to add our elements
I used the following:
Bottle 1&3
Button 3
Deco 2
Feather
Flower 7
Glitter
Heart 1&2
Heart Pillow 1&2
Jewel 2
Leaf
Notepaper
Palm 2
Ribbon 2
Sparkles
Merge your layers
Place your name where you like it
Add the Copyright and your License Number for the tube
Resize to your liking and save as PNG
This tutorial was created on April 25,,2015 by Rhonda
Any resemblance to another Tag or Tutorial is purely coincidental

Labels:PTU,S&Co | 0
comments
Friday, April 24, 2015
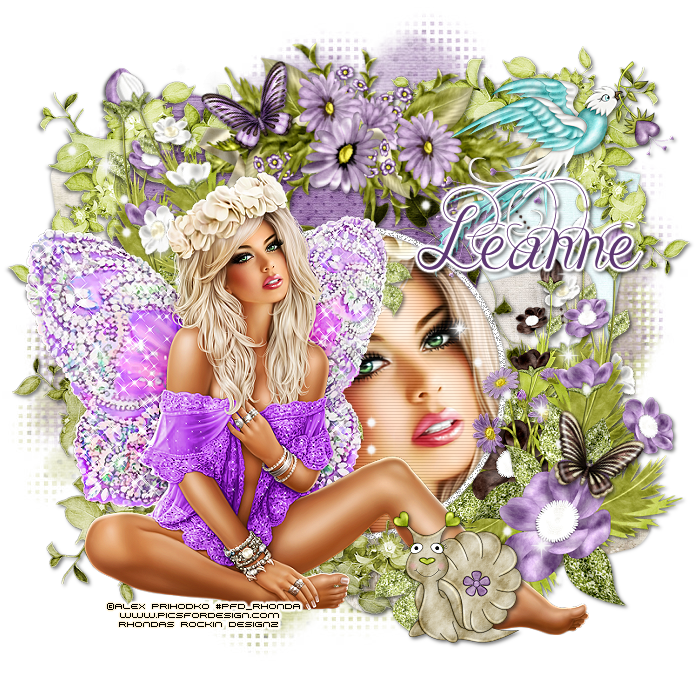
This tutorial is written for those with knowledge of PSP
Supplies Needed:
Tube of choice: I'm using the wonderful art work of Alex Prihdoko
You can find these tubes at PFD HERE
PTU Scrap Kit by Icy Blue Mystic Designs "Fairy Frolic"
You can purchase this kit at one of her stores HERE
Template #148 by Tamie HERE
1st template in set
Mask of choice
Ok lets get started:
Open template - Shift D to duplicate then close out original
Resize all layers 85%
Increase canvas to 700x700
Delete copyright, wordart,layers 4&7
Click on raster 10 selections,select all, float,defloat
paste a paper of choice from the kit - I used paper8
selection invert delete
select none delete the original
Click on raster 6 selections,select all, float,defloat
paste a paper of choice from the kit - I used paper9
selection invert delete
select none delete the original
Click on raster 3 selections,select all, float,defloat
paste a paper of choice from the kit - I used paper7
selection invert delete
select none delete the original
Click on raster 18 selections,select all, float,defloat
paste a paper of choice from the kit - I used paper10
selection invert delete
select none delete the original
Click on raster 8 selections,select all, float,defloat
paste a paper of choice from the kit - I used paper1
selection invert delete
select none delete the original
Click on raster 2 selections,select all, float,defloat
paste a paper of choice from the kit - I used paper3
selection invert delete
select none delete the original
Click on raster 1 selections,select all, float,defloat
add close-up of tube
selection invert delete
select none delete the original
Click on raster 5 and add noise
Place your tube
Now time to add our elements
I used the following:
Butterfly 1&2
Cluster Flower 2&5
Cluster Leaf 1&2
Cluster Corner 1,2&4
Daisies 3
Fantasy Bird 1
Leaf 2
Merge layers
Open paper of choice and apply mask
Place your name where you like it
Add the Copyright and your License Number for the tube
Resize to your liking and save as PNG
This tutorial was created on April 25,2015 by Rhonda

Labels:Icy Blue Mystic Designs,PTU,Spring,Summer | 0
comments
Thursday, April 23, 2015
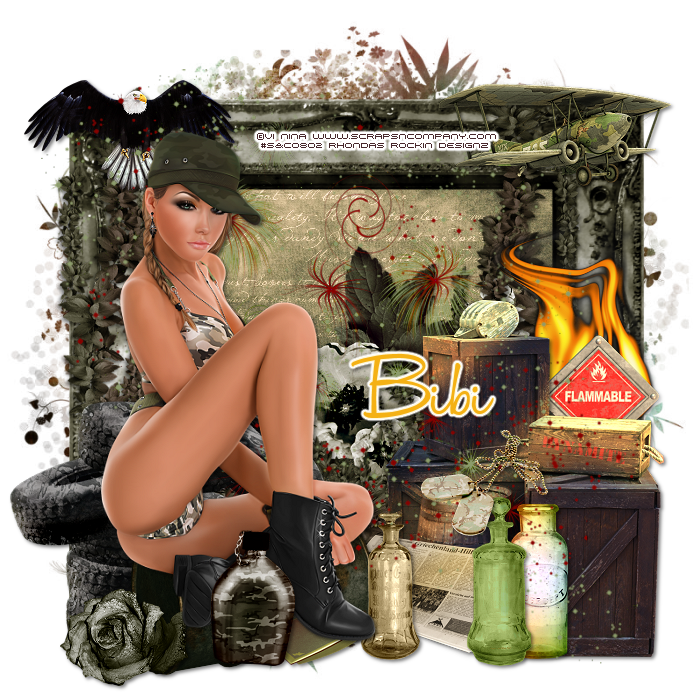
This tutorial is written for those with knowledge of PSP
Supplies Needed:
Tube of choice: I'm using the wonderful art work of Vi Nina
You must obtain a license to use this art at S&Co HERE
Matching PTU Scrap Kit from Bibi called "Soldier"
You can purchase this awesome kit at S&Co HERE
Mask of choice
Ok lets get started:
This is a very quick and easy tutorial
Open element 47 & place in center of tag
Grab the magic wand & click inside frame
Selections modify expand by 10
Add new layer under frame
Selections select all
Open paper 4 & paste into selections
Place your main tube
Now time to add our elements
I used the following:
Element 2
Element 6
Element 26
Element 77
Element 89
Element 93
Element 103
Element 104
Element 109
Element 111
Element 114
Element 115
Element 127
Element 128
Element 129
Element 131
Element 135
Element 137
Merge your layers
Open paper of choice & apply mask
Place your name where you like it
Add the Copyright and your License Number for the tube
Resize to your liking and save as PNG
This tutorial was created on April 23,2015 by Rhonda
Any resemblance to another Tag or Tutorial is purely coincidental

Labels:PTU,S&Co | 0
comments
Wednesday, April 22, 2015
This tutorial is written for those with knowledge of PSP
Supplies Needed:
Tube of choice: Im using the wonderful art work of Kajenna
You can purchase this tubes at PFD HERE
You can purchase this awesome kit from one of her stores HERE
Collab template #2 from 1st set HERE
Mask of choice
Ok Lets get Started:
Open template - Shift D to duplicate then close out original
Resize template 88% all layers
Canvas size 700x700
Delete copyright,top 5 layers and raster 9
Click on raster 3 selections,select all, float,defloat
paste a paper of choice from the kit - I used paper3
selection invert delete
select none delete the original
Click on copy of raster 9 selections,select all, float,defloat
paste a paper of choice from the kit - I used paper2
selection invert delete
select none delete the original
Click on raster 6 selections,select all, float,defloat
paste a paper of choice from the kit - I used paper4
selection invert delete
select none delete the original
Click on raster 1 selections,select all, float,defloat
paste a paper of choice from the kit - I used paper5
selection invert delete
select none delete the original
Place your main tube
Now time to add our elements
I used the following:
Element 1
Element 3
Element 5
Element 7
Element 9
Element 11
Element 15
Element 19
Element 20
Element 23
Element 24
Element 30
Element 31
Element 39
Merge your layers
Open paper 3 and apply mask
Place your name where you like it
Add the Copyright and your License Number for the tube
Resize to your liking and save as PNG
This tutorial was created on April 21,2015 by Rhonda
Any resemblance to another Tag or Tutorial is purely coincidental

Labels:PTU,Purple Dreams,Spring,Summer | 0
comments
Tuesday, April 21, 2015
This tutorial is written for those with knowledge of PSP
Supplies Needed:
Tube of choice: Im using the wonderful art work of Ishika Chowdhury
You must obtain a license to use this art at S&Co HERE
PTU Scrap Kit from Disturbed Scraps called "Reminscing"
You can purchase this awesome kit at S&Co HERE
Mask by Lori's PSP Graphics HERE
Ok lets get started:
This is a very quick and easy tutorial
Open new canvas 700x700
Open element 75 & place in center of tag
Grab the magic wand & click inside frame
Selections modify expand by 10
Add new layer under frame
Selections select all
Open paper 8 & paste into selections
Select none
Place your main tube
Now time to add our elements
I used the following:
Element 1
Element 7
Element 14
Element 19
Element 30
Element 31
Element 32
Element 34
Element 36
Element 41
Element 72
Merge your layers
Open paper of choice & apply mask
Place your name where you like it
Add the Copyright and your License Number for the tube
Resize to your liking and save as PNG
This tutorial was created on April 21,2015 by Rhonda
Any resemblance to another Tag or Tutorial is purely coincidental

Labels:PTU,S&Co | 0
comments
Monday, April 20, 2015
This tutorial is written for those with knowledge of PSP
Supplies Needed:
Tube of choice: Im using the wonderful art work of Ted Hammond
You can purchase these tubes at CDO HERE
FTU kit by Amy & Leah's Gimptastic Tuts HERE
Ok lets get started:
Open blank canvas 700x700
Open frame 3 and place in center
With magic wand click inside frame
Selections modify expand bt 10
Open paper 8 and paste as new layer
Selections invert delete
Move paper under frame
Place your tube where you want it
Add your elements around the tube
Here are the ones I used:
Advisory
Booze Bootle
Drink
Mask
Rhone
Razorblade Heart
Skull and Roses
TShirt
WA
Merge layers
Place your name where you like it
Add the Copyright and your License Number for the tube
Resize to your liking and save as PNG
This tutorial was created on April 20,2015 by Rhonda
Any resemblance to another Tag or Tutorial is purely coincidental

Labels:FTU | 0
comments
Sunday, April 19, 2015
This tutorial is written for those with knowledge of PSP
Supplies Needed:
Tube of choice: I'm using the wonderful art work of Alex Prihodko
You can purchase these tubes HERE
FTU Scrapkit by Dee HERE
Don't forget to leave a thank you when downloading
Ok lets get started:
Open blank canvas size 700x700
Open frame 4 - resize 80% and paste as new layer
Grab the magic wand & click inside frame
Selections modify expand by 6
Open paper 4 & paste as new layer
Selections invert delete
Move paper under frame
Open element 39 - resize 80% & place to bottom of frame
Open element 6 - resize 48% & place to right behind other grass
Open element 10 - resize 72% & place behind the grass (I duplicated mine)
Open element 18&19 - resize 56% and place between the tall weeds
Open element 35 - resize 46% & place near the flowers
Open element 16 - resize 40% & place to left behind grass at edge
Open element 36 - resize 72% & place in far right of frame
Open element 40 - place to top of frame
Open element 13 - resize 80% & place to top of frame
Open 2 birds and butterfly and place somewhere in tag
Open word art and place on top of tag (I added a border)
Place tube to right of tag
Merge your layers
Add mask of choice
Place your name where you like it
Add the Copyright and your License Number for the tube
Resize to your liking and save as PNG
This tutorial was created on April 12,2015 by Rhonda
Any resemblance to another Tag or Tutorial is purely coincidental

Labels:FTU,Spring,Summer | 4
comments
This tutorial is written for those with knowledge of PSP
Supplies Needed:
Tube of choice: I'm using the wonderful art work of Spazzd Art
You must obtain a license to use HERE
FTU Scrap Kit from Wicked Princess Scraps HERE
Mask of choice
Ok lets get started:
Resize elements to your liking
This is a very quick and easy tutorial
Open blank canvas 700x700
Open double circle frame & place in center of tag
Grab the magic wand & click inside frame
Selections modify expand by 10
Open paper 5 and paste as new layer
Selections invert delete
Move paper under frame
Place your main tube & build around it
Now time to add our elements
I used the following:
Bird 1,2&4
Brick Wall
Carnation
Daisy
Flower 1&8
Flower Basket
Flower Cluster
Flower Grouping
Leaf 2
Leaf Branch
Leaf Scatter
Rose 2
Merge your layers
Open paper 16 and apply mask
Place your name where you like it
Add the Copyright and your License Number for the tube
Resize to your liking and save as PNG
This tutorial was created on April 19,2015 by Rhonda
Any resemblance to another Tag or Tutorial is purely coincidental

Labels:FTU,Spring,Summer | 2
comments
This tutorial is written for those with knowledge of PSP
Supplies Needed:
Tube of choice: I'm using the wonderful art work of GraphFreaks
You must obtain a license to use his art at S&Co HERE
PTU Scrap Kit from Schnegge Scrapkits purchased at S&CO HERE
Ok lets get started:
Resize elements to your liking
This is a very quick and easy tutorial
Open blank canvas 700x700
Open element 65 & place in center of tag
Grab the magic wand & click inside frame
Selections modify expand by 10
Open paper 9 and paste as new layer
Move paper under frame
Place your main tube & build around it
Now time to add our elements
I used the following:
Element 14
Element 16
Element 17
Element 24
Element 29
Element 31
Element 36
Element 38
Element 43
Element 54
Element 58
Element 61
Element 62
Element 64
Merge layers
Open paper 3 and apply mask of choice
Place your name where you like it
Add the Copyright and your License Number for the tube
Resize to your liking and save as PNG
This tutorial was created on April 19,2015 by Rhonda
Any resemblance to another Tag or Tutorial is purely coincidental
Labels:PTU,S&Co | 0
comments
Thursday, April 16, 2015
This tutorial is written for those with knowledge of PSP
Supplies Needed:
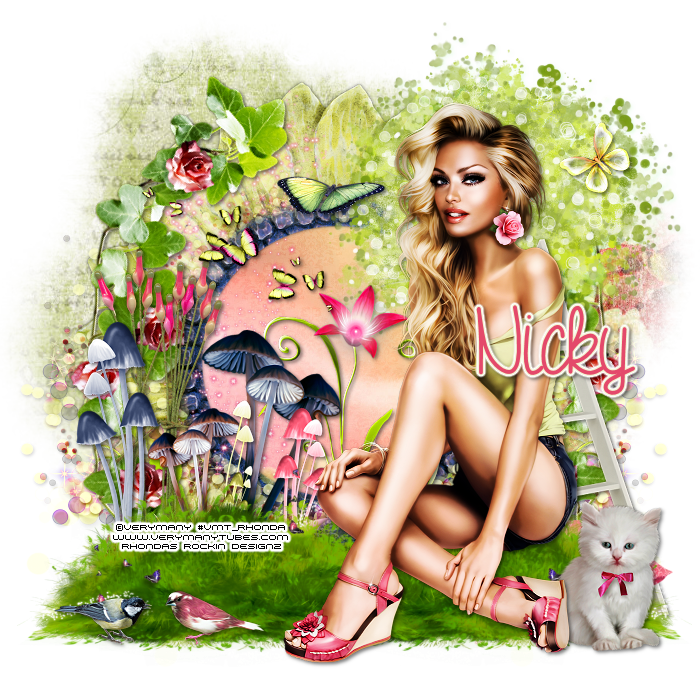
Tube of choice: Im using the wonderful art work of VeryMany
You must obtain a license to use this art HERE
PTU Scrapkit by Nicky from Inzpired Creationz called "Lilly's Garden"
You can purchase this kit at her store HERE
Mask of choice
Ok lets get started:
This is a very quick and easy tutorial
Open blank 700x700 canvas
Open frame 2 & paste as a new layer
Click inside frame with magic wand
Selections modify expand by 10
Open paper 5 from kit and paste as new layer
Selections invert delete
Move paper under frame
Place your tube where you want it and build around it
Add any other elements you want from the kit
I used:
Bird 1&2
Branch
Butterfly 1&2
Butterflies 3
Doddle 1
Flowers 1
Grass 3
Kitten
Ladder
Mushrooms 1&3
Pillows
Sparkles 3
Tree
Wax Stems 2&3
Merge layers
Open paper 1 & apply mask
Place your name where you like it
Add the Copyright and your License Number for the tube
Resize to your liking and save as PNG
This tutorial was created on April 16,2015 by Rhonda
Any resemblance to another Tag or Tutorial is purely coincidental
Wednesday, April 15, 2015
This tutorial is written for those with knowledge of PSP
Supplies Needed:
Tube of choice: Im using the wonderful art work of Alehandra Vanhek
You can purchase these tubes at ICZ Store HERE
PTU Scrap Kit by Nicky from Inzpired Creationz called "Midnight Atlantis"
You an purchase this awesome kit from ICZ Store HERE
Template #281 by Missy HERE
Mask of choice
Ok lets get started:
Open template - Shift D to duplicate then close out original
Canvas 700x700
Delete copyright, stars & word art
Click on oval selections,select all, float,defloat
paste a paper of choice from the kit - I used paper5
selection invert delete
select none delete the original
Click on circle selections,select all, float,defloat
paste a paper of choice from the kit - I used paper12
selection invert delete
select none delete the original
Click on shape selections,select all, float,defloat
paste a paper of choice from the kit - I used paper7
selection invert delete
select none delete the original
decrease opacity to 30%
Place your main tube
Now add any other elements of choice
I used the following:
Anchor
Bow 2
Coral
Fish 1&2
Flower 1&2
Flowers 1,2&3
Jellyfish 2
Pelican
Pillar
Plant 2
Rock
Sea Flower
Shell 6,7,8&9
Splash 2
Sponges
Star Fish 1,3&4
Treasure Chest
Merge your layers
Open paper 13 and apply mask
Place your name where you like it
Add the Copyright and your License Number for the tube
Resize to your liking and save as PNG
This tutorial was created on April 15, 2015 by Rhonda
Any resemblance to another Tag or Tutorial is purely coincidental
Tuesday, April 14, 2015
This tutorial is written for those with knowledge of PSP
Supplies Needed:
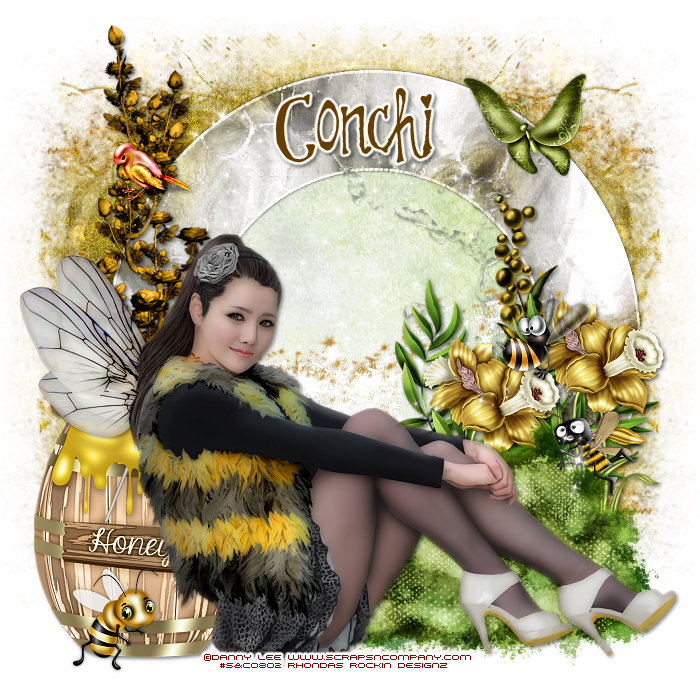
Tube of choice: I'm using the wonderful art work of Danny Lee
You must obtain a license to use his art at S&CO HERE
Matching PTU Scrapkit by DNScraps Sue also at S&CO HERE
Mask from Rocked by Rachel HERE
Ok lets get started:
This is a very quick and easy tutorial
Open blank canvas 700x700
Open magic frame & place in center
Grab the magic wand & click inside frame
Selections modify expand by 10
Add new layer under frame
Open paper 2 & paste into selections
Select none
Place main tube to left of tag
Add any other elements you want from the kit
I used:
Barrel
Bee 1,2&3
Bird
Butterfly 2
Daffadil
Leaves
Grass
Seeds 1&2
Sparkles
Scatter
Merge layers
Open paper 5 & apply mask of choice
Place your name where you like it
Add the Copyright and your License Number for the tube
Resize to your liking and save as PNG
This tutorial was created on April 14,2015 by Rhonda
Any resemblance to another Tag or Tutorial is purely coincidental
Labels:PTU,S&Co | 0
comments
Monday, April 13, 2015
This tutorial is written for those with knowledge of PSP
Supplies Needed:
Tube of choice: Im using the wonderful art work of KiwiFireStorm
You can find these tubes HERE
PTU Scrap Kit by Icy Blue Mystic Designs "The Birds and the Bees"
You can purchase this kit at one of her stores HERE
Template #103 from HERE
Use mask of choice
Ok Lets get Started:
Open template - Shift D to duplicate then close out original
Canvas size 700x700
delete copyright & stars layer
Click on blk circle selections,select all, float,defloat
paste a paper of choice from the kit - I used paper7
selection invert delete
select none delete the original
Click on blue strip selections,select all, float,defloat
paste a paper of choice from the kit - I used paper12
selection invert delete
select none delete the original
Click on pink strip selections,select all, float,defloat
paste a paper of choice from the kit - I used paper15
selection invert delete
select none delete the original
Click on black strip selections,select all, float,defloat
paste a paper of choice from the kit - I used paper4
selection invert delete
select none delete the original
Place your tube
Now time to add our elements
I used the following:
Bee
Birdhouse
Butterfly 1,2&3
Daisies 1&3
Floral Beehive 2
Flower and Grass
Grass
Honey Barrel
Honey Jar 2
Hummingbird
Honey for Hugz
Ladybug
Merge layers
Open paper of choice and apply mask
Place your name where you like it
Add the Copyright and your License Number for the tube
Resize to your liking and save as PNG
This tutorial was created on April 13,2015 by Rhonda
Any resemblance to another Tag or Tutorial is purely coincidental

Labels:Icy Blue Mystic Designs,PTU | 0
comments
Sunday, April 12, 2015
This tutorial is written for those with knowledge of PSP
Supplies Needed:
Tube of choice: Im using the wonderful art work of Kajenna
You can purchase these tubes at ICZ Store HERE
PTU Scrap Kit by Rieneke Designs called "Spring Garden"
You an purchase this awesome kit from ICZ Store HERE
Template #743 by Millie HERE
Mask of choice
Ok Lets get Started:
Open template - Shift D to duplicate then close out original
Canvas 700x700
Delete copyright & wordart
Click on raster 1 selections,select all, float,defloat
paste a paper of choice from the kit - I used paper8
selection invert delete
select none delete the original
Click on raster 2 selections,select all, float,defloat
paste a paper of choice from the kit - I used paper5
selection invert delete
select none delete the original
Click on raster 7 selections,select all, float,defloat
paste a paper of choice from the kit - I used paper9
selection invert delete
select none delete the original
Click on raster 3 selections,select all, float,defloat
paste a paper of choice from the kit - I used paper6
selection invert delete
select none delete the original
Click on raster 4 selections,select all, float,defloat
paste a paper of choice from the kit - I used paper14
selection invert delete
select none delete the original
Click on raster 5 selections,select all, float,defloat
paste a paper of choice from the kit - I used paper13
selection invert delete
select none delete the original
Place your main tube
Now add any other elements of choice
I used the following:
Element 1
Element 11
Element 25
Element 28
Element 32
Element 35
Element 44
Element 45
Element 46
Element 50
Element 51
Element 52
Element 56
Element 73
Element 78
Element 99
Element 101
Element 102
Element 120
Element 121
Element 129
Element 130
Merge your layers
Open paper 9 and apply mask
Place your name where you like it
Add the Copyright and your License Number for the tube
Resize to your liking and save as PNG
This tutorial was created on April 12, 2015 by Rhonda
Any resemblance to another Tag or Tutorial is purely coincidental

Labels:Inzpired Creationz Store,PTU,Spring | 0
comments
Saturday, April 11, 2015
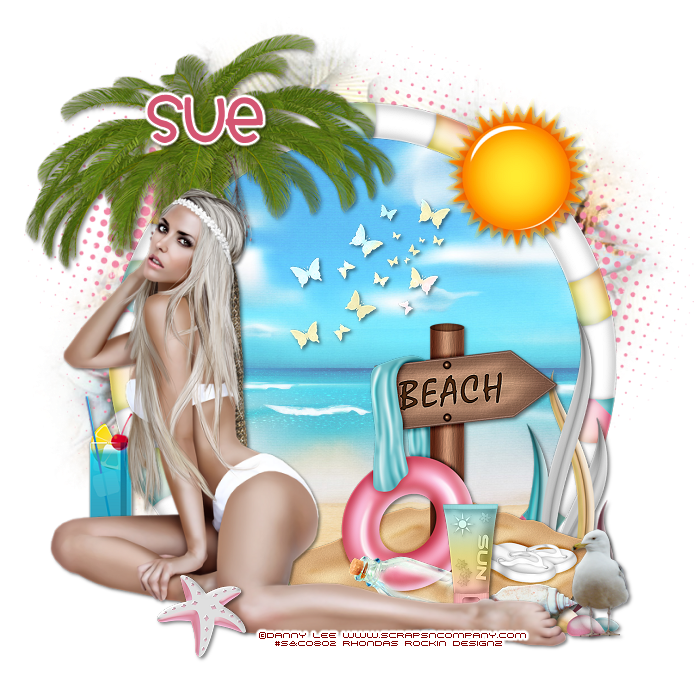
This tutorial is written for those with knowledge of PSP
Supplies Needed:
Tube of choice: Im using the wonderful art work of Danny Lee
You must obtain a license to use his art at S&CO HERE
Matching PTU Scrapkit by Designz by Sue also at S&CO HERE
Mask of choice
Ok lets get started:
This is a very quick and easy tutorial
Open blank canvas 700x700
Open element 051 & place in center toward left
Grab the magic wand & click inside frame
Selections modify expand by 10
Add new layer under frame
Open paper 011 & paste into selections
Select none
Place main tube to left of tag
Add any other elements you want from the kit
I used:
Element 006
Element 011
Element 014
Element 019
Element 034
Element 049
Element 053
Element 057
Element 058
Element 066
Merge layers
Open paper of choice & apply mask of choice
Place your name where you like it
Add the Copyright and your License Number for the tube
Resize to your liking and save as PNG
This tutorial was created on April 11,2015 by Rhonda
Any resemblance to another Tag or Tutorial is purely coincidental

Labels:PTU,S&Co,Summer | 0
comments
This tutorial is written for those with knowledge of PSP
Supplies Needed:
Tube of choice: Im using the wonderful art work of Jessica Dougherty
Tis tube was purchased at CILM which has closed
You must obtain a license to use this art now at CDO HERE
FTU Exclusive FB Scrapkit by Disturbed Scraps called Easter Eggstravaganza HERE
You have to like her page to download
Template by TwyztedT's Playroom HERE
Mask of choice
Don't forget to leave a thank you when downloading
Ok Lets get Started:
Open template - Shift D to duplicate then close out original
Canvas size 700x700
Deleted copyright & all flowers
Click on raster 8 & copy of 8 selections,select all, float,defloat
paste a paper of choice from the kit - I used paper4
selection invert delete
select none delete the original
Click on raster 2 selections,select all, float,defloat
paste a paper of choice from the kit - I used paper7
selection invert delete
select none delete the original
Click on raster 6 & copy of 6 selections,select all, float,defloat
paste a paper of choice from the kit - I used paper8
selection invert delete
select none delete the original
Click on raster 7 selections,select all, float,defloat
paste a paper of choice from the kit - I used paper6
selection invert delete
select none delete the original
Click on raster 3 & copy of 3 selections,select all, float,defloat
paste a paper of choice from the kit - I used paper10
selection invert delete
select none delete the original
Place your main tube in center
Now time to add our elements
I used the following:
Element 12
Element 21
Element 29
Element 33
Element 37
Element 39
Element 40
Element 44
Element 51
Element 62
Element 63
Element 64
Merge your layers
Open paper of choice & apply mask
Place your name where you like it
Add the Copyright and your License Number for the tube
Resize to your liking and save as PNG
This tutorial was created on April 11,2015 by Rhonda
Any resemblance to another Tag or Tutorial is purely coincidental

Labels:FTU,Spring | 0
comments
This tutorial is written for those with knowledge of PSP
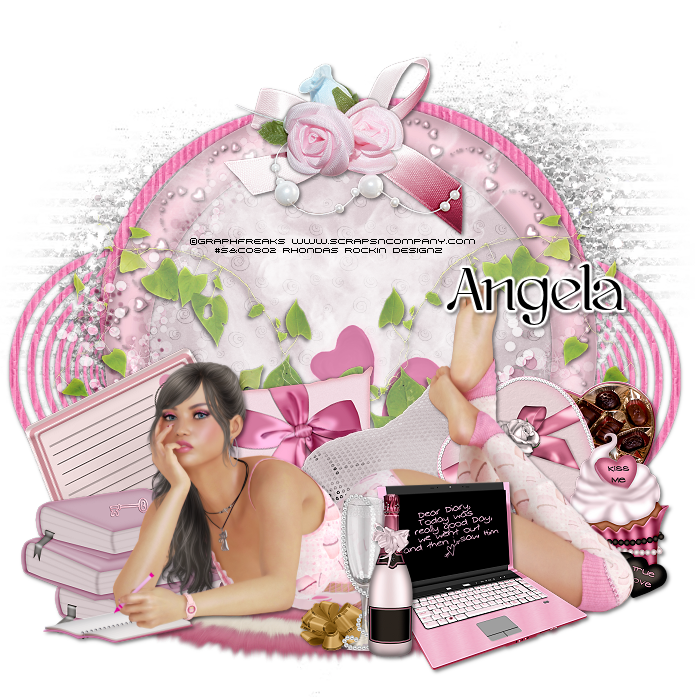
Supplies Needed:
Tube of choice: Im using the wonderful art work of Salisan Al_Gaib
You can purchase these tubes at ICZ Store HERE
PTU Scrap Kit by Nicky from Inzpired Creationz called "Glam Girl"
You an purchase this awesome kit from ICZ Store HERE
Mask of choice
Ok lets get started:
Open blank canvas 700x700
Open frame 2 & place in center
Click inside with magic wand
Selections modify expand by 10
Open new layer under frame
Open paper 1 and paste into selections
Place your main tube
Now add any other elements of choice
I used the following:
Balloons
Bow 2
Cookies 1
Cupcake 1&2
Diary Pen 1
Diary 1
Flower Cluster 1
Flower Cluster 3
Flower 1&2
Flowers 1&2
Perfume 3
Rose 1&2
Scattered Hearts 1&3
Tulle 2
Merge your layers
Open paper 9 and apply mask
Place your name where you like it
Add the Copyright and your License Number for the tube
Resize to your liking and save as PNG
This tutorial was created on April 11,2015 by Rhonda
Any resemblance to another Tag or Tutorial is purely coincidental

Wednesday, April 8, 2015
This tutorial is written for those with knowledge of PSP
Supplies Needed:
Tube of choice: I'm using the wonderful art work of Danny Lee
You must obtain a license to use his art at S&Co HERE
Matching PTU Scrapkit by Dnscraps HERE
Mask #63 from WSL HERE
Links are on right hand side of blog
Ok Lets get Started:
This is a very quick and easy tutorial
Open blank canvas 700x700
Open frame and place in center
Open grunge frame and place on top
Open button and place on top
Place main tube to right of tag
Add any other elements you want from the kit
I used:
Backpack
Bubbles
Bubbles 2
Cute Cupcake
Cute Heart
Globe Heart 2
Gumball Machine
Music
Phone
Piano
Road
Skateboard
Merge layers
Open paper 7 & apply mask of
Place your name where you like it
Add the Copyright and your License Number for the tube
Resize to your liking and save as PNG
This tutorial was created on April 8,2015 by Rhonda
Any resemblance to another Tag or Tutorial is purely coincidental

Labels:PTU,S&Co | 0
comments
Tuesday, April 7, 2015
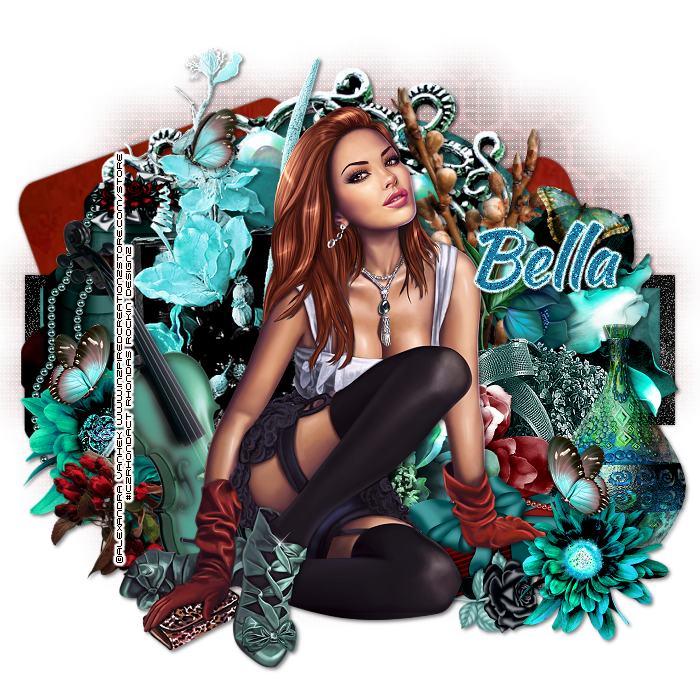
This tutorial is written for those with knowledge of PSP
Supplies Needed:
Tube of choice: Im using the wonderful art work of Alexandra Vanhek
You must obtain a license to use this art at ICZ Store HERE
PTU Scrapkit by Bella Caribena Designs called "Jenny"
This is a collab kit with Tiny Turtle
You can purchase this kit at ICZ Store HERE
Template #90 by Scrap it Studio HERE
Mask of choice
Ok Lets get Started:
Open template - Shift D to duplicate then close out original
Delete copyright & layer 3
Click on layer 1&2 selections,select all, float,defloat
paste a paper of choice from the kit - I used paper14
selection invert delete
select none delete the original
Click on layer 4 selections,select all, float,defloat
paste a paper of choice from the kit - I used paper3
selection invert delete
select none delete the original
Click on layer 5 selections,select all, float,defloat
paste a paper of choice from the kit - I used paper5
selection invert delete
select none delete the original
Click on layer 6 selections,select all, float,defloat
paste a paper of choice from the kit - I used paper6
selection invert delete
select none delete the original
Click on layer 8 selections,select all, float,defloat
paste a paper of choice from the kit - I used paper9
selection invert delete
select none delete the original
add noise
Click on layer 9 selections,select all, float,defloat
paste a paper of choice from the kit - I used paper7
selection invert delete
select none delete the original
Click on layer 10 selections,select all, float,defloat
paste a paper of choice from the kit - I used paper11
selection invert delete
select none delete the original
Place your main tube
Now time to add our elements
I used the following:
Elements 1
Elements 40
Elements 44
Elements 49
Elements 55
Elements 57
Elements 58
Elements 65
Elements 69
Elements 71
Elements 76
Elements 77
Elements 78
Elements 82
Elements 89
Elements 101
Elements 102
Merge your layers
Open paper of choice and apply mask
Place your name where you like it
Add the Copyright and your License Number for the tube
Resize to your liking and save as PNG
This tutorial was created on April 7,2015 by Rhonda
Any resemblance to another Tag or Tutorial is purely coincidental

Labels:Inzpired Creationz Store,PTU | 0
comments
Saturday, April 4, 2015
This tutorial is written for those with knowledge of PSP
Supplies Needed:
Tube of choice: Im using the wonderful art work of Spazz Art
You can purchase these tubes HERE
PTU Scrap Kit by Purple Dream Scraps called FYou
You can purchase this awesome kit from one of her stores HERE
Mask of choice
Ok Lets get Started:
Open a blank image 700x700
Open element 22 and place as a new image
Grab the magik wand and click inside frame
Select modify expand by 10
Open paper 2 and place as a new layer
selections invert - delete
Place your main tube
Xero Radiance with settings of choice
Now add any elements of choice
I used the following:
Element 4
Element 10
Element 13
Element 15
Element 17
Element 18
Element 20
Element 24
Element 26
Element 29
Element 30
Element 33
Element 40
Element 42
Element 45
Element 48
Merge layers
Open paper 9 and apply mask of choice
Place your name where you like it
Add the Copyright and your License Number for the tube
Resize to your liking and save as PNG
This tutorial was created on April 4 27,2015 by Rhonda
Any resemblance to another Tag or Tutorial is purely coincidental

Labels:PTU,Purple Dreams | 0
comments
Friday, April 3, 2015
This tutorial is written for those with knowledge of PSP
Supplies Needed:
Tube of choice: Im using the wonderful art work of Jose Cano
You can find his tubes HERE
PTU Scrap Kit by Icy Blue Mystic Designs "Easter Memories"
You can purchase this kit at one of her stores HERE
Template #16 from Seraph Creations HERE
Use mask of choice
Ok... Lets get started:
Open template - Shift D to duplicate then close out original
Resize template 71% all layers
Canvas size 700x700
delete copyright
Click on rectangle 1 selections,select all, float,defloat
paste a paper of choice from the kit - I used paper9
selection invert delete
select none delete the original
Click on rectangle 2 selections,select all, float,defloat
paste a paper of choice from the kit - I used paper4
selection invert delete
select none delete the original
Click on square background,selections,select all, float,defloat
paste a paper of choice from the kit - I used paper6
selection invert delete
select none delete the original
Click on square border selections,select all, float,defloat
paste a paper of choice from the kit - I used paper8
selection invert delete
select none delete the original
add noise
Click on circle background 1 selections,select all, float,defloat
paste a paper of choice from the kit - I used paper10
selection invert delete
select none delete the original
Click on circle frame 1 selections,select all, float,defloat
paste a paper of choice from the kit - I used paper8
selection invert delete
select none delete the original
add noise
Click on circle background 2 selections,select all, float,defloat
paste a paper of choice from the kit - I used paper2
selection invert delete
select none delete the original
Click on circle frame 2 selections,select all, float,defloat
paste a paper of choice from the kit - I used paper8
selection invert delete
select none delete the original
add noise
Click on circle background 3 selections,select all, float,defloat
paste a paper of choice from the kit - I used paper1
selection invert delete
select none delete the original
Click on circle frame 3 selections,select all, float,defloat
paste a paper of choice from the kit - I used paper8
selection invert delete
select none delete the original
add noise
Place your tube
Now time to add our elements
I used the following:
Bird
Branch
Butterfly 2
Candy Eggs
Candy Filled Eggs
Chick Ride
Cloud
Easter Basket 1
Easter Cross
EasterEgg House
EggsNTulips 1
Eggtatic
Flower 5&6
FlowerChic Pot
Grass 2
Scatter
Tree
TweetHome
Merge layers
Open paper of choice and apply mask
Place your name where you like it
Add the Copyright and your License Number for the tube
Resize to your liking and save as PNG
This tutorial was created on April 3,2015 by Rhonda
Any resemblance to another Tag or Tutorial is purely coincidental

Labels:Easter,Icy Blue Mystic Designs,PTU,Spring | 0
comments
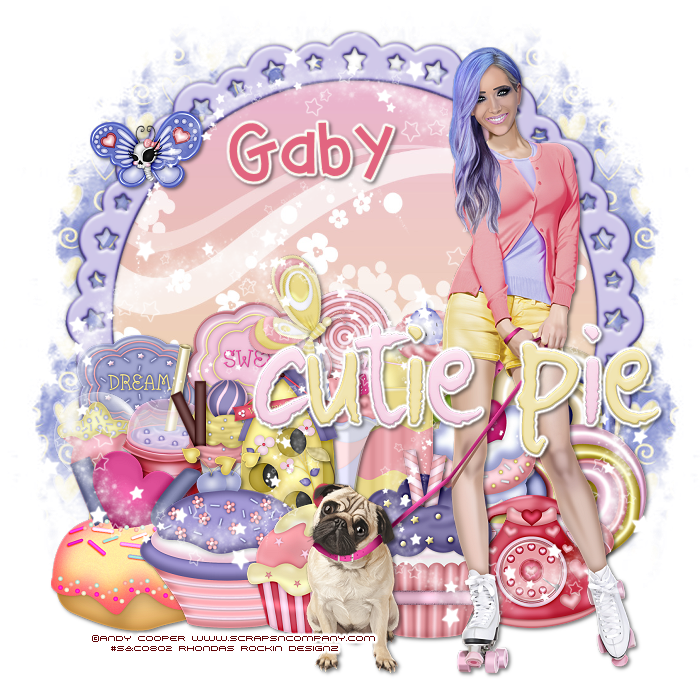
This tutorial is written for those with knowledge of PSP
Supplies Needed:
Tube of choice: Im using the wonderful art work of Andy Cooper
You must obtain a license to use his art at S&Co HERE
Matching PTU Scrapkit by Disturbed Scraps caled Cutie Pie HERE
Mask of choice
Ok Lets get Started:
This is a very quick and easy tutorial
Open blank canvas 700x700
Open element 85 and place in center
Grab the magic wand & click inside frame
Selections modify expand by 10
Add new layer under frame
Open paper 10 & paste into selections
Place main tube to right of tag
Add any other elements you want from the kit
I used:
Element 2
Element 8
Element 10
Element 11
Element 12
Element 13
Element 14
Element 17
Element 18
Element 20
Element 21
Element 22
Element 25
Element 26
Element 31
Element 36
Element 37
Element 44
Element 53
Element 59
Element 88
Element 90
Merge layers
Open paper 9 & apply mask of choice
Place your name where you like it
Add the Copyright and your License Number for the tube
Resize to your liking and save as PNG
This tutorial was created on April 3,2015 by Rhonda
Any resemblance to another Tag or Tutorial is purely coincidental

Labels:PTU,S&Co | 0
comments
Thursday, April 2, 2015
This tutorial is written for those with knowledge of PSP
Supplies Needed:
Tube of choice: Im using the wonderful art work of Kajenna
You can purchase these tubes at ICZ Store HERE
PTU Scrap Kit by Nicky from Inzpired Creationz called "Sassie's Garden"
You an purchase this awesome kit from ICZ Store HERE
Template #4 by TwyztedT's Playroom HERE
Mask #32 by Brutal Designs HERE
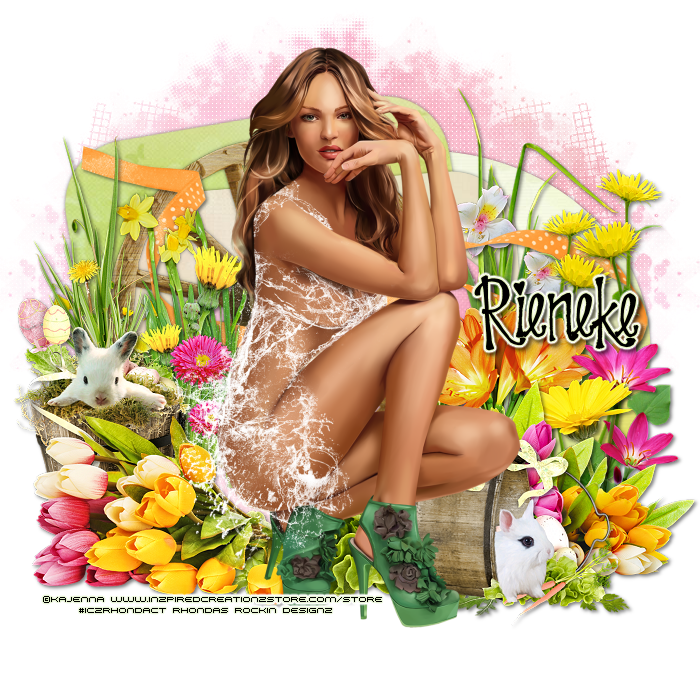
Ok Lets get Started:
Open template - Shift D to duplicate then close out original
Image resize 86% all layers
Canvas 700x700
Delete copyright,dotted lines,hearts,wordart and shadowed layers
Click on raster 5 selections,select all, float,defloat
paste a paper of choice from the kit - I used paper1
selection invert delete
select none delete the original
Click on raster 6 selections,select all, float,defloat
paste a paper of choice from the kit - I used paper3
selection invert delete
select none delete the original
Click on raster 7 selections,select all, float,defloat
paste a paper of choice from the kit - I used paper6
selection invert delete
select none delete the original
Click on raster 2 & copy of 2 selections,select all, float,defloat
paste a paper of choice from the kit - I used paper8
selection invert delete
select none delete the original
Click on circle2 selections,select all, float,defloat
paste a paper of choice from the kit - I used paper4
selection invert delete
select none delete the original
Place your main tube
Now add any other elements of choice
I used the following:
Butterflies 1
Butterfly 1,273
Clouds 1
Flower Branch 1
Flower Pot 1
Flower 2,3,9&10
Flowers 1&2
Grass 1&2
Leaves 2
Sign 1
Sparkles 2
Water Can 1
Wheel Barrel 1
Wheel 1
Merge your layers
Open paper 9 and apply mask
Place your name where you like it
Add the Copyright and your License Number for the tube
Resize to your liking and save as PNG
This tutorial was created on April 2, 2015 by Rhonda
Any resemblance to another Tag or Tutorial is purely coincidental

Subscribe to:
Comments
(Atom)
Grab My Blinkie

About Me
Hello friends and welcome to my blog!!! My name is Rhonda and I live in South East Ga., little town called Lumber City. I have 2 sons, 2 DIL's and 3 grandchildren. I work in healthcare as an RN.
When not working, I enjoy playing in PSP. It has been my passion over 20 years. PSP is relaxing and takes my mind away from troubles of life. I enjoy writing tutorials on my downtime.
I am expanding my creations to frames, clusters, templates and hopefully masks. I have NEVER made a mask but I have the time to learn now and I am excited. These will be FTU, all I ask is please download from the blog and if you are in a group or forum please send others to my blog and DO NOT HOTLINK. I would love to see your creations and show them off.
If you need to contact me with any questions concerning my tutorials or creations, send me an email. I am aware some of my older tutorials have links that are no longer working due to designers closing their blog. This is beyond my control. I am unable to share anything which was not shareable before. I honor all designers TOU.
I CT For
T.O.U.
All tutorials that are on my blog have been written by me. Any resemblance to another tag or tutorial is purely coincidental. Please do not copy and claim as your own. You are welcome to use these tutorials in any groups or forums but please link back to my blog. I would love to see any tag that is made using my tutorial. If you have any questions or concerns you can contact me at rsheath31549@yahoo.com.
Cluster Frames are Personal Use ONLY!!!! Please do not claim them as your own or rip them apart. You are welcome to use in forums or groups but please link back to blog. My TOU are included in the downloads. I would love to see any creations you make with my tuts or other creations. Send them to me and I will display them.
My goal for this blog is to make creations others can use and enjoy. I want to focus on being positive through difficult times. Show importance of accepting others, no judging, just respect. Showing kindness to others can change another's life, even for a brief time
Powered by Blogger.
Search
Categories
- Addictive Pleasures
- Adrienne Designs
- AI by Caz
- AI TK Dezigns
- Alicia Mujica
- April Shareables
- Art-Content
- Awards
- Awareness
- Barbara Jensen
- Beth Show-Off
- Birthday
- Black Widow Creations
- Blaque Heart Designz
- Blog Train
- BLT Dezingz
- Breast Cancer Awareness
- Brutal Designs.Grunge and Glitter
- CC Excluisve
- CDO
- Chachaz Creations
- Chelloenix
- Chichi Designz
- Chick News
- Chris Pastel
- Christmas
- Cluster Frame Tuts
- Cluster.
- Cluster. FTU Cluster Frames
- Coffee Arts Design's
- Country
- Crisipified
- Daelmans Designs
- Dangerously Delicious Designz
- Deedles and Doodles
- DeesSign Depot
- Designer Scraps
- Designz By Anorie
- Designz by Shelly
- Diamond Creations
- Digital Art Heaven
- Doodle By Design
- Dreaming With Bella
- Easter
- Elegance Fly
- Elfairy Tubes
- Elli's
- Facebook Freebie
- Fall
- FTU
- FTU Cluster Frames
- FTU Tube
- General
- Gothic
- GraphFreaks
- Gypsy
- Halloween
- Hania Design
- Here2Help Mirella
- Icy Blue Mystic Designs
- Inzpired Creationz
- Inzpired Creationz Store
- Jens Sweet Temptations
- July 4th
- Kathy's PSP Designs
- Kelly's AI Artroom
- Kizzed by Kelz
- Laura Re Art
- Limited FTU
- Lori's PSP Graphics
- MardiGras
- Midnight Shadow Dezinez
- Military
- Misticheskaya
- Mizteeque
- Moonshine Dezignz
- Mother's Day
- motivational
- My Tagging Addiction
- New Years
- News
- News about kits
- No Scraps
- Pammers Passion
- Patriotic
- Personal
- PFD
- Pimp My Tags With Scraps
- Pink Paradox
- PTU
- PTU Clusters
- PTU now FTU
- Purple Dreams
- Queen Uriel
- Retired Kits
- s
- S&Co
- Savage Dezigns
- School
- Scrap it Studio
- Scrappy Bit of Fun
- Show Off
- Simply Vicki
- Snags
- Spring
- St Patricks Day
- Steampunk
- Summer
- t
- Tagcatz Design
- Tags with no Tuts
- Tattys Thingies
- Template
- Thanksgiving
- The Taggers Lounge
- The Taggers Lounge Exclusive
- Tiny Turtles
- Tiny Turtles Store
- Updates
- Valentine
- VeryMany
- Vintage
- VM Artists
- VMArtists
- Western
- Wicked Princess Scraps
- Winter
- Wonderland
- WordArt
- Zindy Zone
- Zlatam Store
Blog Archive
-
▼
2015
(268)
-
▼
April
(26)
- Emo Living - PTU
- Fairy Frolic - PTU
- Born to Be - PTU
- Fairy Flower - PTU
- Proud Soldier - PTU
- Farm Dog - PTU
- Reminiscing - PTU
- Living on the Edge - FTU
- Mr BlueJay - FTU
- Secret Garden - FTU
- Dear Diary - PTU
- Lilly's Garden - PTU
- Queen of the Sea - PTU
- Bee Honey - PTU
- Honey for Hugs - PTU
- Beautiful Spring - PTU
- Beach Time - PTU
- Love Joy & Spring - FTU
- It's Love - PTU
- Punk - PTU
- Jenny's Elegance - PTU
- Punk Style - PTU
- Easter Memories - PTU
- Sweet Roller Cutie - PTU
- Sassies Garden - PTU
- Pink Bunny - PTU
-
▼
April
(26)
