Tuesday, November 22, 2016
This tutorial is written for those with knowledge of PSP
Supplies Needed:
Tube of choice: I'm using the wonderful art work of Caron Ninson
You must obtain a license to use this art HERE
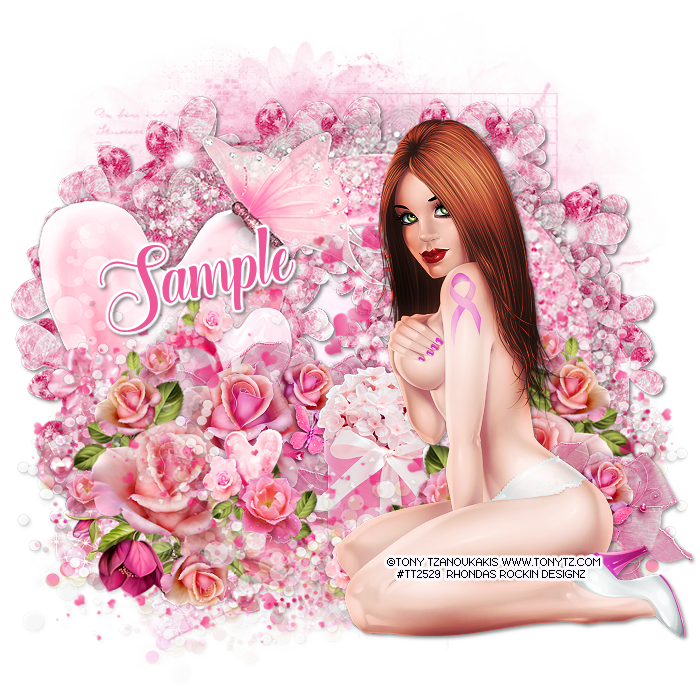
FTU cluster by Mary Jane found at Artistic Tag Passion HERE
Mask of choice
Ok Lets get Started:
Open frame - Shift D to duplicate and close original
Delete copyright
Grab freehand tool and draw around the frame
Add new layer under frame
Open paper 1 & paste into selection
Place your tube
Now time to add our elements
I used the following:
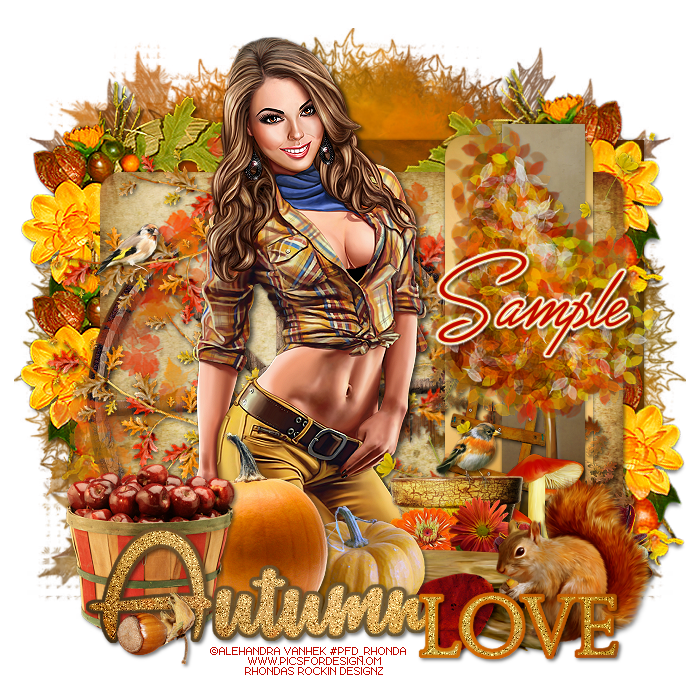
Basket of Apples
Bird
Birdhouse 2
Pinecone
Spray 1,2,5&6
Wagon 2
Merge your layers
Open paper of choice & apply mask
Place your name where you like it
Add the Copyright and your License Number for the tube
Resize to your liking and save as PNG
This tutorial was created on November 22,2016 by Rhonda

Labels:Cluster Frame Tuts,Fall,FTU | 0
comments
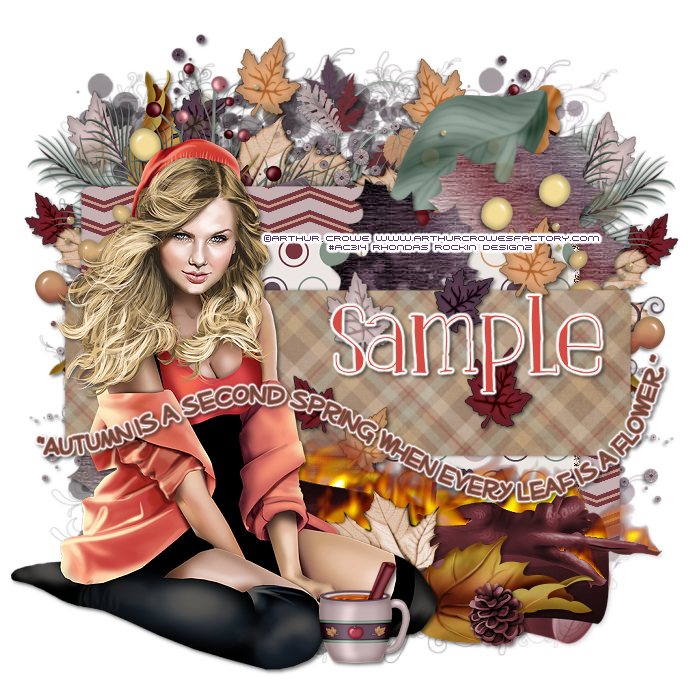
This tutorial is written for those with knowledge of PSP
Supplies Needed:
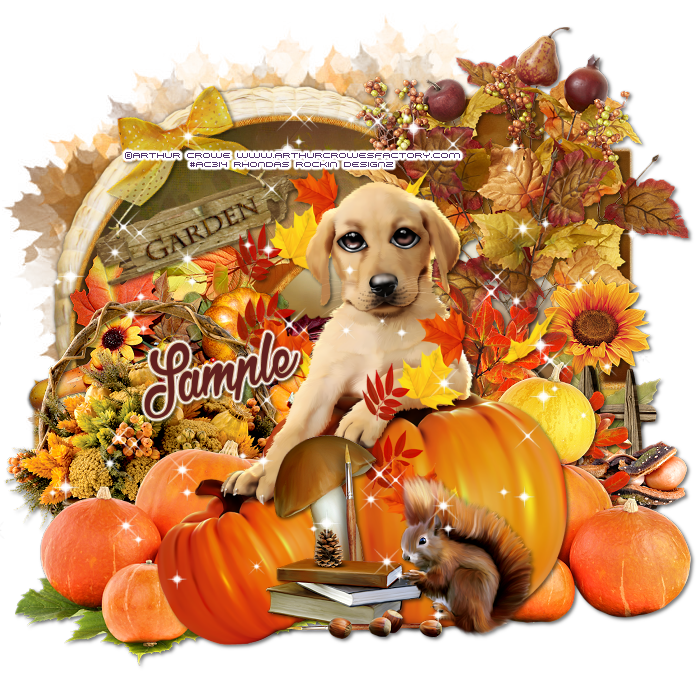
Tube of choice: I'm using the wonderful art work of Arthur Crowe
You must obtain a license to use at his store HERE
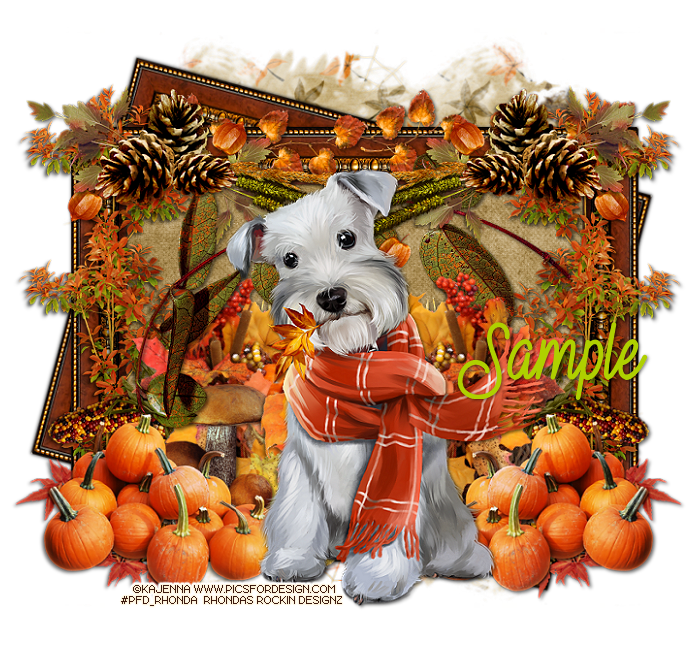
PTU Scrapkit by Creations by Sandi called Sweet Doggy
Buy as a bundle at Crowe's Store HERE
Template #25 by Just Like Candy Designs HERE
Mask of choice
Ok Lets get Started:
Open template - Shift D to duplicate then close out original
Decrease tamplate all layers 86%
Increase canvas size to 700x700
Delete copyright, right upper brown,left peach circle & right light brown
Move left vertical rectangle to right hand side
Click on left vertical rectangle selections,select all, float,defloat
paste a paper of choice from the kit - I used paper2
selection invert delete
select none delete the original
Click on middle rectangle selections,select all, float,defloat
paste a paper of choice from the kit - I used paper12
selection invert delete
select none delete the original
Click on center light brown selections,select all, float,defloat
paste a paper of choice from the kit - I used paper8
selection invert delete
select none delete the original
Place tube where desired
Now time to add our elements
I used the following:
Element 4
Element 5
Element 7
Element 11
Element 16
Element 17
Element 18
Element 25
Element 30
Element 33
Element 39
Element 43
Element 47
Element 50
Element 55
Element 57
Merge your layers
Open paper of choice and apply mask
Place your name where you like it
Add the Copyright and your License Number for the tube
Resize to your liking and save as PNG
This tutorial was created on November 22,2016 by Rhonda
Any resemblance to another Tag or Tutorial is purely coincidental

Labels:Fall,PTU | 0
comments
Monday, November 7, 2016
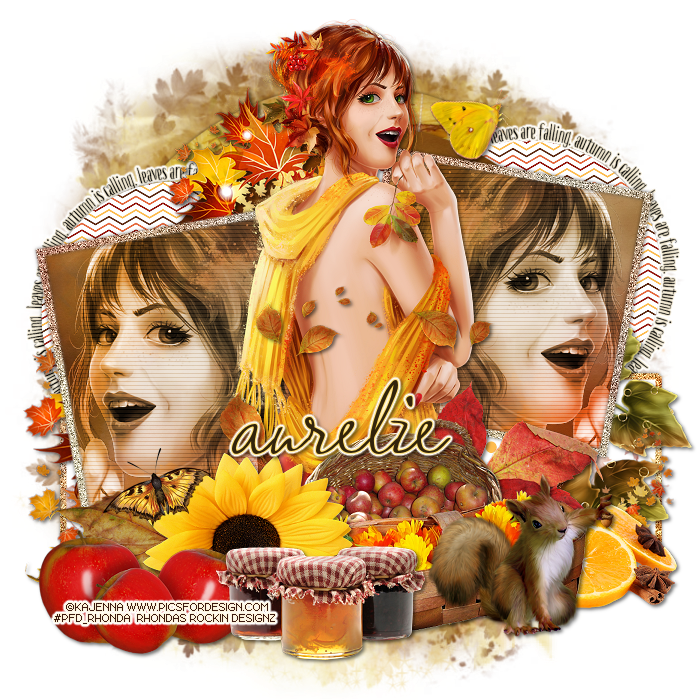
This tutorial is written for those with knowledge of PSP
Supplies Needed:
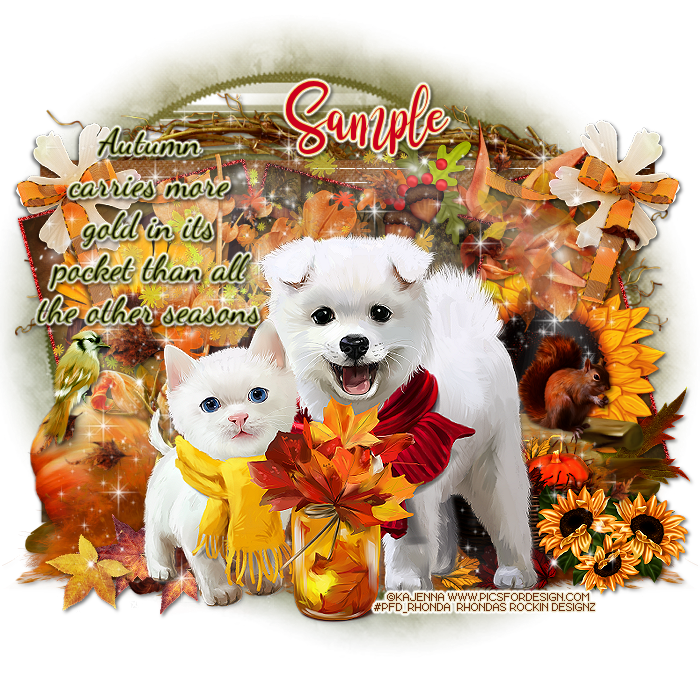
Tube of choice: I'm using the wonderful art work of Kajenna
You must obtain a license to use at PFD HERE
PTU Scrapkit by Design by Joan called Fabulous Fall HERE
Template #2 by Ruby & Barbara HERE
Mask of choice
Ok Lets get Started:
Open template - Shift D to duplicate then close out original
Decrease template all layers 90%
Increase canvas size to 700x700
Delete copyright, leaf frames,fall shapes & small text
Click on curl shape selections,select all, float,defloat
paste a paper of choice from the kit - I used paper8
selection invert delete
select none delete the original
Click on curl frame selections,select all, float,defloat
paste a paper of choice from the kit - I used paper5
selection invert delete
select none delete the original
Click on top & bottom bar selections,select all, float,defloat
paste a paper of choice from the kit - I used paper3
selection invert delete
select none delete the original
Click on rect 1&2 selections,select all, float,defloat
paste a paper of choice from the kit - I used paper2
selection invert delete
select none delete the original
add noise with settings of choice
Click on rect 3 selections,select all, float,defloat
paste a paper of choice from the kit - I used paper9
selection invert delete
select none delete the original
Click on all frames selections,select all, float,defloat
paste a paper of choice from the kit - I used paper7
selection invert delete
select none delete the original
add noise with settings of choice
Place tube where desired
Now time to add our elements
I used the following:
Element 1
Element 3
Element 6
Element 11
Element 20
Element 21
Element 22
Element 25
Element 26
Element 28
Element 32
Element 33
Element 35
Element 37
Element 39
Element 43
Element 44
Element 45
Element 50
Element 52
Element 60
Element 65
Element 66
Element 67
Element 69
Merge your layers
Open paper of choice and apply mask
Place your name where you like it
Add the Copyright and your License Number for the tube
Resize to your liking and save as PNG
This tutorial was created on November 7,2016 by Rhonda
Any resemblance to another Tag or Tutorial is purely coincidental

Labels:Fall,PTU,S&Co | 0
comments
Saturday, October 29, 2016

Labels:Fall,FTU,Tags with no Tuts | 0
comments
This tutorial is written for those with knowledge of PSP
Supplies Needed:
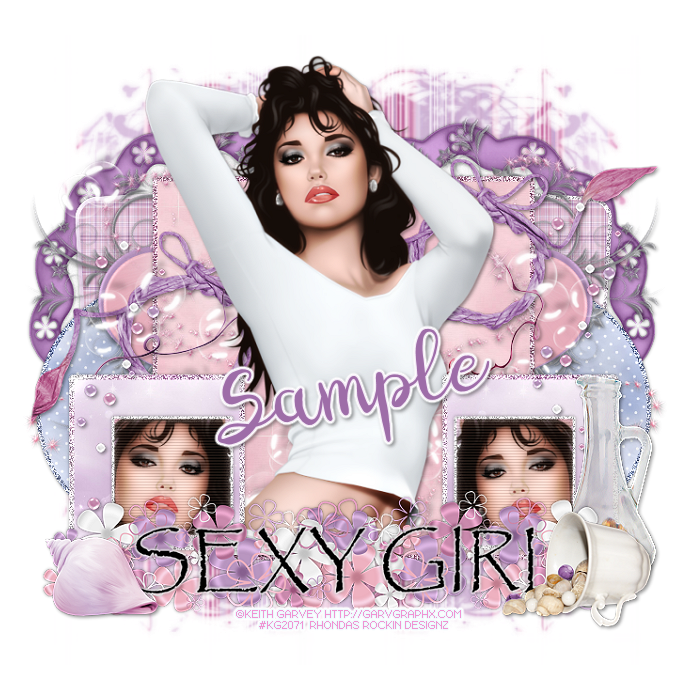
Tube of choice: I'm using the wonderful art work of Keith Garvey
You can purchase his tubes at his store HERE
FTU Scrap Kit by HorsePlay Pastures called "Pastels and Pearls" HERE
Template #828 by Millie HERE
Mask #151 by Millie HERE
Don't forget to leave a thank you when downloading
Ok Lets get Started:
Open template - Shift D to duplicate then close out original
Canvas size 700x700
Delete copyright
Click on layers 1&2 selections,select all, float,defloat
paste a paper of choice from the kit - I used paper6
selection invert delete
select none delete the original
Add borders
Click on layers 3&4 selections,select all, float,defloat
paste a paper of choice from the kit - I used paper8
selection invert delete
select none delete the original
Add borders
Click on layer 5 selections,select all, float,defloat
paste a paper of choice from the kit - I used paper14
selection invert delete
select none delete the original
Add border
Click on layers 6&7 selections,select all, float,defloat
paste a paper of choice from the kit - I used paper9
selection invert delete
select none delete the original
Add borders
Click on right orange square selections,select all, float,defloat
paste a paper of choice from the kit - I used paper6
selection invert delete
select none delete the original
Click on layers 8&9 selections,select all, float,defloat
paste a close up of tube inside square
selection invert delete
select none delete the original
Add borders
Place your tube
Now add any other elements of choice
I used the following:
Element 10
Element 18
Element 19
Element 20
Element 21
Element 22
Element 29
Element 36
Element 44
Element 45
Element 62
Merge your layers
Open paper of choice and apply mask
Place your name where you like it
Add the Copyright and your License Number for the tube
Resize to your liking and save as PNG
This tutorial was created on October 29,2016 by Rhonda
Any resemblance to another Tag or Tutorial is purely coincidental

Labels:FTU | 0
comments
This tutorial is written for those with knowledge of PSP
Supplies Needed:
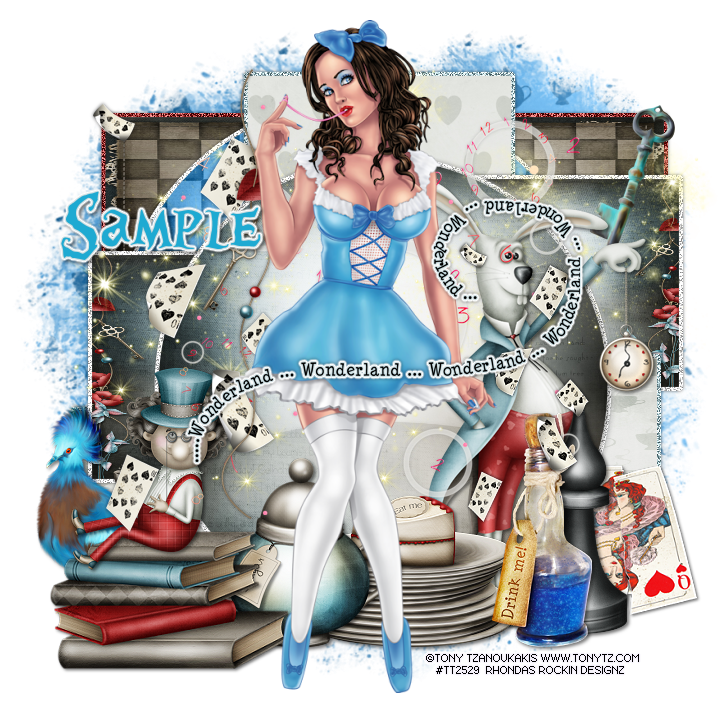
Tube of choice: Im using the wonderful art work of Tony Tzanoukakis
You can purchase his tubes at his store HERE
PTU Scrap Kit by Kizzed by Kelz "Alice in Wonderland" HERE
Also purchased at Tony T as a bundle with kit
Template #19 by Just Like Candy Designs HERE
Don't forget to leave a thank you when downloading
Move horz left to bottom
I added a border to my layers
Ok Lets get Started:
Open template - Shift D to duplicate then close out original
Canvas size 700x700
Delete copyright
Click on back circle selections,select all, float,defloat
paste a paper of choice from the kit - I used paper10
selection invert delete
select none delete the original
Click on center rectangle selections,select all, float,defloat
paste a paper of choice from the kit - I used paper1
selection invert delete
select none delete the original
Click on horz rectangle left & right selections,select all, float,defloat
paste a paper of choice from the kit - I used paper11
selection invert delete
select none delete the original
Click on lower orange rectangle selections,select all, float,defloat
paste a paper of choice from the kit - I used paper8
selection invert delete
select none delete the original
Click on right orange square selections,select all, float,defloat
paste a paper of choice from the kit - I used paper6
selection invert delete
select none delete the original
Click on center red rectangle selections,select all, float,defloat
paste a paper of choice from the kit - I used paper11
selection invert delete
select none delete the original
Click on center red circle selections,select all, float,defloat
paste a paper of choice from the kit - I used paper12
selection invert delete
select none delete the original
Place your tube
Now add any other elements of choice
I used the following:
Bird
Books
Bottle
Cake on Plates
Charm
Chess Piece 2
Clock
Falling Cards
Key
Mad Hatter
March Hare
Queen Hearts Card
Sparkle
Sugar
Timeless Clock
Word Art
Merge your layers
Open paper of choice and apply mask
Place your name where you like it
Add the Copyright and your License Number for the tube
Resize to your liking and save as PNG
This tutorial was created on October 29,2016 by Rhonda
Any resemblance to another Tag or Tutorial is purely coincidental

Labels:PTU | 0
comments
Saturday, October 15, 2016
This tutorial is written for those with knowledge of PSP
Supplies Needed:
Tube of choice: I'm using the wonderful art work of Keith Garvey
You can purchase his tubes HERE
Template by Unique Styles HERE
Please leave some love when you download
Resize elements to your liking
Ok Lets get Started:
Open template - Shift D to duplicate
Resize template to your desired size
Delete copyright
Click on raster 9 - change color to match tube you are using
Click on raster 2&5 - change color to match tube you are using
Click on raster 14&15 - change color to match tube you are using
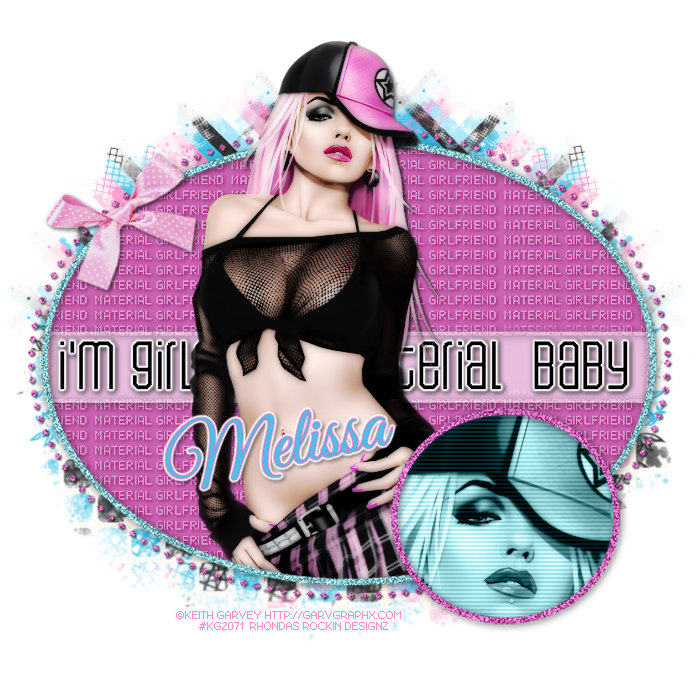
Place close-up of tube in circle
Change blend mode to Luminious
Use any other elements you may have to tag
Place your main tube
Apply Xero Radiance
Merge your layers
Place your name where you like it
Add the Copyright and your License Number for the tube
Resize to your liking and save as PNG
This tutorial was created on October 15,2016 by Rhonda
Any resemblance to another Tag or Tutorial is purely coincidental

Labels:FTU | 0
comments
This tutorial is written for those with knowledge of PSP
Supplies Needed:
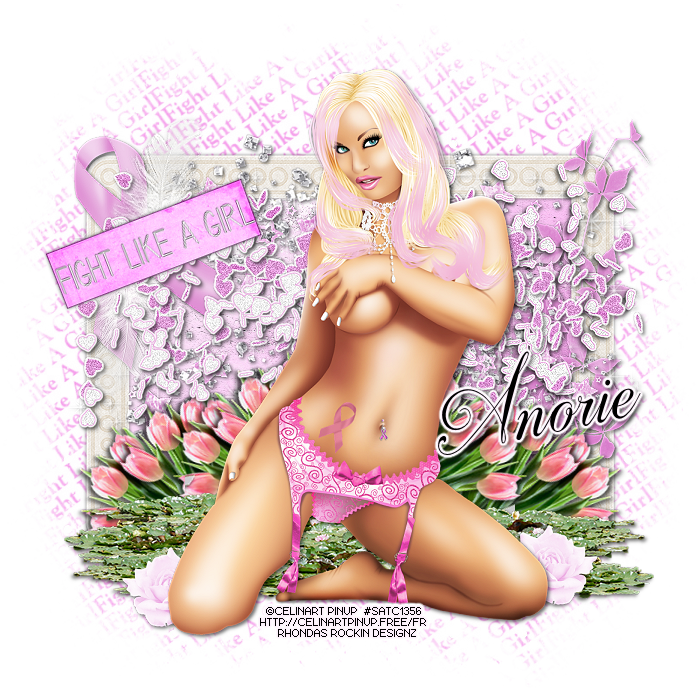
Tube of choice: I'm using the wonderful art work of Celinart Pinup
This tube was purchased at SATC which has closed
You can find her art now at different stores
FTU Scrapkit by Designs by Anorie HERE
Mask by Barbara HERE
Ok Lets get Started:
Resize elements to your liking
This is a very quick and easy tutorial
Open blank canvas 700x700
Open frame 2 and place in center
Click inside frame with magik wand
Selections modify expand by 10
Add new layer under frame and select all
Open paper 4 and paste into selections
Select none
Place your tube & build around it
Now time to add our elements
I used the following:
Element 1
Element 3
Element 14
Element 15
Element 18
Element 19
Element 20
Element 21
Element 23
Element 26
Element 28
Merge layers
Open paper of choice and apply mask
Place your name where you like it
Add the Copyright and your License Number for the tube
Resize to your liking and save as PNG
This tutorial was created on October 15,2016 by Rhonda
Any resemblance to another Tag or Tutorial is purely coincidental

Labels:Awareness,Breast Cancer Awareness,FTU | 0
comments
This tutorial is written for those with knowledge of PSP
Supplies Needed:
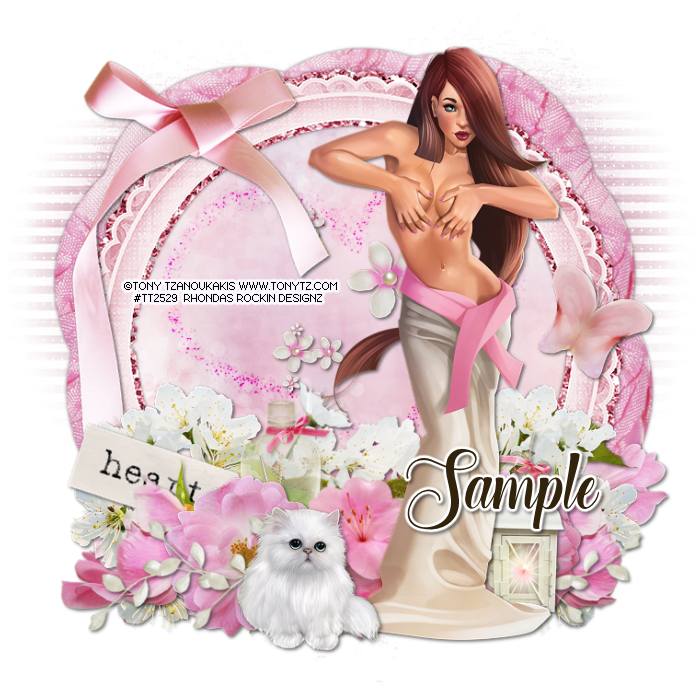
Tube of choice: I'm using the wonderful art work of Tony Tzanoukakis
You must obtain a license to use from his store HERE
PTU Scrapkit by Reineke Designs which was also purchased at Tony's store HERE
Can be bought separate or as a bundle
Mask of choice
Ok Lets get Started:
Resize elements to your liking
This is a very quick and easy tutorial
Open blank canvas 700x700
Open element 20 and place in center
Click inside frame with magik wand
Selections modify expand by 10
Add new layer under frame and select all
Open paper 10 and paste into selections
Select none
Place your tube & build around it
Now time to add our elements
I used the following:
Element 4
Element 5
Element 7
Element 9
Element 12
Element 13
Element 16
Element 18
Element 22
Element 23
Element 26
Element 27
Element 28
Element 29
Merge layers
Open paper of choice and apply mask
Place your name where you like it
Add the Copyright and your License Number for the tube
Resize to your liking and save as PNG
This tutorial was created on October 12,2016 by Rhonda
Any resemblance to another Tag or Tutorial is purely coincidental

Labels:Awareness,Breast Cancer Awareness,PTU | 0
comments
This tutorial is written for those with knowledge of PSP
Supplies Needed:
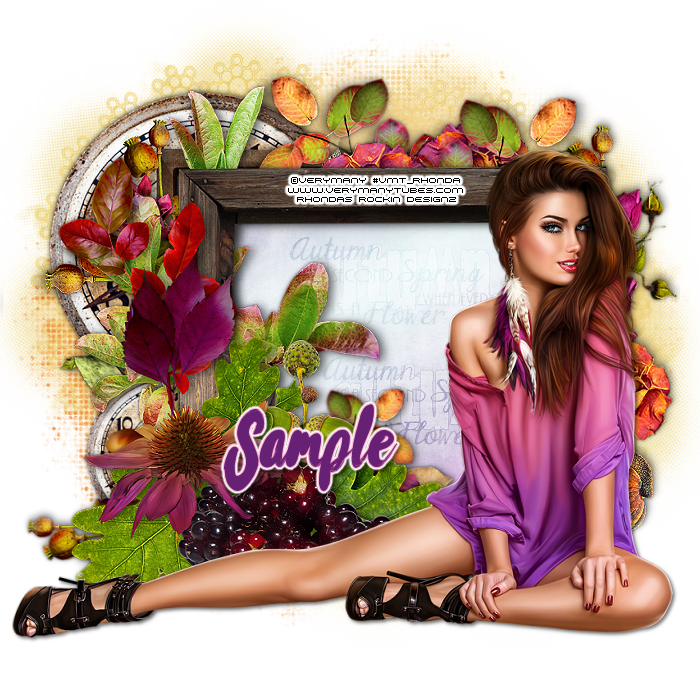
Tube of choice: I'm using the wonderful art work of VeryMany
You must obtain a license to use from their store HERE
FTU clusters from Escape From Reality HERE
Mask of choice
Word Art of choice (I forgot to ave where I got mine from)
Ok Lets get Started:
Resize elements to your liking
This is a very quick and easy tutorial
Open blank canvas 700x700
Open cluster 1 and place in center
Click inside frame with magik wand
Selections modify expand by 10
Add new layer under frame and select all
Open paper or solid color of choice and paste into selections
Select none
Use word art if desired (see my tag)
I used the other 2 clusters to decorate rest of tag
Use my tag as an example
Merge layers
Open paper of choice and apply mask
Place your name where you like it
Add the Copyright and your License Number for the tube
Resize to your liking and save as PNG
This tutorial was created on October 12,2016 by Rhonda
Any resemblance to another Tag or Tutorial is purely coincidental

Labels:Cluster Frame Tuts,Fall,FTU | 0
comments
This tutorial is written for those with knowledge of PSP
Supplies Needed:
Tube of choice: I'm using the wonderful art work of Tony Tzanoukakis
You must obtain a license to use from his store HERE
FTU Scrapkit from Tiny Turtle Designs HERE
Mask of choice
Ok Lets get Started:
Resize elements to your liking
This is a very quick and easy tutorial
Open blank canvas 700x700
Open element 8 and place in center
Click inside frame with magik wand
Selections modify expand by 10
Add new layer under frame and select all
Open paper 3 and paste into selections
Select none
Place your tube & build around it
Now time to add our elements
I used the following:
Elements 5
Elements 6
Elements 13
Elements 17
Elements 23
Elements 34
Elements 72
Elements 93
Elements 105
Merge layers
Open paper of choice and apply mask
Place your name where you like it
Add the Copyright and your License Number for the tube
Resize to your liking and save as PNG
This tutorial was created on October 12,2016 by Rhonda
Any resemblance to another Tag or Tutorial is purely coincidental

Labels:Awareness,Breast Cancer Awareness,FTU | 0
comments
This tutorial is written for those with knowledge of PSP
Supplies Needed:
Tube of choice: I'm using the wonderful art work of Kajenna
You must obtain a license to use tube at PFD HERE
FTU Scrapkit by Sky's The Limit HERE
Mask by Sylly Creationz (I used bottom one) HERE
Ok Lets get Started:
This is a very quick and easy tutorial
Resize elements to your liking and don't forget to drop shadow
Open blank canvas 700x700
Open frame 2 and place in center
Duplicate frame and move under first frame
Rotate bottom frame to the right (see tag for example)
Grab the magic wand & click inside top frame
Selections modify expand by 10
Add new layer under frame
Open paper 6 & paste into selection
Select none
Place your tube & build around it
Now time to add our elements
I used the following:
Acorns
Cluster
Cornucopia
Flower 2
Folliage 3
Indian Corn
Ivy
Leaf 2&8
Leafy Vine
Mushrooms
Pumpkins
Tree
Merge your layers
Open paper of choice & apply mask
Place your name where you like it
Add the Copyright and your License Number for the tube
Resize to your liking and save as PNG
This tutorial was created on zoctober 15,2016 by Rhonda

Labels:Fall,FTU | 0
comments
Welcome to The Taggers Lounge Blog Train!
Be sure to stop along the ride to collect your goodies!
Also please leave some love!!
Stop by The Taggers Lounge and join in on the fun also, we would love to have you.
http://thetaggerslounge.forumotion.com
http://thetaggerslounge.blogspot.com/ Stop 1
http://tagsbytika.blogspot.com Stop 2
http://jenssweettemptations.blogspot.com Stop 3
http://anorie.blogspot.de/ Stop 4
http://mytaggingaddiction.blogspot.com/ Stop 5
http://myzticdesignzz.blogspot.com/ Stop 6
http://rhondasrockindesignz.blogspot.com/ Stop 7
http://www.pamzygreene.blogspot.com/ Stop 8
Download HERE
Download HERE
Download HERE

Labels:Blog Train,FTU,FTU Cluster Frames,Halloween | 0
comments
Sunday, October 9, 2016
This tutorial is written for those with knowledge of PSP
Supplies Needed:
Tube of choice: I'm using the wonderful art work of Alehander Vanhek
You must obtain a license to use at PFD HERE
FTU Scrap Kit byGimptastic Tuts HERE
Template #789 by Millie HERE
Mask #2 by Dee HERE
Open template - Shift D to duplicate then close out original
Increase canvas size to 700x700
Delete copyright, thin rectangle and heart
Click on lsyer 1 selections,select all, float,defloat
paste a paper of choice from the kit - I used paper6 from add on
selection invert delete
select none delete the original
Click on layer 2 selections,select all, float,defloat
paste a paper of choice from the kit - I used paper9
selection invert delete
select none delete the original
Click on layer 4 selections,select all, float,defloat
paste a paper of choice from the kit - I used paper4
selection invert delete
select none delete the original
Click on layer5 selections,select all, float,defloat
paste a paper of choice from the kit - I used paper8
selection invert delete
select none delete the original
Click on circle2 selections,select all, float,defloat
paste a paper of choice from the kit - I used paper3
selection invert delete
select none delete the original
Decorate word art to your liking
Place your tube
Now time to add our elements
I used the following:
Bird 1&2
Branch
Butterfly
Flower 1&3
Flower Scatter
Log
Mushrooms 2
Nut
Squirrel
Tree
Elements from Add-On kit:
Apple Basket
Deco
Pumpkin
Wagon Wheel
Wreath
Merge your layers
Open paper of choice and apply mask
Place your name where you like it
Add the Copyright and your License Number for the tube
Resize to your liking and save as PNG
This tutorial was created on October 9,2016 by Rhonda
Any resemblance to another Tag or Tutorial is purely coincidental

Labels:Fall,FTU | 2
comments
Friday, September 23, 2016
This tutorial is written for those with knowledge of PSP
Supplies Needed:
Tube of choice: I'm using the wonderful art work of Ismael Rac
This tube was a free gift at his store
You can find his art now at SNC HERE
FTU Scrapkit from Dreamland Designs HERE
Mask of choice
Ok Lets get Started:
Resize elements to your liking
This is a very quick and easy tutorial
Open blank canvas 700x700
Open frame 2 & place to center
I made another frame using a darker color pink with noise
Click inside with magic wand & expand by 10
Open paper 17 and paste as new layer
Selections invert delete
Move paper under frame
Place your tube & build around it
Now time to add our elements
I used the following:
Dreamland Ribbon
Ribbon
Floral Ribbon
Tag 2
Tag 1
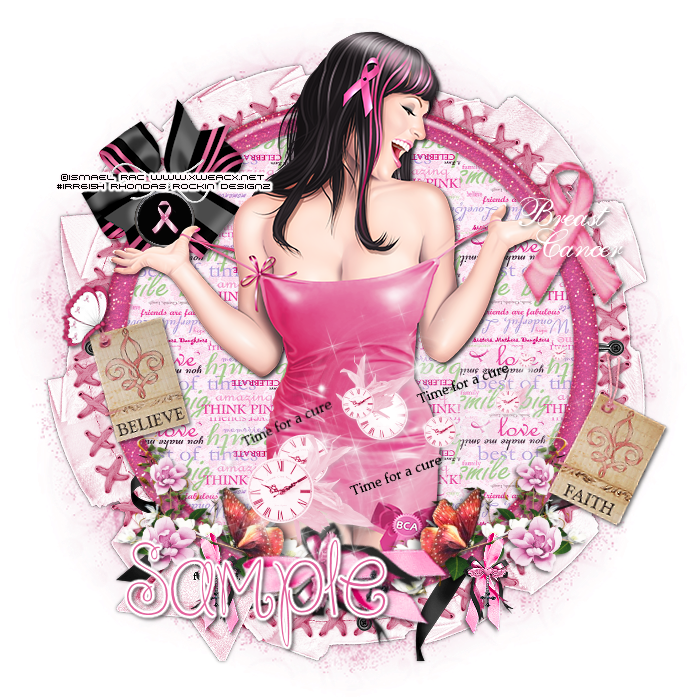
Time for a Cure
Butterfly
Merge layers
Open paper of choice and apply mask
Place your name where you like it
Add the Copyright and your License Number for the tube
Resize to your liking and save as PNG
This tutorial was created on September 23,2016 by Rhonda
Any resemblance to another Tag or Tutorial is purely coincidental

Labels:Awareness,Breast Cancer Awareness,FTU | 0
comments
This tutorial is written for those with knowledge of PSP
Supplies Needed:
Tube of choice: I'm using the wonderful art work of Arthur Crowe
Which you must obtain a license to use HERE
FTU Scrapkit by Melissaz Creationz HERE
Template #37 by Rachel Designs HERE
Mask #13 by Angie Tagged Me HERE
Ok Lets get Started:
Open template - Shift D to duplicate then close out original
Resize template to your liking
Delete copyright & word art
Click on layer 1 selections,select all, float,defloat
paste a paper of choice from the kit - I used paper7
selection invert delete
select none delete the original
apply Filters Unliminted Hemp Paper 1
Click on layer 2 selections,select all, float,defloat
paste a paper of choice from the kit - I used paper10
selection invert delete
select none delete the original
apply Filters Unliminted Hemp Paper 1
Click on layers 3&4 selections,select all, float,defloat
paste a paper of choice from the kit - I used paper8
selection invert delete
select none delete the original
Click on layer 6 selections,select all, float,defloat
paste a paper of choice from the kit - I used paper2
selection invert delete
select none delete the original
Click on layers 7&8 selections,select all, float,defloat
paste a paper of choice from the kit - I used paper1
selection invert delete
select none delete the original
apply Filters Unliminted Hemp Paper 1
Click on layer 9 selections,select all, float,defloat
paste a paper of choice from the kit - I used paper4
selection invert delete
select none delete the original
Place your tube
Now time to add our elements
I used the following:
Cluster
Element 1
Element 5
Element 7
Element 9
Element 18
Element 20
Element 21
Element 22
Element 24
Element 25
Element 26
Merge your layers
Open paper of choice and apply mask
Place your name where you like it
Add the Copyright and your License Number for the tube
Resize to your liking and save as PNG
This tutorial was created on September 23,2016 by Rhonda
Any resemblance to another Tag or Tutorial is purely coincidental

Labels:Fall,FTU | 2
comments
This tutorial is written for those with knowledge of PSP
Supplies Needed:
Tube of choice: Im using the wonderful art work of Danny Lee
Which you must obtain a license to use at SNC HERE
PTU Scrapkit by Rieneke Designs purchased at SNC HERE
Template #671 by Millie HERE
Mask of choice
Ok Lets get Started:
Open template - Shift D to duplicate then close out original
Delete copyright
Click on layer 1 selections,select all, float,defloat
paste a paper of choice from the kit - I used paper2
selection invert delete
select none delete the original
add border with noise
Click on layer 2&3 selections,select all, float,defloat
paste a paper of choice from the kit - I used paper4
selection invert delete
select none delete the original
add border with noise
Click on layer 4 selections,select all, float,defloat
paste a paper of choice from the kit - I used paper3
selection invert delete
select none delete the original
add bordr with noise
Click on layer 5 selections,select all, float,defloat
paste a paper of choice from the kit - I used paper9
selection invert delete
select none delete the original
add border with noise
Click on layers 6&8 selections,select all, float,defloat
paste close-up of tube inside square
selection invert delete
select none delete the original
apply PhotoEffex with settings of choice
add border with noise
Click on layer 7 selections,select all, float,defloat
paste a paper of choice from the kit - I used paper1
selection invert delete
select none delete the original
add border with noise
I used fall gradients for the word art with noise
Place your tube
Now time to add our elements
I used the following:
Element 6
Element 14
Element 16
Element 17
Element 18
Element 27
Element 31
Element 32
Element 33
Element 34
Element 38
Element 39
Element 40
Element 41
Element 43
Element 44
Element 45
Element 47
Element 50
Merge your layers
Open paper of choice and apply mask
Place your name where you like it
Add the Copyright and your License Number for the tube
Resize to your liking and save as PNG
This tutorial was created on September 23,2016 by Rhonda
Any resemblance to another Tag or Tutorial is purely coincidental

Labels:Fall,PTU,S&Co | 0
comments
This tutorial is written for those with knowledge of PSP
Supplies Needed:
Tube of choice: I'm using the wonderful art work of Kajenna
You must obtain a license to use at PFD HERE
PTU Scrap Kit by Purple Dreams Scraps called Autumn Day HERE
Template #387 by Missy HERE
Mask #27 & 28 by Ria's PSP Paradise HERE
Ok Lets get Started:
Open template - Shift D to duplicate then close out original
Increase canvas size to 700x700
Delete copyright,word art, thin rectangle, dotted line & circles
Click on small circles selections,select all, float,defloat
paste a paper of choice from the kit - I used paper7
selection invert delete
select none delete the original
Click on rectangle selections,select all, float,defloat
paste a paper of choice from the kit - I used paper10
selection invert delete
select none delete the original
add border with noise
Click on circle selections,select all, float,defloat
paste a paper of choice from the kit - I used paper6
selection invert delete
select none delete the original
Click on circle back selections,select all, float,defloat
paste a paper of choice from the kit - I used paper2
selection invert delete
select none delete the original
add noise with settings of choice
Click on circle2 selections,select all, float,defloat
paste a paper of choice from the kit - I used paper3
selection invert delete
select none delete the original
Click on frame back and copy of selections,select all, float,defloat
paste a paper of choice from the kit - I used paper4
selection invert delete
select none delete the original
Add close up of tube inside the frames
Change blend mode to Luminous
apply Penta filter with settings of choice
Click on frame and copy of selections,select all, float,defloat
paste a paper of choice from the kit - I used paper5
selection invert delete
select none delete the original
add noise with settings of choice
Place your tube
Now time to add our elements
I used the following:
Element 2
Element 8
Element 15
Element 16
Element 19
Element 22
Element 23
Element 24
Element 25
Element 28
Element 29
Element 30
Element 31
Element 61
Merge your layers
Open paper of choice and apply mask
Place your name where you like it
Add the Copyright and your License Number for the tube
Resize to your liking and save as PNG
This tutorial was created on September 23,2016 by Rhonda
Any resemblance to another Tag or Tutorial is purely coincidental

Labels:Fall,PTU,Purple Dreams | 0
comments
Friday, September 16, 2016
This tutorial is written for those with knowledge of PSP
Supplies Needed:
Tube of choice: Im using the wonderful art work of Maryline Cazerave
You must obtain a license to use at CDO HERE
PTU Scrapkit from Lemur Designs purchased at PFD HERE
Mask of choice
Ok Lets get Started:
Resize elements to your liking
This is a very quick and easy tutorial
Open blank canvas 700x700
Open element 99 & place in center of tag
Click inside frame with magic wand and expand by 10
Add new layer under frame and select all
Open paper 9 and paste into selection
Select none
Place tube to right hand side
Now time to add our elements
I used the following:
Element 2
Element 4
Element 5
Element 8
Element 12
Element 15
Element 17
Element 22
Element 23
Element 33
Element 37
Element 41
Element 63
Element 69
Element 72
Element 102
Element 116
Merge layers
Apply paper and mask of choice
Place your name where you like it
Add the Copyright and your License Number for the tube
Resize to your liking and save as PNG
This tutorial was created on September 16,2016 by Rhonda
Any resemblance to another Tag or Tutorial is purely coincidental

Labels:CDO,PTU | 3
comments
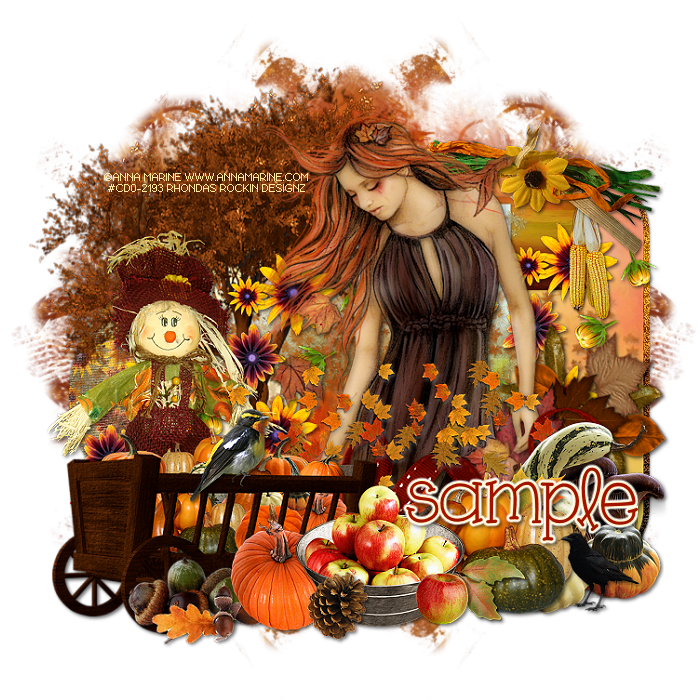
This tutorial is written for those with knowledge of PSP
Supplies Needed:
Tube of choice: Im using the wonderful art work of Anna Marine
Which you must obtain a license to use at CDO HERE
FTU Scrapkit by Gold Dust HERE
Template 141 by Scraps of Enchantment HERE
Mask of choice
Don't forget to leave a thank you when downloading
Ok Lets get Started:
Open template - Shift D to duplicate then close out original
Resize template to desired size
Delete copyright & chevrons
Click on frame selections,select all, float,defloat
add new layer & flood fill with solid color of choice
selection invert delete
select none delete the original
add noise with settings of choice
Click on back selections,select all, float,defloat
paste a paper of choice from the kit - I used paper11
selection invert delete
select none delete the original
Click on pink circle selections,select all, float,defloat
paste a paper of choice from the kit - I used paper13
selection invert delete
select none delete the original
Click on light blue rectangle selections,select all, float,defloat
paste a paper of choice from the kit - I used paper7
selection invert delete
select none delete the original
Click on grey rectangle selections,select all, float,defloat
paste a paper of choice from the kit - I used paper8
selection invert delete
select none delete the original
Click on black rectangle selections,select all, float,defloat
paste a paper of choice from the kit - I used paper1
selection invert delete
select none delete the original
Click on white rectangle selections,select all, float,defloat
paste a paper of choice from the kit - I used paper6
selection invert delete
select none delete the original
Place your tube
Now time to add our elements
I used the following:
Acorns 1&2
Apples 2
Bird
Corn
Crow 1
Deco
Flower Spray
Scatter 1,4&5
Leaf Cluster
Mushroom 1
Pine Comb 2
Pumpkin 1
Scarecrow 2
Squash 1&2
Tree 4
Wagon
Merge your layers
Open paper of choice and apply mask
Place your name where you like it
Add the Copyright and your License Number for the tube
Resize to your liking and save as PNG
This tutorial was created on September 16,2016 by Rhonda
Any resemblance to another Tag or Tutorial is purely coincidental

Labels:Fall,FTU | 0
comments
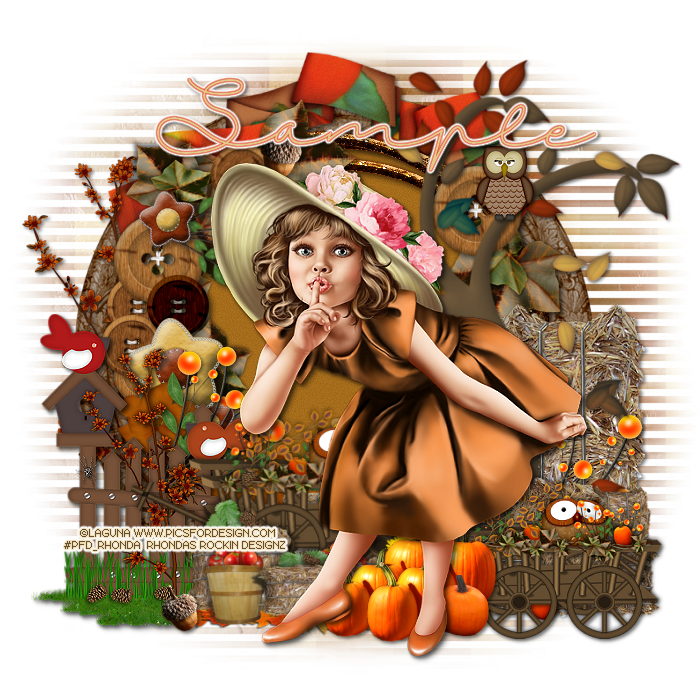
This tutorial is written for those with knowledge of PSP
Supplies Needed:
Tube of choice: I'm using the wonderful art work of Laguna
You must obtain a license to use tube at PFD HERE
FTU Scrapkit by Scrappy Bit of Fun HERE
Mask of choice
Ok Lets get Started:
This is a very quick and easy tutorial
Resize elements to your liking and don't forget to drop shadow
Open blank canvas 700x700
Draw a circle in middle of canvas to desired size
I used a paper from the kit for frame
Grab the magic wand & click inside frame
Selections modify expand by 10
Add new layer under frame
Open paper 20 & paste into selection
Select none
Open frame 6 and paste on top of frame you made
Place your tube
Now time to add our elements
I used the following:
Element 5
Element 6
Element 9
Birdhouse with grass
Blossom
Hay Bale
Oranges
Owl
Tree 2
Pumpkin Pickins Screen
Ribbon
Wagon Owl
Wagon Owl Apples
Merge your layers
Open paper of choice & apply mask
Place your name where you like it
Add the Copyright and your License Number for the tube
Resize to your liking and save as PNG
This tutorial was created on September 16,2016 by Rhonda

Labels:Fall,FTU | 0
comments
This tutorial is written for those with knowledge of PSP
Supplies Needed:
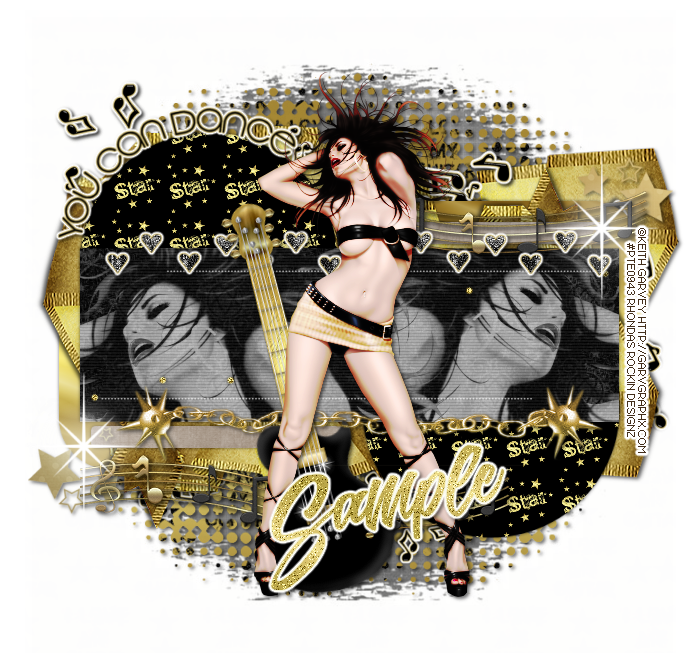
Tube of choice: I'm using the wonderful art work of Keith Garvey
This tube was purchased at PTE which has closed
You can purchase his tubes at his store HERE
FTU Scrap Kit by Addictive Pleasures HERE
Template #139 by Scraps of Enchantment HERE
Don't forget to leave a thank you when downloading
Ok Lets get Started:
Open template - Shift D to duplicate then close out original
Resize template to your liking
Canvas size 700x700
Delete copyright, top & bottom cube
Click on top & bottom shape selections,select all, float,defloat
paste a paper of choice from the kit - I used paper7
selection invert delete
select none delete the original
Click on top & bottom circle selections,select all, float,defloat
paste a paper of choice from the kit - I used paper3
selection invert delete
select none delete the original
Click on black rectangle selections,select all, float,defloat
paste a paper of choice from the kit - I used paper10
selection invert delete
select none delete the original
Paste close-up of tube inside rectangle
Change blend mode to setting of your choice
Click on white shape top & bottom selections,select all, float,defloat
paste a paper of choice from the kit - I used paper9
selection invert delete
select none delete the original
Click on stars and flood fill with gradient of choice
Decorate word art to your liking
Place your tube
Now add any other elements of choice
I used the following:
Chain 2
Guitar
Heart Trail
Music Notes
Music Notes 2
Ribbon 3
Sparkle
Sparkles
Merge your layers
Add paper and mask of choie
Place your name where you like it
Add the Copyright and your License Number for the tube
Resize to your liking and save as PNG
This tutorial was created on September 15,2016 by Rhonda
Any resemblance to another Tag or Tutorial is purely coincidental

Labels:FTU | 0
comments
Wednesday, September 7, 2016
This tutorial is written for those with knowledge of PSP
Supplies Needed:
Tube of choice: I'm using the wonderful art work of Tony Tzanoukakis
You must obtain a license to use this art at his store HERE
Matching PTU Scrap Kit from Creations by Sanie also purchased at store HERE
Mask of choice
Ok Lets get Started:
Resize elements to your liking
This is a very quick and easy tutorial
Open blank canvas 700x700
Open element 14 & place in center of tag
Grab the magic wand & click inside frame
Selections modify expand by 10
Open new layer until frame
Open paper 1 and paste into selections
Select none
Merge the frame and paper as 1 layer
Duplicate and move the duplicated frame behind main frame and rotate
See my tag for example
Place your tube & build around it
Now time to add our elements
I used the following:
Element 1
Element 3
Element 5
Element 8
Element 11
Element 12
Element 13
Element 19
Element 20
Element 24
Element 26
Element 28
Element 29
Element 30
Element 31
Element 33
Element 34
Merge layers
Open paper of choice and apply mask
Place your name where you like it
Add the Copyright and your License Number for the tube
Resize to your liking and save as PNG
This tutorial was created on September 7,2016 by Rhonda
Any resemblance to another Tag or Tutorial is purely coincidental

Labels:PTU | 0
comments
This tutorial is written for those with knowledge of PSP
Supplies Needed:
Tube of choice: I'm using the wonderful art work of Tony Tzanoukakis
You must obtain a license to use this art at his store HERE
Matching PTU Scrap Kit from Reineke Designs also purchased at store HERE
Mask of choice
Ok Lets get Started:
Resize elements to your liking
This is a very quick and easy tutorial
Open blank canvas 700x700
Open element 22 & place in center of tag
Grab the magic wand & click inside frame
Selections modify expand by 10
Open new layer until frame
Open paper 6 and paste into selections
Select none
Place your main tube & build around it
Now time to add our elements
I used the following:
Element 1
Element 4
Element 6
Element 9
Element 10
Element 25
Element 30
Element 34
Element 35
Merge layers
Open paper of choice and apply mask
Place your name where you like it
Add the Copyright and your License Number for the tube
Resize to your liking and save as PNG
This tutorial was created on September 7,2016 by Rhonda
Any resemblance to another Tag or Tutorial is purely coincidental

Labels:PTU | 0
comments
Subscribe to:
Comments
(Atom)
Grab My Blinkie

About Me
Hello friends and welcome to my blog!!! My name is Rhonda and I live in South East Ga., little town called Lumber City. I have 2 sons, 2 DIL's and 3 grandchildren. I work in healthcare as an RN.
When not working, I enjoy playing in PSP. It has been my passion over 20 years. PSP is relaxing and takes my mind away from troubles of life. I enjoy writing tutorials on my downtime.
I am expanding my creations to frames, clusters, templates and hopefully masks. I have NEVER made a mask but I have the time to learn now and I am excited. These will be FTU, all I ask is please download from the blog and if you are in a group or forum please send others to my blog and DO NOT HOTLINK. I would love to see your creations and show them off.
If you need to contact me with any questions concerning my tutorials or creations, send me an email. I am aware some of my older tutorials have links that are no longer working due to designers closing their blog. This is beyond my control. I am unable to share anything which was not shareable before. I honor all designers TOU.
I CT For
T.O.U.
All tutorials that are on my blog have been written by me. Any resemblance to another tag or tutorial is purely coincidental. Please do not copy and claim as your own. You are welcome to use these tutorials in any groups or forums but please link back to my blog. I would love to see any tag that is made using my tutorial. If you have any questions or concerns you can contact me at rsheath31549@yahoo.com.
Cluster Frames are Personal Use ONLY!!!! Please do not claim them as your own or rip them apart. You are welcome to use in forums or groups but please link back to blog. My TOU are included in the downloads. I would love to see any creations you make with my tuts or other creations. Send them to me and I will display them.
My goal for this blog is to make creations others can use and enjoy. I want to focus on being positive through difficult times. Show importance of accepting others, no judging, just respect. Showing kindness to others can change another's life, even for a brief time
Powered by Blogger.
Search
Categories
- Addictive Pleasures
- Adrienne Designs
- AI by Caz
- AI TK Dezigns
- Alicia Mujica
- April Shareables
- Art-Content
- Awards
- Awareness
- Barbara Jensen
- Beth Show-Off
- Birthday
- Black Widow Creations
- Blaque Heart Designz
- Blog Train
- BLT Dezingz
- Breast Cancer Awareness
- Brutal Designs.Grunge and Glitter
- CC Excluisve
- CDO
- Chachaz Creations
- Chelloenix
- Chichi Designz
- Chick News
- Chris Pastel
- Christmas
- Cluster Frame Tuts
- Cluster.
- Cluster. FTU Cluster Frames
- Coffee Arts Design's
- Country
- Crisipified
- Daelmans Designs
- Dangerously Delicious Designz
- Deedles and Doodles
- DeesSign Depot
- Designer Scraps
- Designz By Anorie
- Designz by Shelly
- Diamond Creations
- Digital Art Heaven
- Doodle By Design
- Dreaming With Bella
- Easter
- Elegance Fly
- Elfairy Tubes
- Elli's
- Facebook Freebie
- Fall
- FTU
- FTU Cluster Frames
- FTU Tube
- General
- Gothic
- GraphFreaks
- Gypsy
- Halloween
- Hania Design
- Here2Help Mirella
- Icy Blue Mystic Designs
- Inzpired Creationz
- Inzpired Creationz Store
- Jens Sweet Temptations
- July 4th
- Kathy's PSP Designs
- Kelly's AI Artroom
- Kizzed by Kelz
- Laura Re Art
- Limited FTU
- Lori's PSP Graphics
- MardiGras
- Midnight Shadow Dezinez
- Military
- Misticheskaya
- Mizteeque
- Moonshine Dezignz
- Mother's Day
- motivational
- My Tagging Addiction
- New Years
- News
- News about kits
- No Scraps
- Pammers Passion
- Patriotic
- Personal
- PFD
- Pimp My Tags With Scraps
- Pink Paradox
- PTU
- PTU Clusters
- PTU now FTU
- Purple Dreams
- Queen Uriel
- Retired Kits
- s
- S&Co
- Savage Dezigns
- School
- Scrap it Studio
- Scrappy Bit of Fun
- Show Off
- Simply Vicki
- Snags
- Spring
- St Patricks Day
- Steampunk
- Summer
- t
- Tagcatz Design
- Tags with no Tuts
- Tattys Thingies
- Template
- Thanksgiving
- The Taggers Lounge
- The Taggers Lounge Exclusive
- Tiny Turtles
- Tiny Turtles Store
- Updates
- Valentine
- VeryMany
- Vintage
- VM Artists
- VMArtists
- Western
- Wicked Princess Scraps
- Winter
- Wonderland
- WordArt
- Zindy Zone
- Zlatam Store
